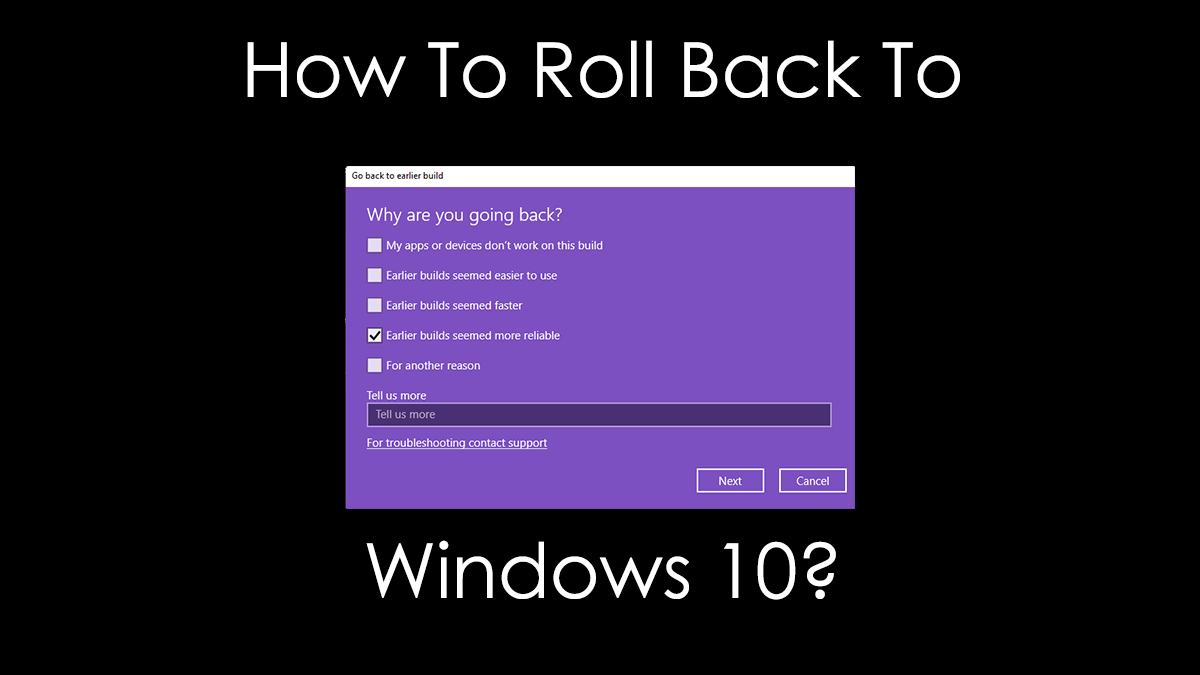
How To Roll Back To Windows 10 From Windows 11 Insider Preview?
An unusual number of users joined the Windows Insider Program after the Windows 11 Insider Preview builds’ release. Quite a few users among the new joiners just wanted to try out Windows 11. Now that it’s been some time since then, it’s only fair that some of you might want to downgrade to Windows 10.
Since the Windows 11 Insider builds are in the beta stage, they’re obviously not fit for everyone’s daily usage and are incomplete as an operating system. Let us see how to roll back to Windows 10 from Windows 11 Insider Preview.
Roll Back Via The Settings App
If you want to go directly back to the build you were on before installing Windows 11 Insider Preview; this is easier, and to get started, do the following:
1. Firstly, open the Settings app and navigate to Windows Update > Advanced Options > Recovery
2. Then, on the Recovery page, there’ll be an option that reads “Previous version of Windows.” Click on the Go back button.
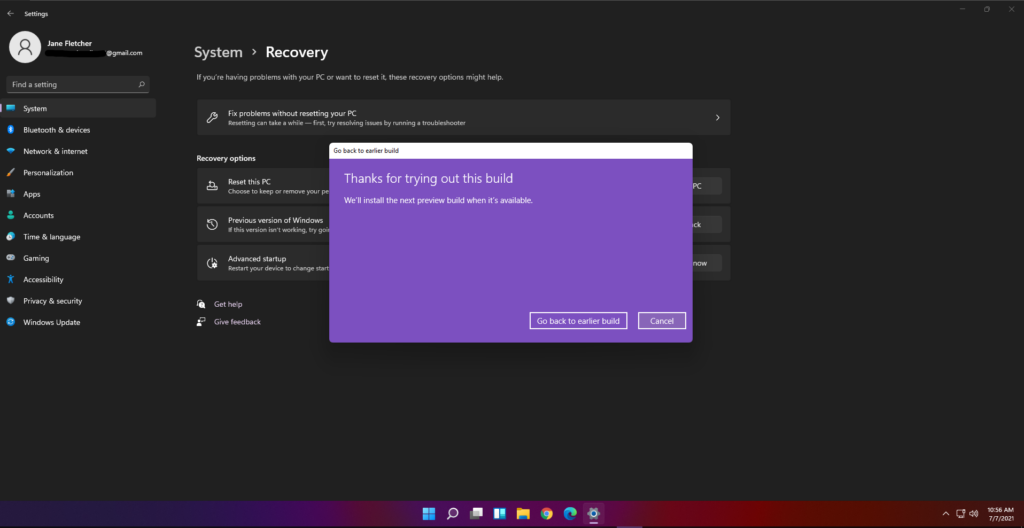
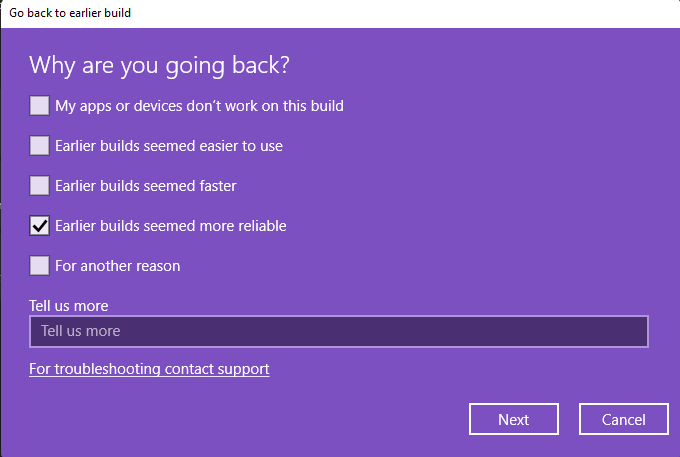
3. Further, the roll-back process will be initiated. You will be asked for a reason to roll back.
4. Next, Microsoft will warn you about your data, reconsidering to stay on the existing build and your system password. Surf through these options, and begin the roll-back process.
After the process is initiated, your PC will restart and install Windows 10. Note that your applications would be uninstalled, so you will have to install them again.
Roll Back Via Clean Install
Alternatively, you can always clean install Windows 10 using a bootable USB. You’ll need Microsoft’s Media Creation tool to download the Windows 10 ISO and make it a bootable USB. Read more about the process here.
To begin the process, do the following:
1. Firstly, create an installation media for Windows 10 using the above process.
2. Secondly, go to the Settings app and navigate to Windows Update > Advanced Settings > Recovery.
3. Click Restart now on the Advanced Startup option.
4. Further, your PC will restart to Boot Options. There, select “Use a device.” Make sure your bootable USB is already plugged in, and choose your USB device in the boot menu.
5. Finally, the Windows 10 Setup will begin. Continue through it and install Windows 10 after formatting your C Drive.
After the setup is complete, your PC will boot into Windows 10’s first-time setup. This is due to a fresh installation of Windows 10. The OS is solid enough to last until Windows 11 releases later this year. That was the process to roll back to Windows 10.
Did you install Windows 11? Do you miss Windows 10? Let us know in the comments below.
Meanwhile, make sure to check our detailed Windows 11 coverage.
More on Windows 11 Setup
- Windows 11 System Requirements: What Hardware Do You Need?
- How To Check If My Existing PC Can Run Windows 11?
- List Of Windows 11 Compatible Devices
- Do These 3 Things Before Installing Windows 11 On Your PC
- How To Use A Windows 11 ISO File To Perform A Clean Install
- How To Install Windows 11 Using Windows 11 Installation Assistant
- Where Can I Buy My First Windows 11 Laptop?
- How To Set Up A Local Account On Windows 11 First Boot?
- How To Reset Windows 11 Using Settings?
- Windows 7 Users Can Upgrade To Windows 11, But There’s A Catch