How To Use Peacock’s My Stuff Feature

In the rush to save money, we all have a lot of times shared our streaming accounts. This might save you a few bucks but at the cost of your privacy. Streaming is a sacred ritual, and we should enjoy it in our own time. With the development in the streaming industry, we are getting new players resolving this problem at affordable prices. For starters, NBC-owned Peacock is the perfect example in this category.
The platform is home to more than 900 movies and 345 TV shows. Moreover, it also provides Live TV and many other features. Today, we’ll discuss its most important feature, “My Stuff.” Users can add their currently watching titles to this section so that they won’t get lost when others use the account.
My Stuff keeps your titles safe, but you can also add movies and TV shows to stream later. Subscribers love and appreciate this feature a lot. So much so that the owners have put it on the home page display. Let’s explore and learn how to use this feature in this streaming guide.
How do I access “My Stuff” on Peacock?
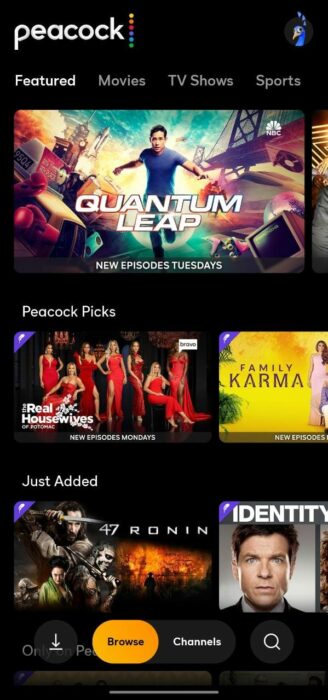
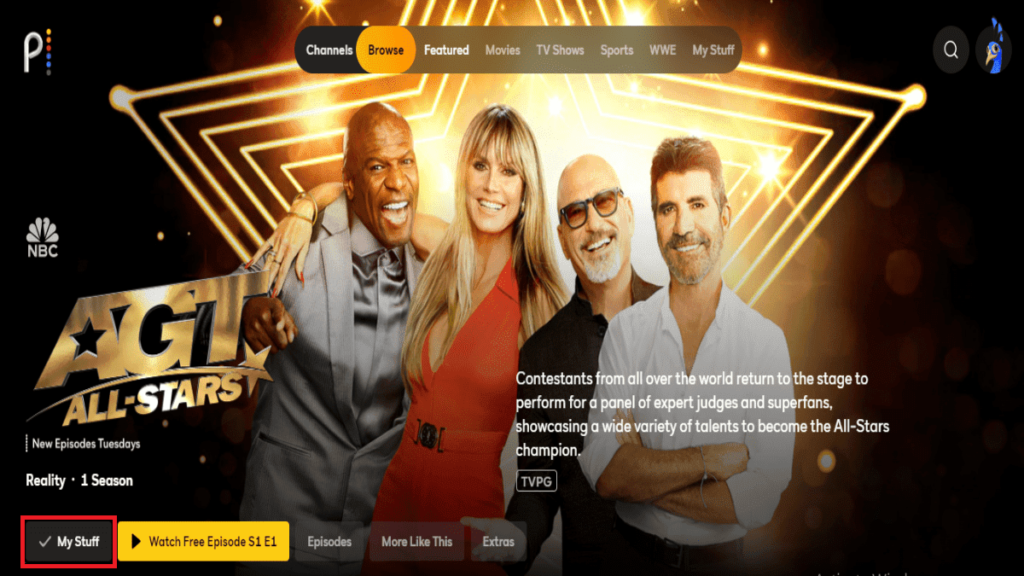
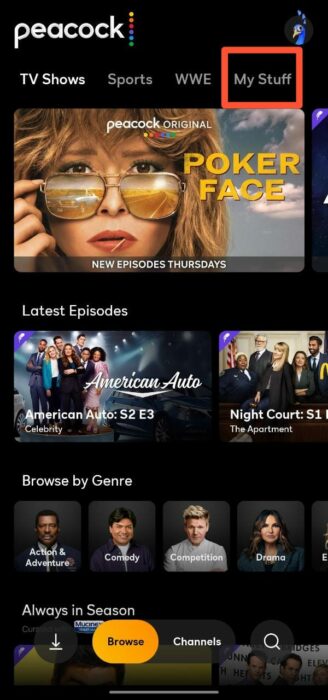
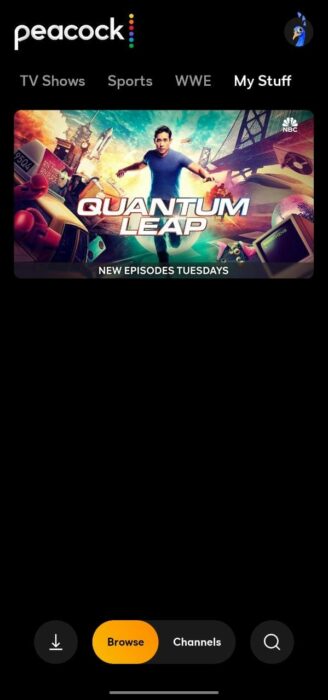
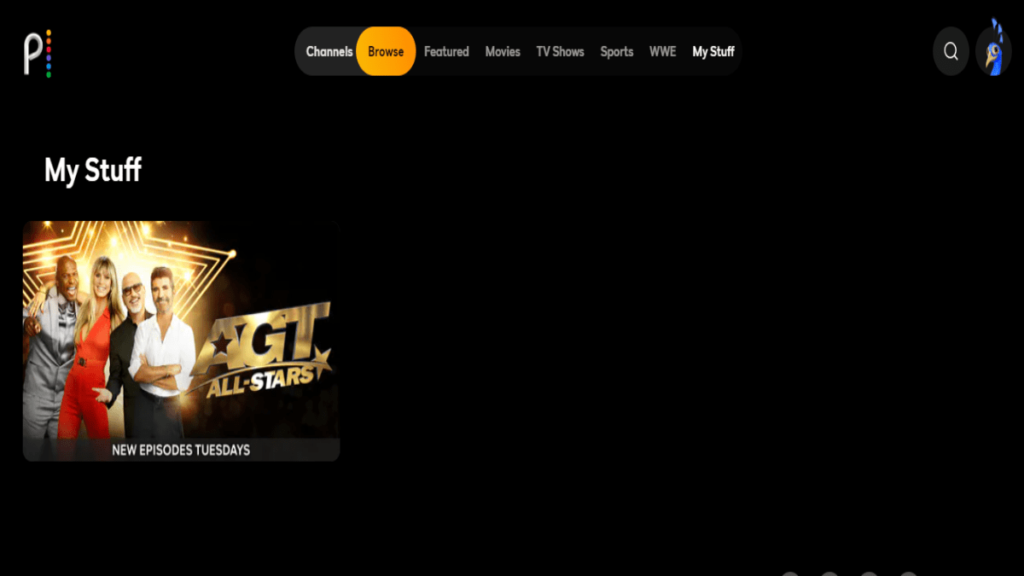
Peacock focuses a lot on providing a user-friendly interface for subscribers, so most of the features are on the home screen. Subsequently, there are two ways to access My Stuff. First, if you add any title to the list, it will appear on the home page under a separate category. Secondly, “My Stuff” is at the top of the taskbar.
So users can easily use their watchlist on the platform. Now that we’ve learned how to access the feature, let’s see how to add titles to this column in the next section of this article.
Steps to add titles to Peacock’s My Stuff feature
The platform has made the process a lot simpler, which gets complimented by its user-friendly interface. Let’s shed some light on the steps down below:
For Peacock Application
1. Open the Peacock TV app and log in with your credentials.
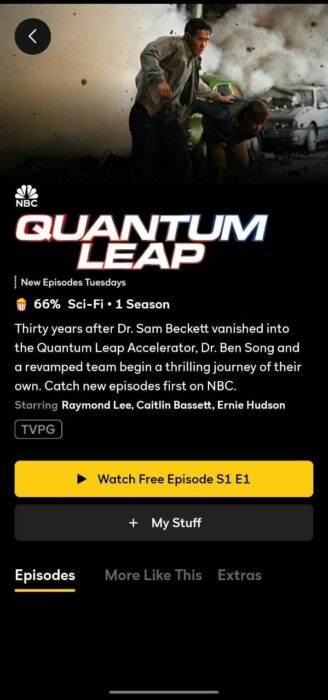
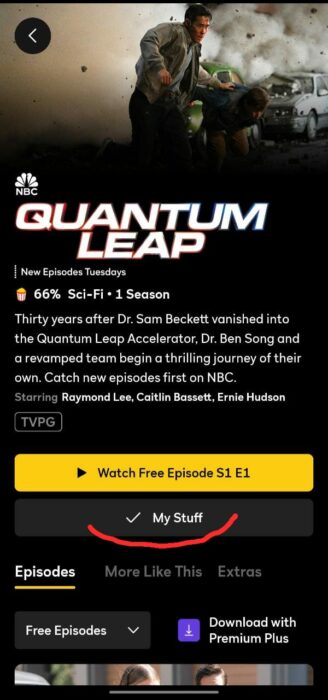
2. Now select the title you want to add.
3. Select the “My Stuff” icon to add it to the list.
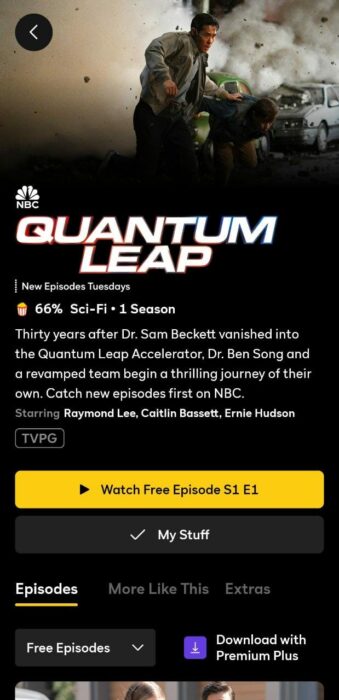
4. The “My Stuff” icon will show a checkmark sign once completed.
For Peacock website
1. Open the official website and log in with your credentials.
2. Select the title you want to add.
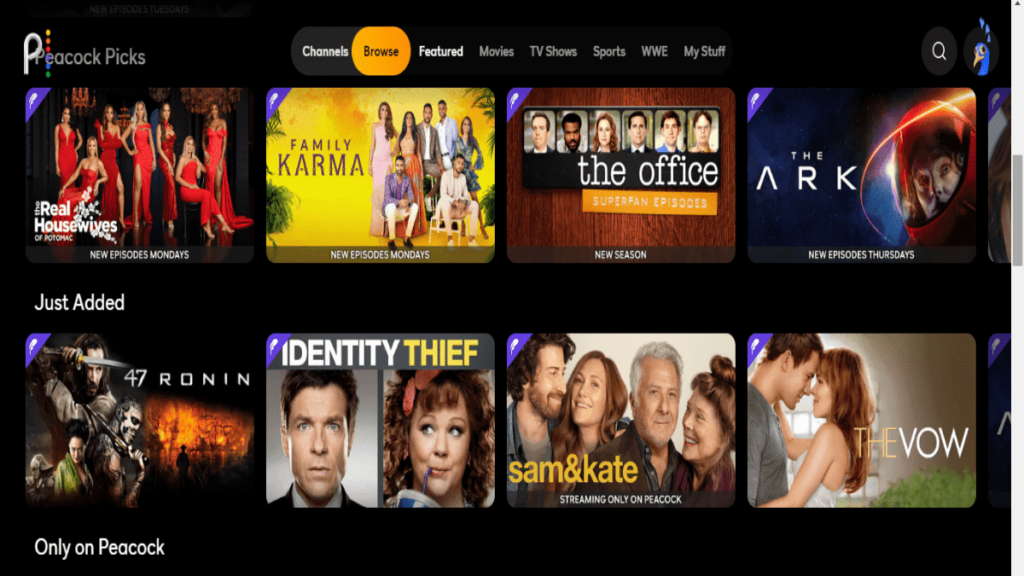
3. Press the “My Stuff” icon on the page.
4. The “My Stuff” icon will show a checkmark sign once completed.
With that being said, let’s see how to remove titles from this section down below.
How to remove titles from Peacock’s My Stuff?
For Peacock application
1. Open the app and navigate to “My Stuff” from the topmost taskbar.
2. Now select the title you want to remove.
3. Tap on “My Stuff,” and now the checkmark sign should be turned into a plus symbol.
For Peacock website
1. Open the official site and select “My Stuff” on the homepage.

2. Now click on the desired title.
3. Finally, select the “My Stuff” icon to remove it from the list.
Is the My Stuff feature essential on Peacock?
There’s a valid reason why various platforms are introducing this feature to subscribers. Let’s discuss them below:
- It helps to separate our favorite titles from the wide content library.
- The feature currently keeps watching titles protected from other users so that we do not have to live in fear of losing it.
- If there are multiple users on the same account, it helps maintain our privacy.
- “My Stuff” also includes downloaded content and recorded content in the same place.
Being a new platform, it keeps on improvising the platform with such features. If you want us to explore more of such features, let us know in the comments section below. While you’re here, check out the platform’s new subscription plans.