What Is Switch Control On iPhone & iPad? How To Use It?
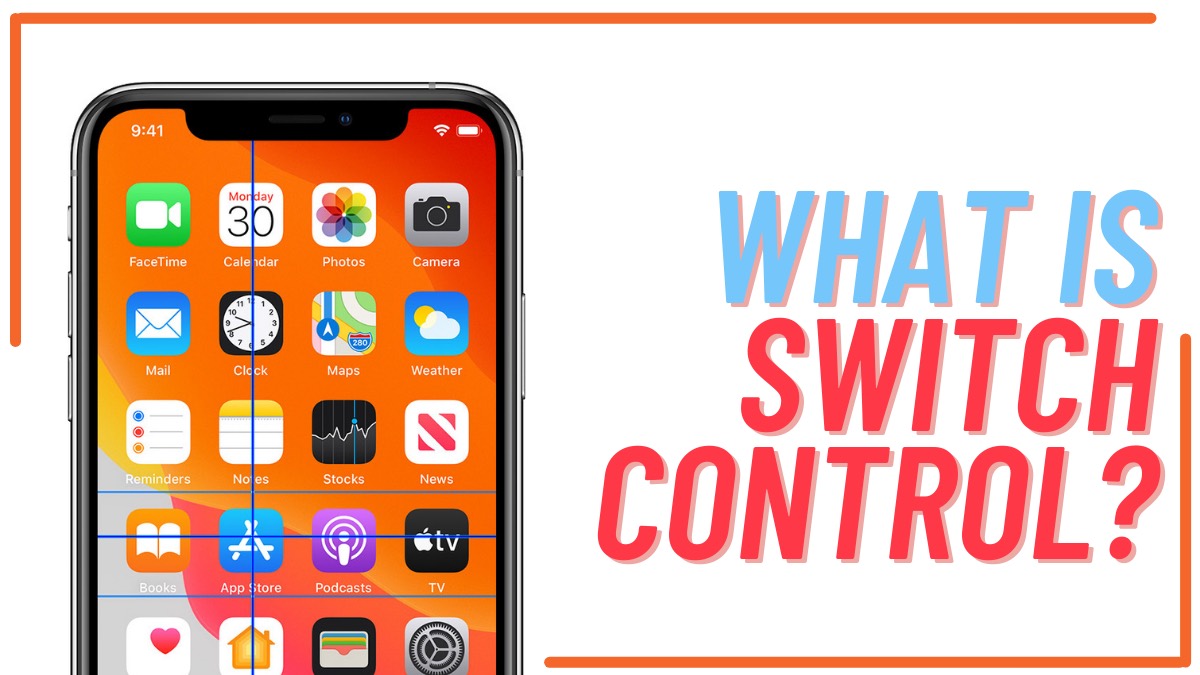
Switch Control is an accessibility feature on your iPhone and iPad. It lets you control your device using single or multiple switches.
Differently-abled users and users with limited mobility can use switch controls to navigate their iPhones and iPads. These replace the default iOS gestures, and you can control them with external hardware as well.
Add A New Switch To Your iPhone/iPad
Before you turn it on, you should set up switches. This is so because enabling this accessibility feature without setting up switches first can lead to confusion.
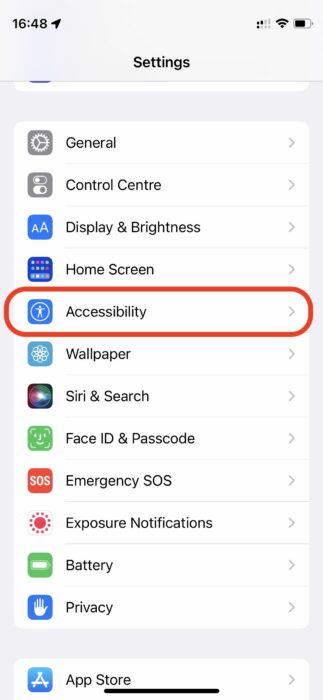
1. Go to Settings and tap Accessibility
2. Select Switch Control
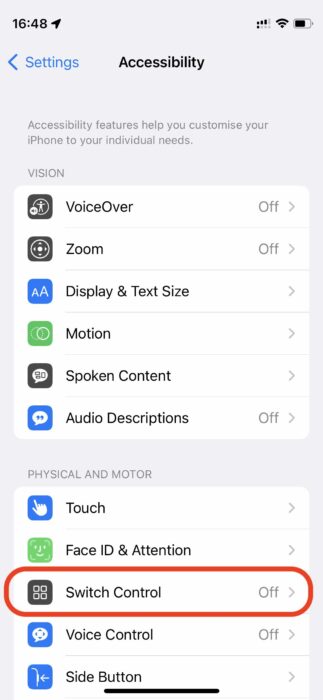
3. Go to Switches
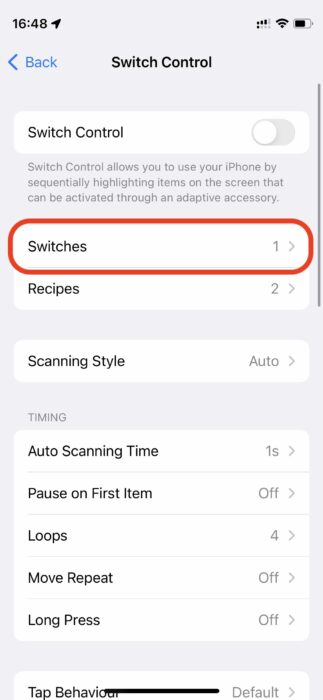
4. Add New Switch
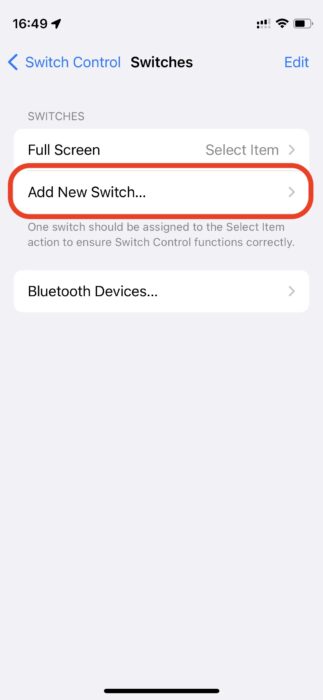
5. Select the switch you want to add from the on-screen menu
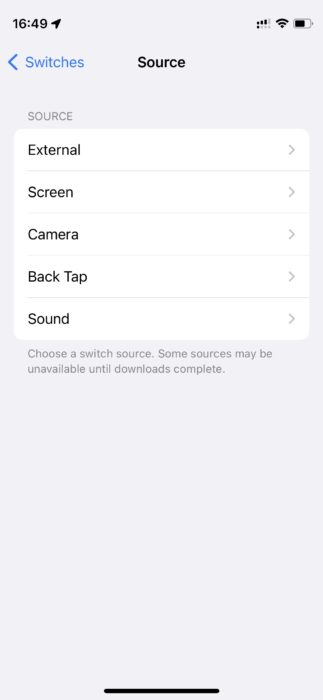
The latest iPhones support many types of switches. For instance, you can use an external game controller, a MIDI, or special accessibility hardware to navigate your iPhone.
You can select the screen to set up simple tap-anywhere gestures, use the camera as a switch to navigate using head movement, or set up sounds like ‘pop’ to go back and ‘click’ to select.
Turn Switch Control On/Off On iPhone Or iPad
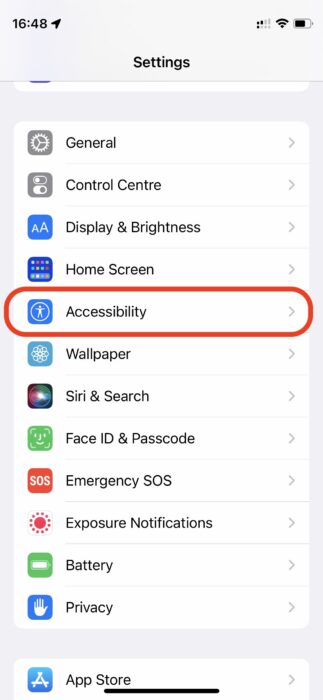
1. Go to Settings and tap Accessibility
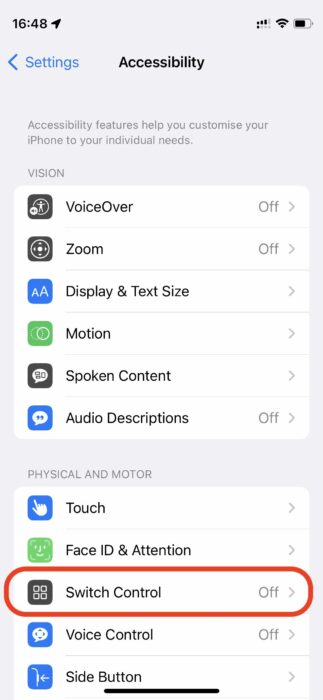
2. Select Switch Control
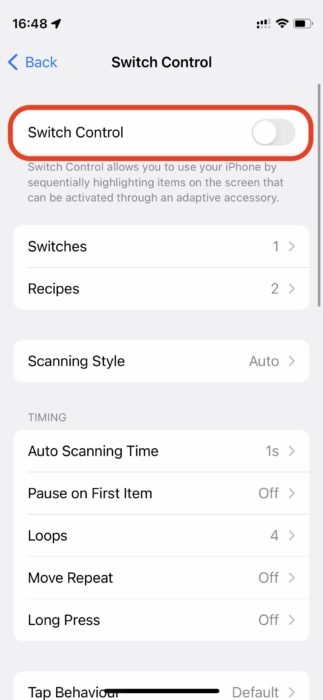
3. Turn Switch Control on/off
Set Up Recipes In Switch Controls
You can remap switches to perform actions that temporarily replace the default function. Doing so will allow you to easily control complex or repetitive actions like game controls or turning pages in an e-book.
In other words, if switches are spices, then the recipe is how you use the same set of spices to smoothly navigate your iPhone or iPad.
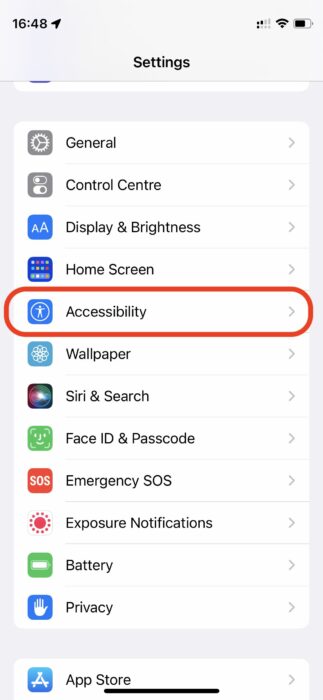
1. Go to Settings and tap Accessibility
2. Select Switch Control
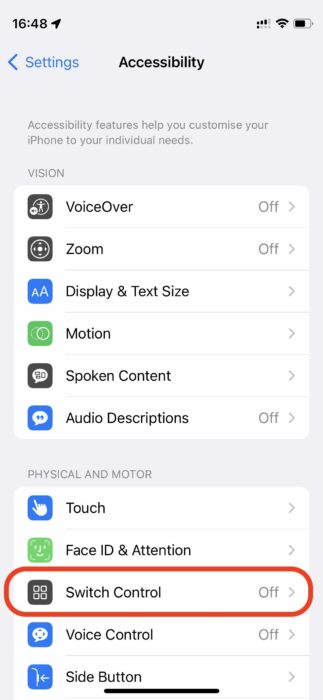
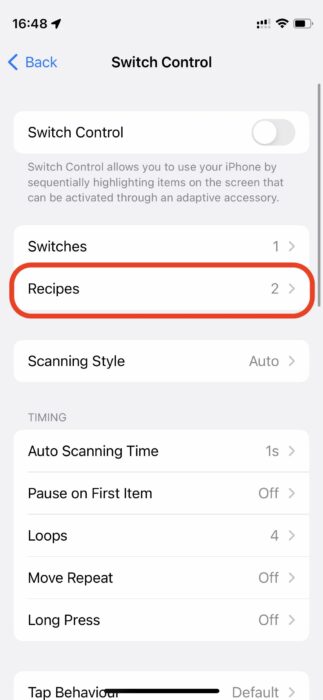
3. Go to Recipes
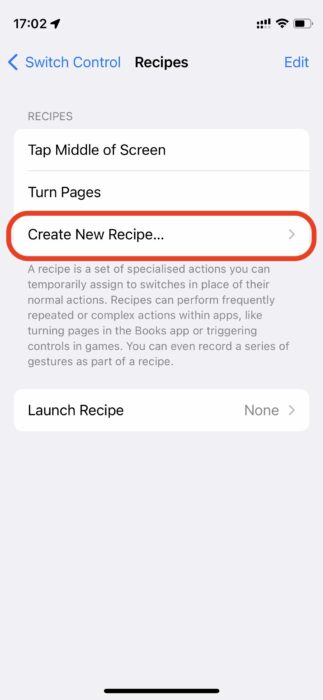
4. Select Create New Recipe and follow the on-screen instructions
How To Use Switch Controls On iPhone Or iPad
Here’s a walkthrough of all the settings you can find in the Switch Control section and what they can do for you. These features are located in Settings > Accessibility > Switch Control.
- Scanning Style: Select between automatic, manual, or single switch step scanning.
- TIMING
- Auto Scanning Time: Change the duration of auto scan movement from this option.
- Pause on FIrst Item: Duration of auto-scanning waiting after you select something.
- Loops: Set number of times the scanner loops an icon group.
- Move Repeat: Set a delay before moving to next/previous item while the switch is pressed.
- Long Press: Activate long press action and press duration.
- Tap Behaviour: Configure what happens when a select action is activated. You can Choose between default, auto tap, and always tap.
- Focused Item After Tap: Change focus item after switch control scan is tapped. You can select First item or current item.
- KEYBOARD
- Scan Same Key After Tap
- Always Tap Keyboard Keys
- Extended Predictions
- SWITCH STABILIZATION
- Hold Duration: Set the hold duration before a tap is recognized.
- Ignore Repeat: Set a duration between which multiple taps are ignored.
- POINT SCANNING
- Gliding Cursor: Choose selection mode. You can go for Single for faster targets, Refined for more precision, and Precise for the slowest but most precise.
- Head Tracking: Use front camera to track head movement.
- AUDIO
- Sound Effects
- Speech: Set speech speed, voice, and pause intervals.
- Menu Items: Configure menu items
- Group Items
- VISUAL
- Large Cursor
- Cursor Colour: Set a cursor color
- Saved Gestures: Check your saved gestures or create new ones.
- Confirm with Switch Control: Use Switch Controls to confirm payments with Face ID.
If you like this simple explainer, check out our Short Bytes section. We take complex tech topics and break them into short, easy-to-understand articles.


