20 Useful Android Developer Options You Should Enable Today
Unlike iOS, Android as a platform thrives on allowing users to customize their phones and make them work according to their needs. And the biggest driving force behind this mantra is developer options. Unfortunately, many users are unaware of these features, and enabling the wrong setting could potentially lead to issues. Here are some of the most useful developer options you should enable.
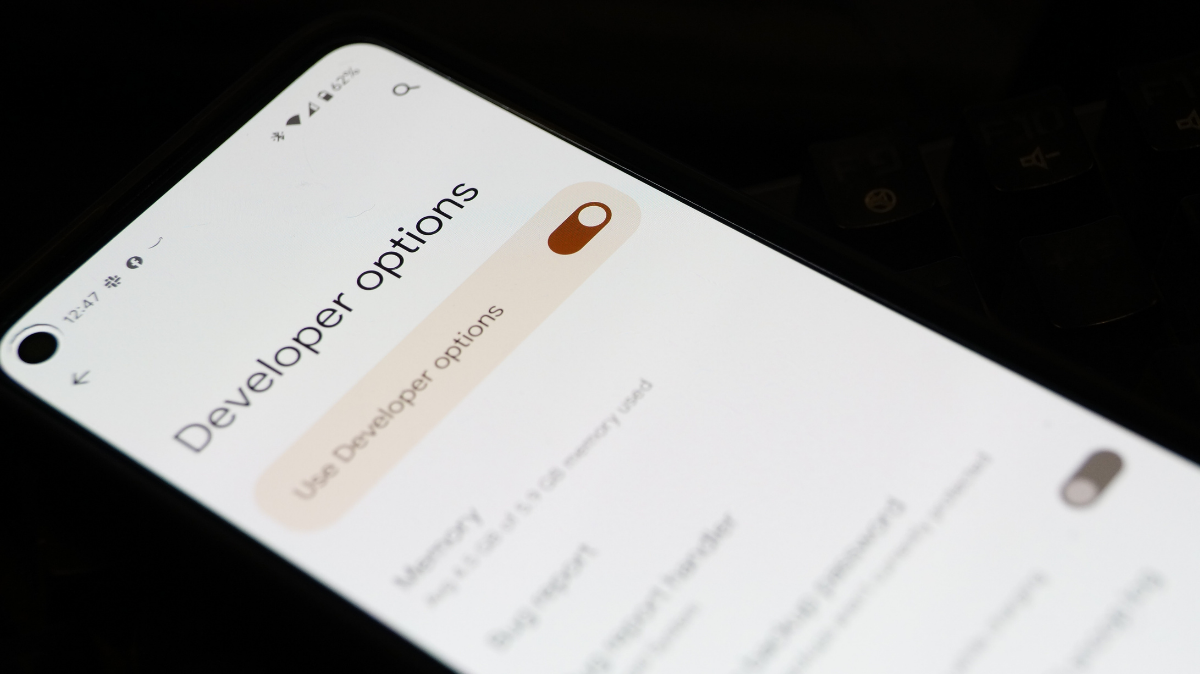
How to enable Android developer options?
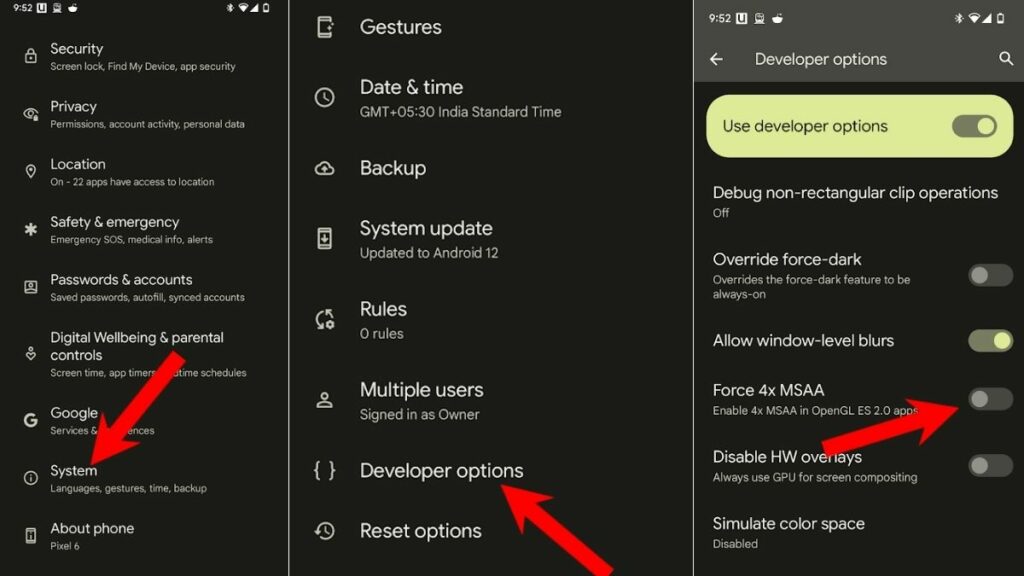
Before diving into these settings, enabling developer options is the first step. Here’s how:
- Open Settings and scroll down to About Phone.
- Locate the Build Number and tap it ten times.
- Return to the main settings page and scroll down to System.
- There, you’ll find the Developer Options setting.
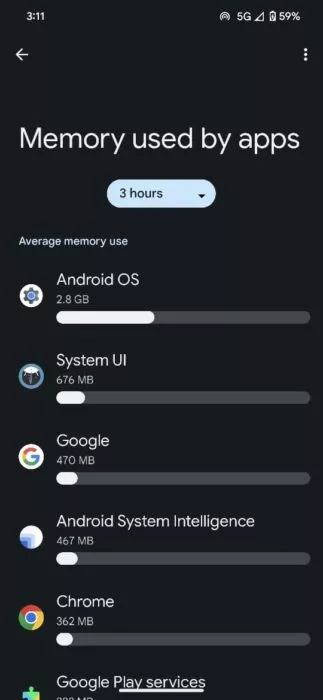
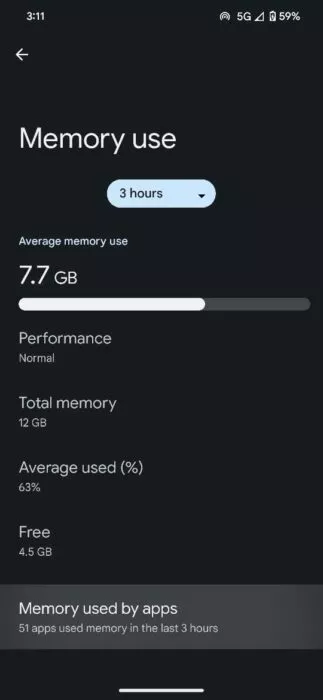
1. Memory Usage
As the name suggests, this option allows users to check the average memory usage on the phone by various apps. Additionally, users can also customize the time frame and review the average usage per app by accessing the “Memory used by apps” section.

2. Stay Awake
This setting prevents the screen from going to sleep while charging. Although most everyday users may not find a use case for this feature, it can be helpful for developers testing apps on the phone for extended periods.
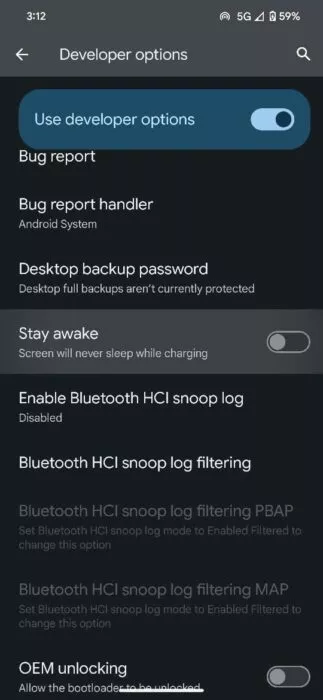
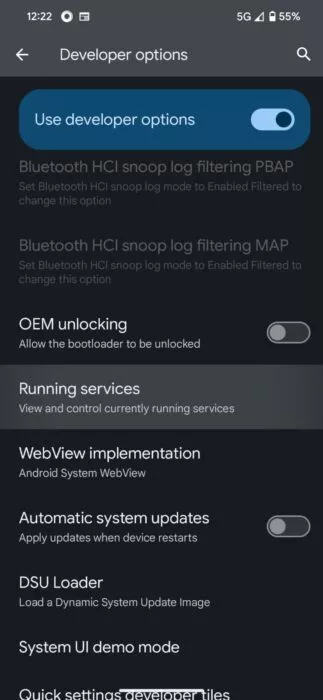
3. OEM Unlocking
Custom ROMs have always been a significant aspect of Android culture, enabling users to change their operating system if they are dissatisfied with the pre-installed one. OEM unlocking is the first step towards installing a custom ROM, as it allows users to unlock their bootloader using ADB commands.
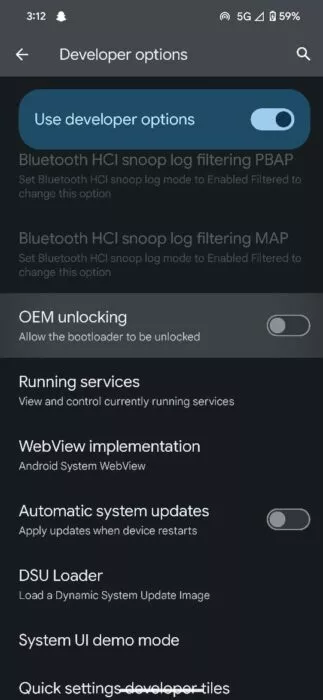
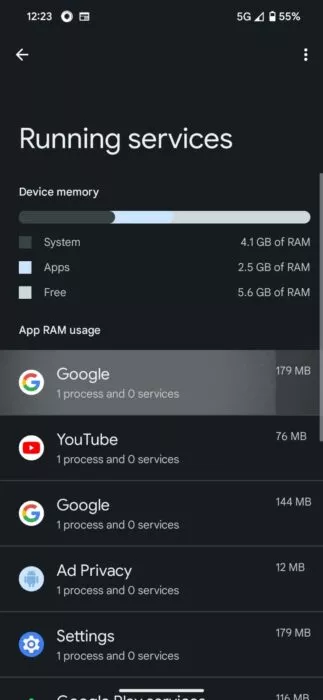
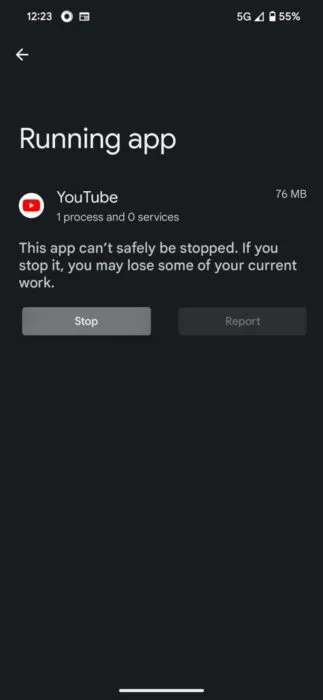
4. Running Services
Similar to the memory usage feature, the running services setting displays apps that consume the most RAM in the background. This not only helps users monitor the RAM usage per app but also allows them to track potentially malicious apps.
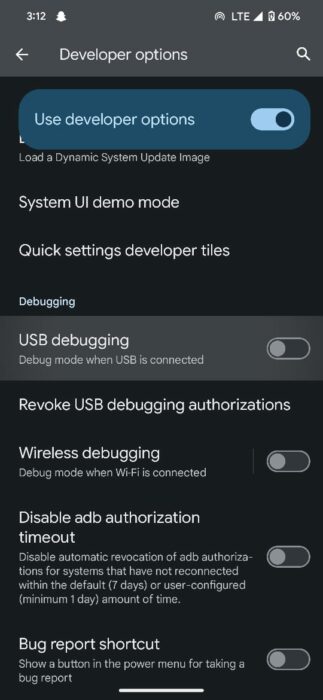
5. USB Debugging
After enabling OEM unlocking, the next step in installing a custom ROM involves USB debugging. It allows users to connect their devices to a computer and use ADB commands to unlock the bootloader and flash the custom ROM.
However, it’s important to note that this setting should only be activated during the ROM flashing process, as threat actors could exploit it when the phone is plugged into a public USB port.
6. Show Current Refresh Rate
While many flagship phones dynamically adjust their refresh rates based on content, certain budget and mid-range phones struggle with this, resulting in stutters and lag. Enabling the “Show Current Refresh Rate” setting allows users to check the current refresh rate their phone is operating on.
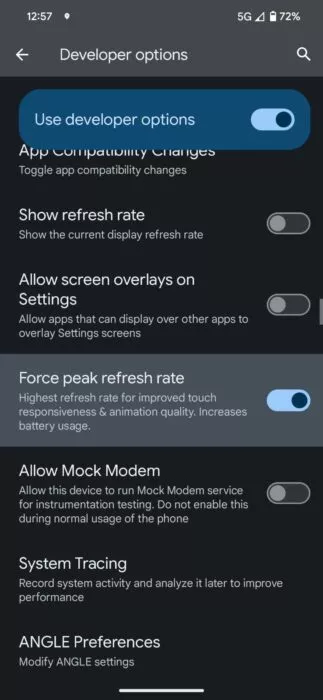
7. Force Peak Refresh Rate
For phones that struggle to adjust their refresh rates automatically, users can manually set them to the peak refresh rate by enabling this setting. However, it’s important to consider that activating this feature will significantly increase battery drain.
8. Mobile Data Always Active
For those residing in areas where Wi-Fi speeds fluctuate frequently, the manual switch between mobile data and Wi-Fi can be incredibly frustrating and time-consuming. However, a convenient solution lies within the Developer Options: the “Mobile Data Always Active” setting. This feature maintains mobile data connectivity even when connected to Wi-Fi, ensuring an almost instantaneous switch between the two.
9. Wi-Fi Scan Throttling
In this day and age, where phones have gotten more powerful, battery life is perhaps the biggest complaint. With several processes and apps running concurrently, users are always on the lookout for efficient ways to conserve battery life. The Wi-Fi scan throttling option restricts apps from searching for Wi-Fi constantly, thus helping preserve the battery.
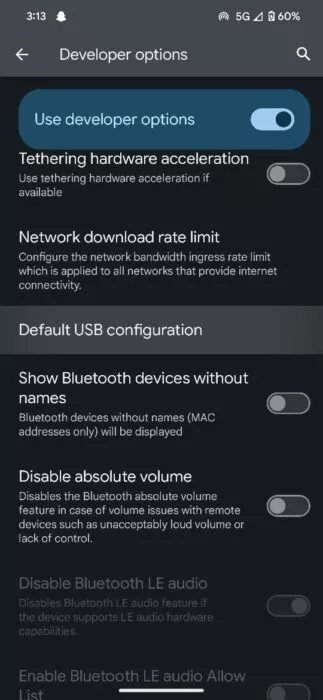
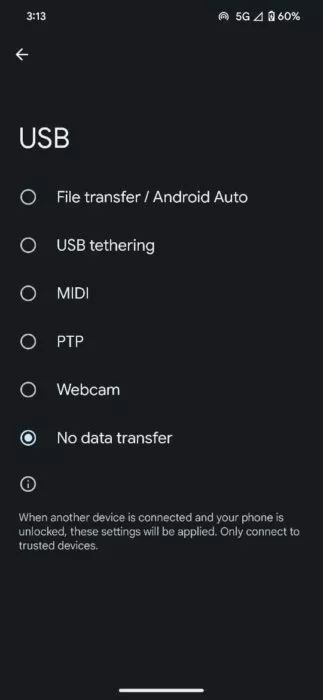
10. Default USB Configuration
When connecting your phone to a PC or laptop, it typically begins charging, requiring a manual switch to data transfer mode. However, users can alter this setting within the Developer Options:
- Click on the “Default USB Configuration” setting.
- Choose the default mode you prefer to set.
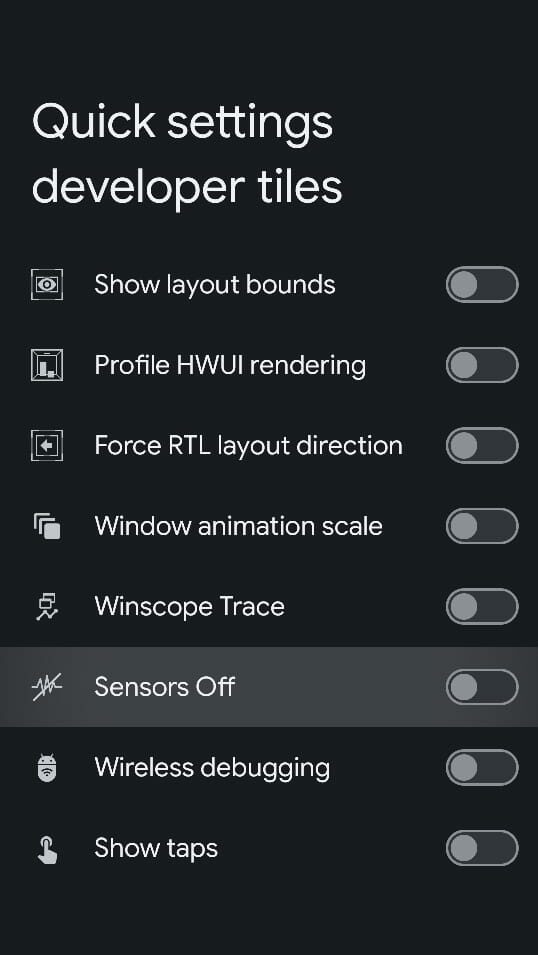
11. Show Taps
Show taps is another helpful feature, which, as the name suggests, displays a visual pointer whenever the screen is tapped. This functionality can be particularly useful when casting your screen onto a TV or for individuals with specific accessibility needs.
13. Animation Scales
Perhaps the most well-known developer option setting, animation scales, allows users to modify the system-wide animation speeds. To create a snappier user experience, you can adjust the animation speed to 0.5x or disable animations entirely.
14. Override Force-Dark
While many apps offer customizable themes, older, un-updated apps might lack this functionality. This is where the override force-dark feature comes in since it essentially forces apps to operate in dark mode, irrespective of their built-in settings.
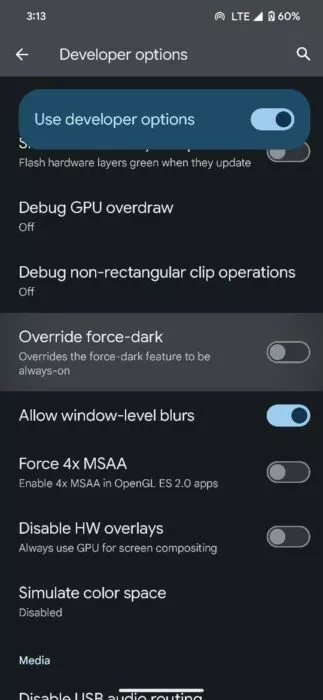
15. Force 4x MSAA
Modern displays consist of square pixel blocks, which pose challenges when rendering diagonal lines, resulting in visible “jaggies”—those jagged, stair-like edges in images or graphics.
4x MSAA, or multisample anti-aliasing, addresses this issue by introducing new pixels of different colors to counteract jaggies. This creates a visual illusion of smoother, straighter lines, enhancing the gaming and video-watching experience. However, it’s important to note that enabling this feature significantly increases battery consumption.
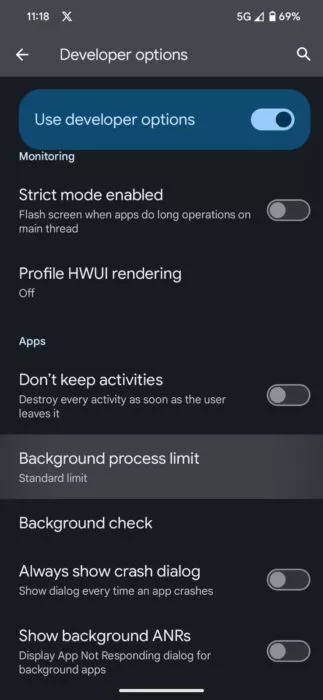
16. Don’t Keep Activities
For users with older devices struggling with performance and battery life, activating the “don’t keep activities” feature can be helpful. This setting terminates every app as soon as it’s exited, preventing background processes from persisting.
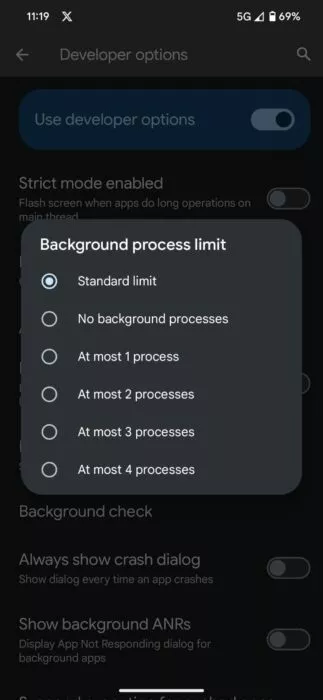
17. Background Process Limit
Similar to the “don’t keep activities” feature, this option enables users to set a limit on the number of background processes. To configure this setting:
- Navigate to the “Background Process Limit” within Developer Options.
- Choose the desired number of processes, ranging from one to the standard limit.
18. Force Split Screen Mode
Split screening two apps at the same time is a multitasker’s dream. Unfortunately, some apps like Instagram do not allow users to open it in split screen mode. This is where the “Force Split Screen Mode” feature comes in since it allows users to override these restrictions, enabling resizing for any app and facilitating multitasking.
19. Block All Sensor
It’s no secret that smartphones keep track of all our activities, including location and purchasing behavior. While apps primarily track these patterns for targeted advertising, threat actors have exploited this for unauthorized access. Therefore, Android provides privacy-conscious users with the option to block all sensors—such as cameras and microphones—using the “Block All Sensor Tile” feature.
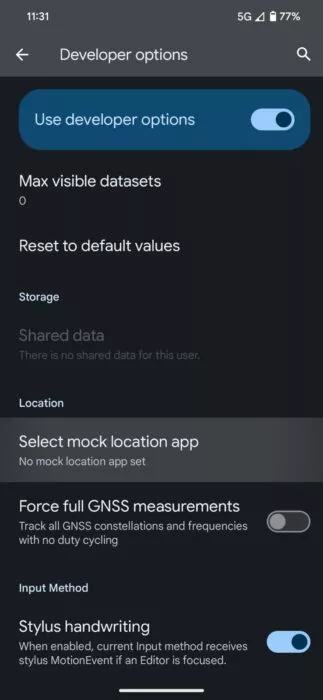
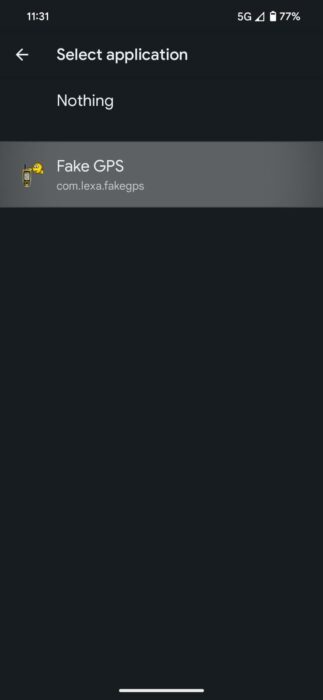
20. Select Mock Location App
Apps tracking our location is another one of those scenarios that threat actors can leverage to their advantage. This is where the select mock location app feature comes in since it allows users to install a mock location app, concealing their actual whereabouts and enhancing privacy.