How To Monitor Network Usage In Windows 10 And Save Your Data?
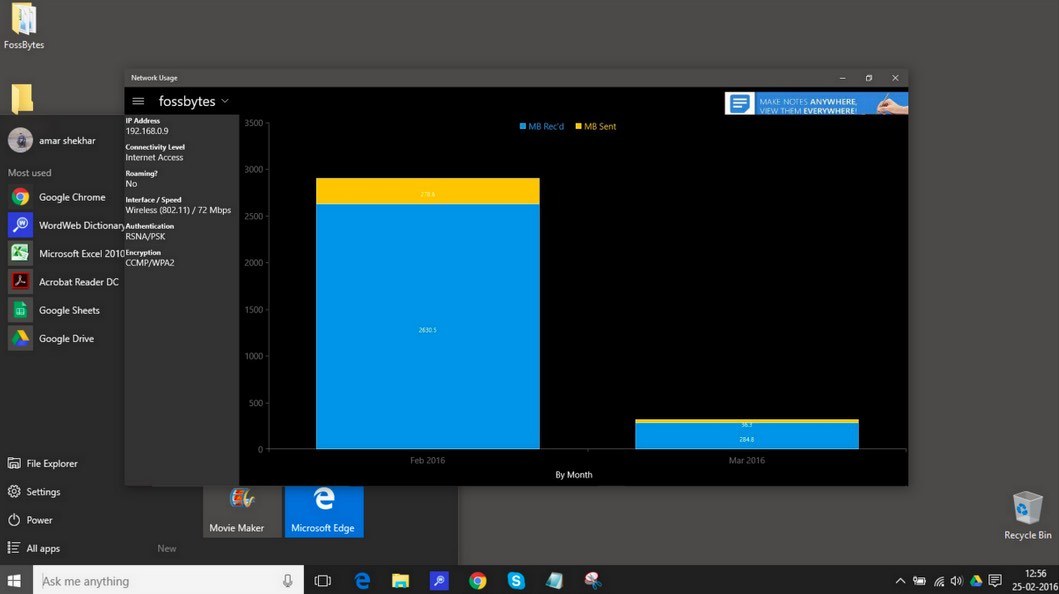
 Short Bytes: Using the Task Manager, it is not possible to monitor network usage in Windows 10 as it only shows the data usage by the Windows 10 core apps. Know about a different way to find data usage by the individual non-core apps in Windows 10.
Even though I have a fast data connection at my home, I am still very much conscious about my data usage. I feel lucky to have Windows 10 when it comes to monitoring my network usage and data usage.
So, I decided to write an article to tell you how to monitor the network usage in Windows 10.
How To Monitor Network Usage In Windows 10:
There are two ways to Monitor Network usage in Windows 10:
- Using free ‘Network Usage’ app in Windows 10
- Using Task Manager
So, let’s begin!
Monitor wifi data using free ‘Network Usage’ app in Windows 10:
- Search for ‘Network Usage’ in the Search bar in your Windows 10 at the bottom.
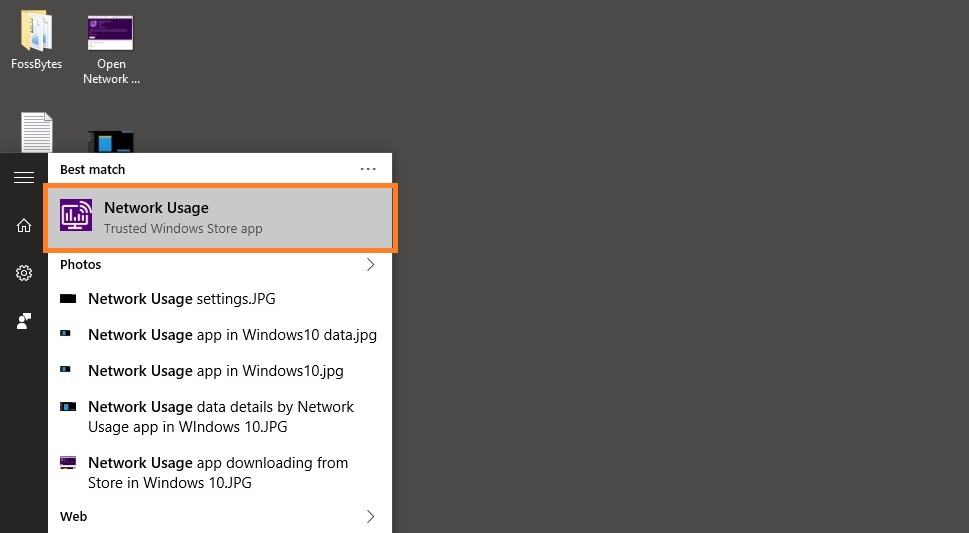
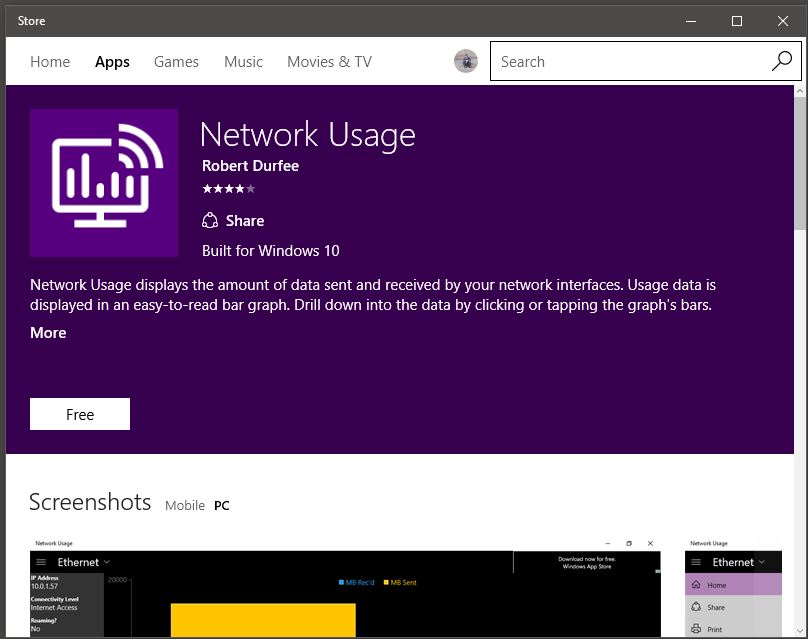
- Click on this app in the search result and Windows 10 will redirect you to the Windows store. You can download and install this app for free from the Windows store by clicking ‘Free’ as shown in the image below.
- Once you have installed this app, it will automatically open up and show your network usage in Windows 10 which looks something like this (as shown in the picture below)
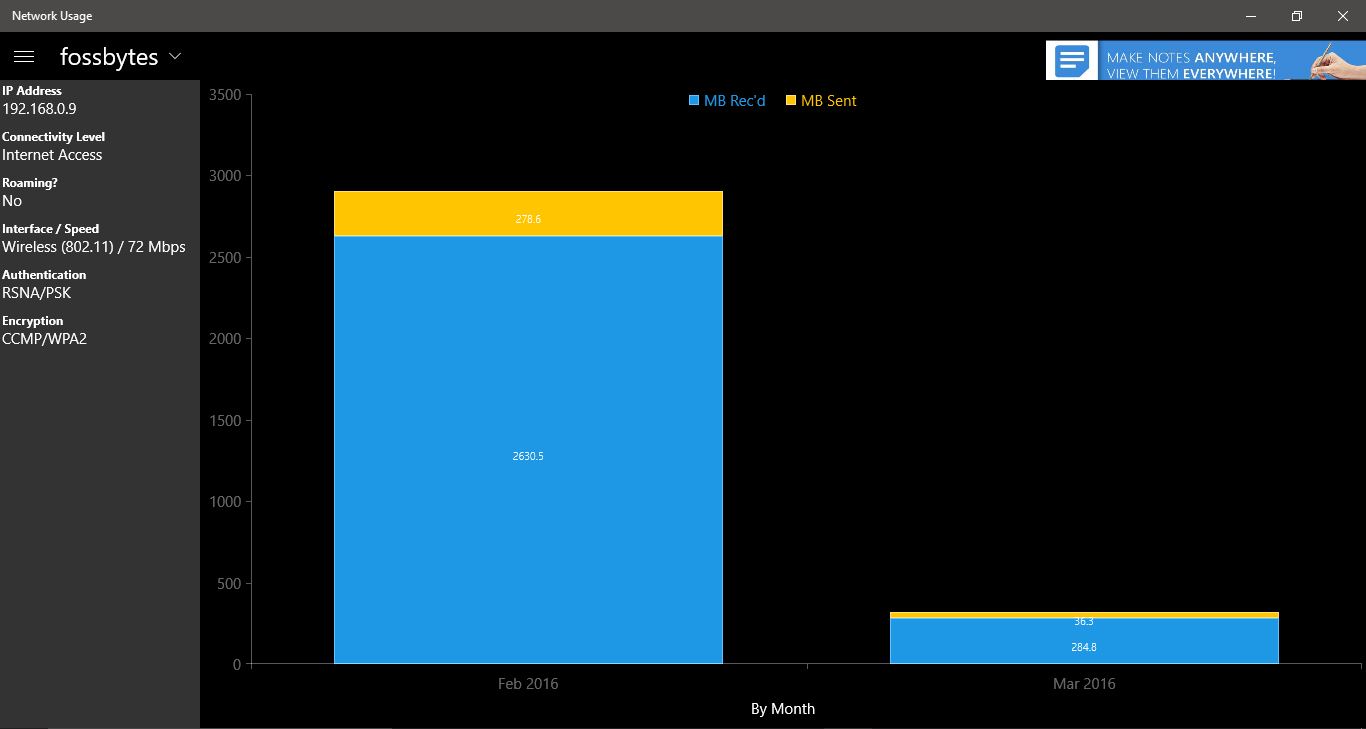
- As you can see above, at the top left corner we have our Wi-Fi connection named ‘fossBytes’ and its data usage over the last month and the current month by me. You can use the same drop down menu to change to any other connection if you use.
- In the settings, you can also change your data metric from MB to GB.
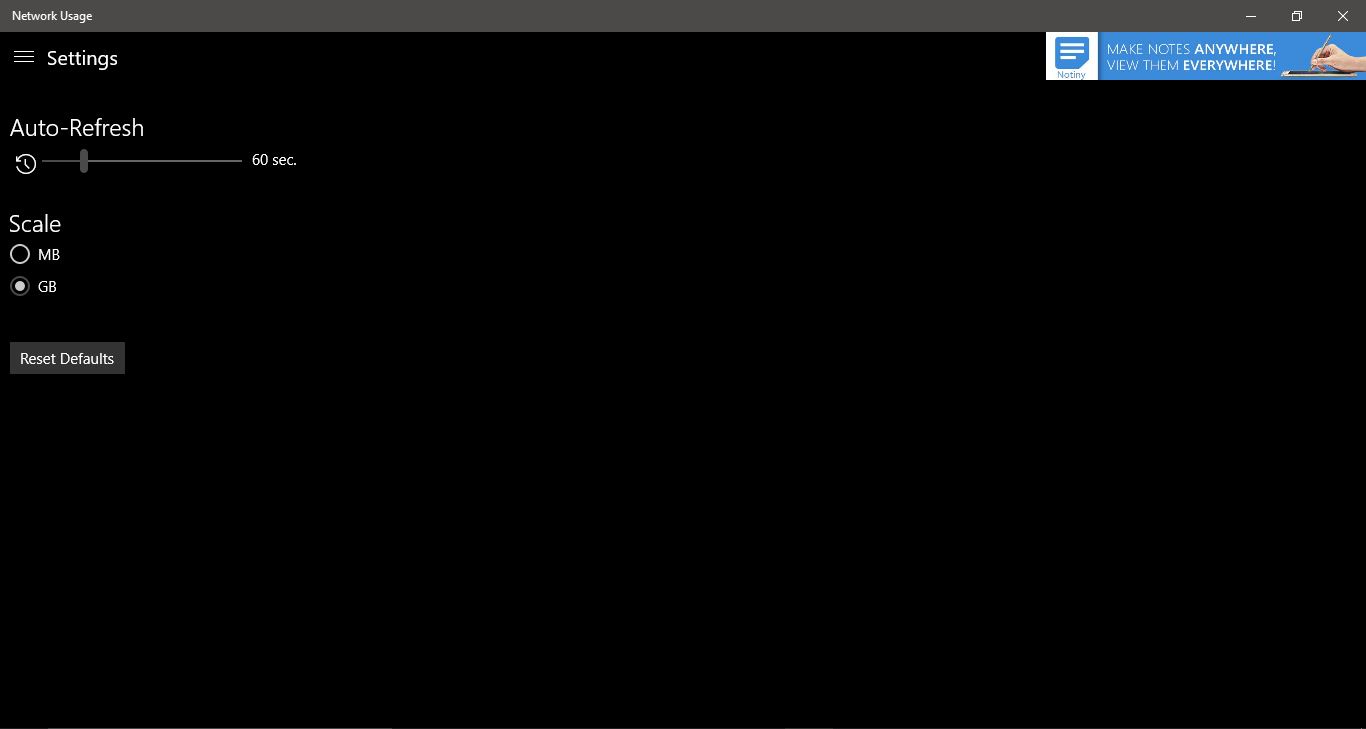
Well, this app is just a basic app and perfect for you if you do not want the granular report based on your individual app — you just want the data usage to know that how much internet data you used last month in GB (Upload + Download) so that you can pay your internet bills.
Now if you are someone who is more interested in knowing about the data usage by individual apps, then you should follow the steps below.
Also Read: How To Enable Windows 10 Fast Startup: The Ultimate Windows 10 Guide
How to check Network Usage in Windows 10 using Task Manager:
- To open the Network Usage in Task manager, Press Ctrl+Shift+Esc and your Task Manager will open. Or alternatively, you can also right-click on the taskbar and select Task Manager.
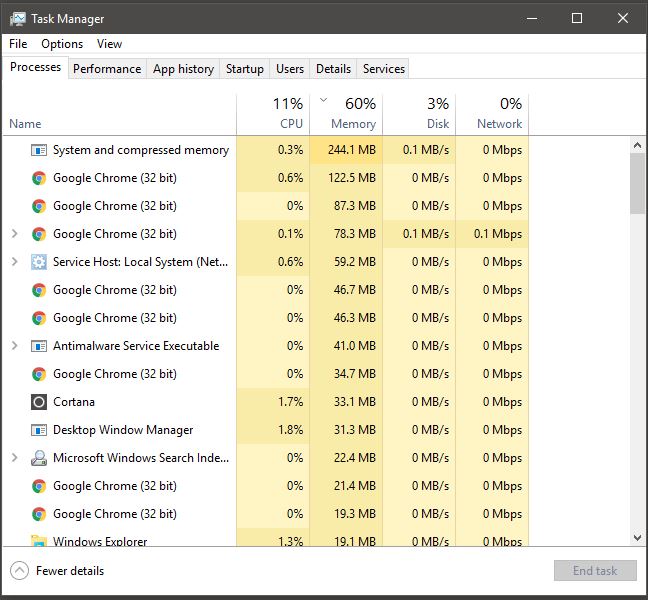
- Click on the App history tab above in the Task Manager
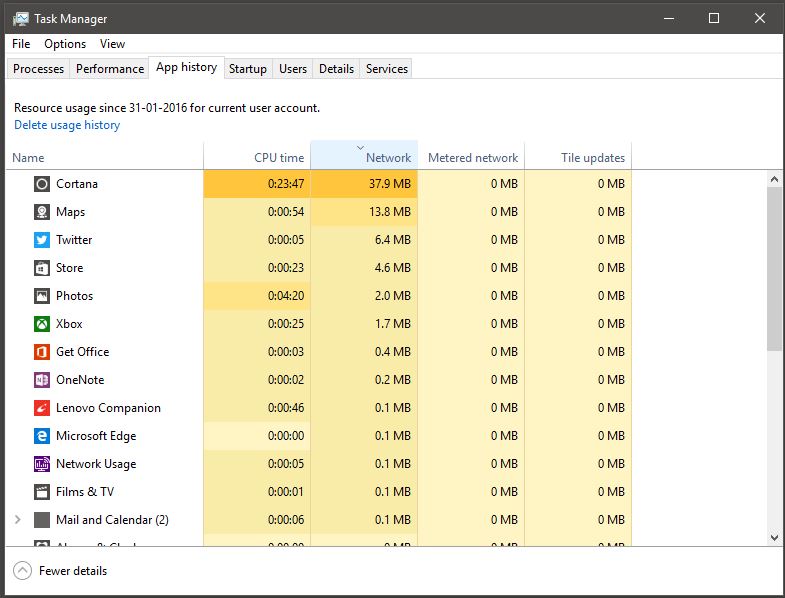
- You can also sort the apps data uses accordingly as Network, Metered network, CPU time etc. As you can see above.
But there is a hitch. You can only see the data uses by the core Windows apps in the Task manager. Where are other third party apps like Chrome, Skype etc? I don’t know why Microsoft has done this, this is surely irritating. But do not get disheartened, we have some more tips and tricks to find out the same. So let’s Continue…
- Go to the Windows 10 settings
- Select ‘Network and Internet‘ under the settings
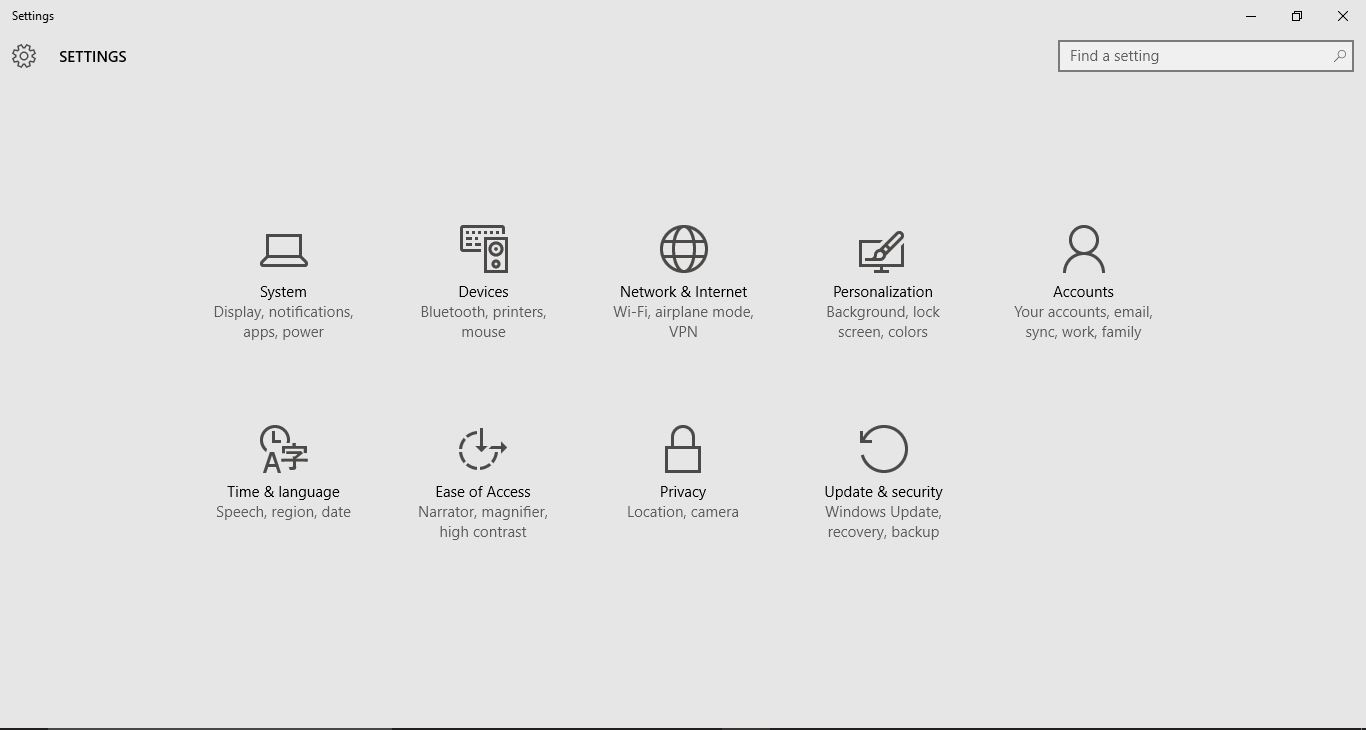
- Select Data Usage under the Network and Internet settings.
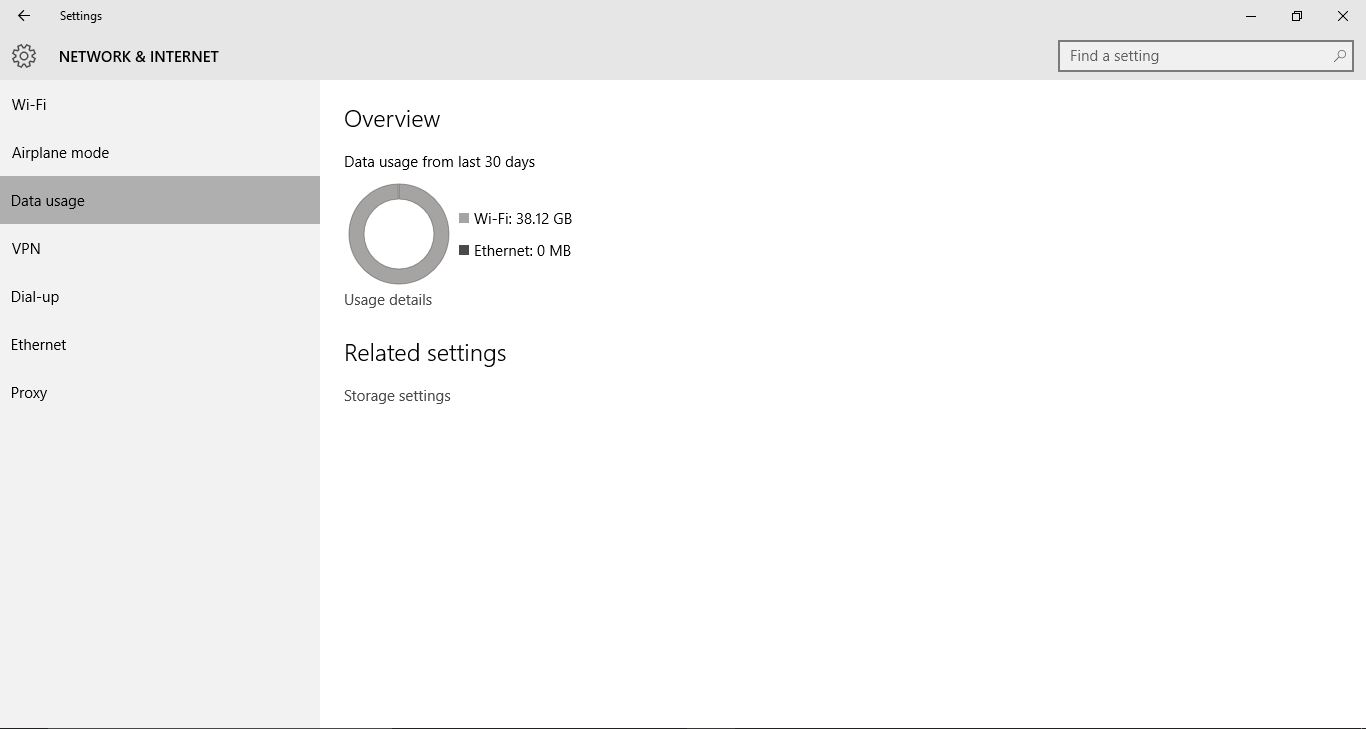
- Click on the Usage details under the Data Usage settings
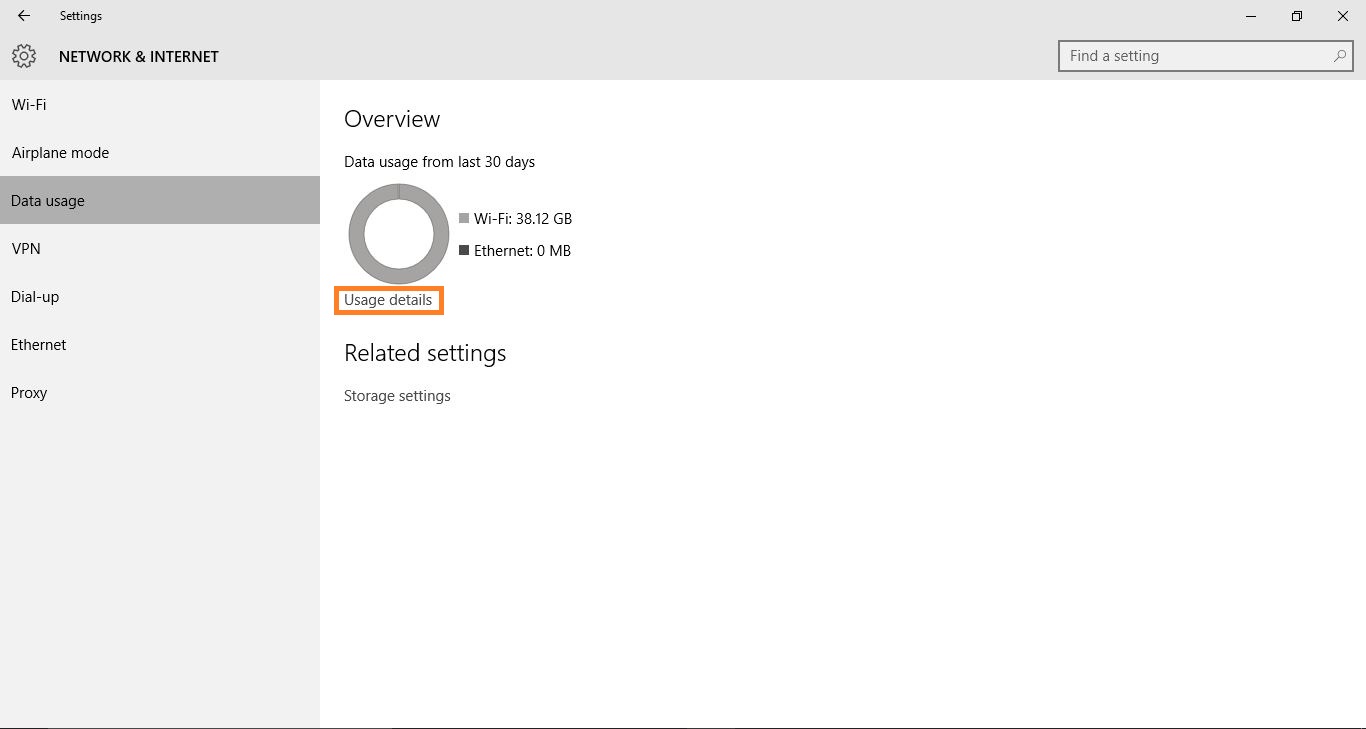
- Once you click on the Usage details, it will open up a new pop-up Windows where you can see Individual Non-core apps’ network usage in Windows 10.
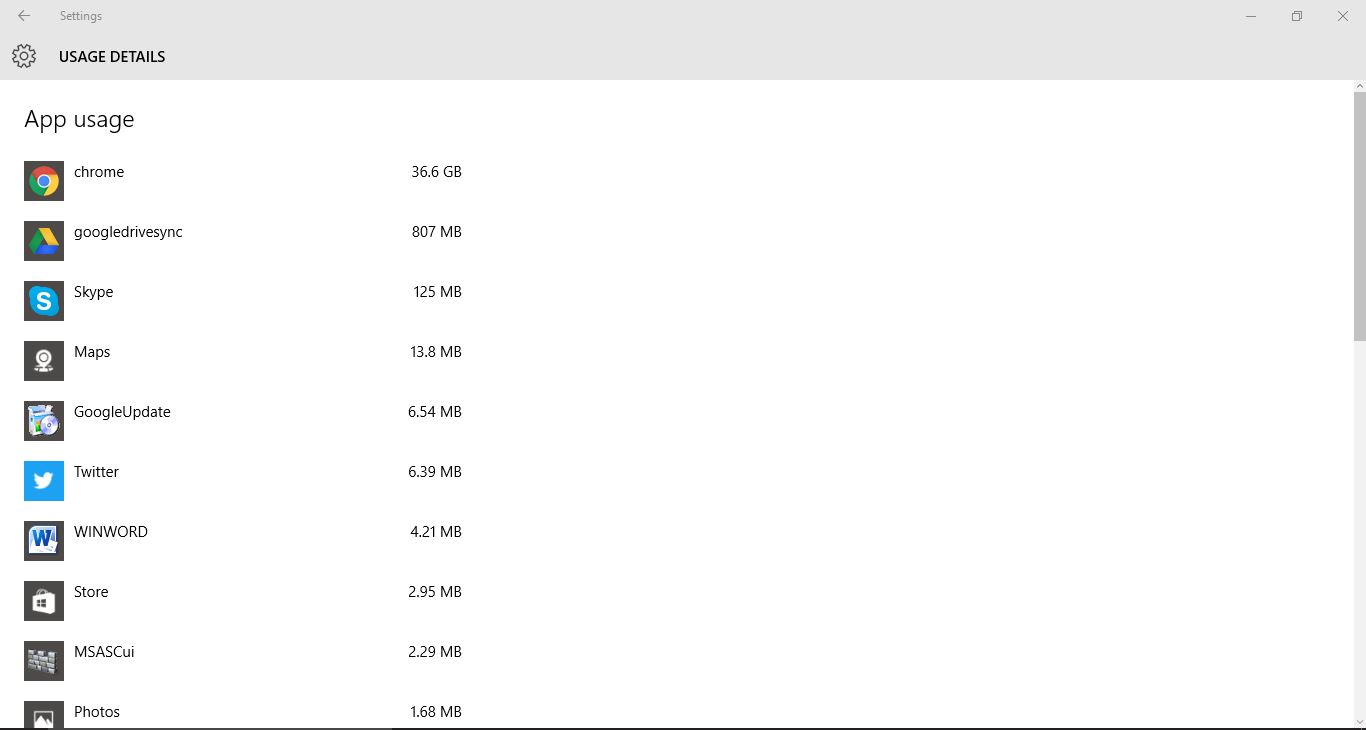
As you can see above in the Usage details that Chrome has used a whopping 36.6 GB of data on my Windows 10.
This way you can monitor the apps which are not necessary but still are consuming a lot of your data and the same applies for the data used by the core Windows 10 apps under the Task manager.
I hope this article was informative for you. If you know some other Windows 10 tricks related to network usage, you can write that down in the comment section below. Also, if you have any other doubt about Windows 10 or you want us to cover those topics, you can suggest the same in the comments below.
Also Read: Windows 10 CPU Temperature: Fix And Monitor The Heat Issue

