How to Make and Manage a Public Profile on Snapchat?

The short-form video format has taken the world by storm, thanks in part to TikTok. However, if you are a long-time social media user, you might remember that Snapchat first introduced this concept. Now, with renewed interest in the genre, creators have started posting content on multiple platforms. If you are one of these individuals looking to get started, you’ve come to the right place, as we will help you set up and manage a public profile.
Uses of a Public Profile
As mentioned above, a public profile is a gateway for creators to post content and grow their audience. However, you might wonder what sort of content you can post on Snapchat. In short, a lot. Firstly, users can post public stories, visible to their audience for 24 hours.
Additonally, if you have Snapchat+, you can not only post stories of varying durations ranging from an hour to a week but also use the story boost feature, which puts your story on top of everyone’s feed for a given time. Moreover, users also have the choice to display the best stories on their profiles permanently using the spotlight feature.
In addition, a user’s profile can include a subscription tier, business links, and links to their shopping store. Furthermore, they also have the option to post separate content for their subscribers and friends.
However, it is important to note that there are a couple of conditions you need to meet to be eligible for a public profile. You must be at least 18 years of age, and your Snapchat account must have been active for over 24 hours.
How to Create a Public Profile on Snapchat?
As long as you meet the requirements, creating a public profile on Snapchat is pretty straightforward. Here is how:
- Open the Snapchat app on your mobile device.
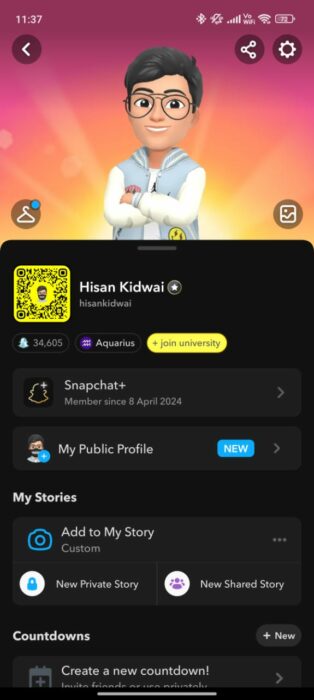
- Click on your profile at the top left.
- Scroll down and find the “My Public Profile” button.
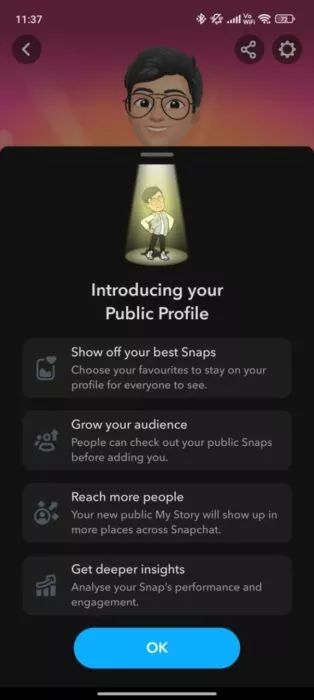
- Read the terms and click “OK.”
- That’s it. Now, you can start posting stories for your audience.
Manage your Profile
Now that you have created your public profile, it might seem a bit barebones since there is no content. Let’s start by adding a bio and location:
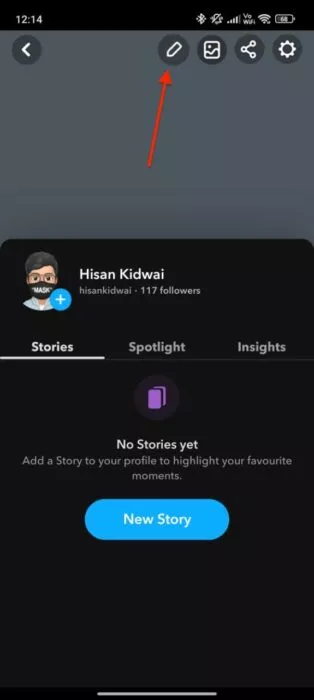
- Click on your profile at the top left.
- Click on “My Public Profile.”
- Click on the pencil icon at the top.
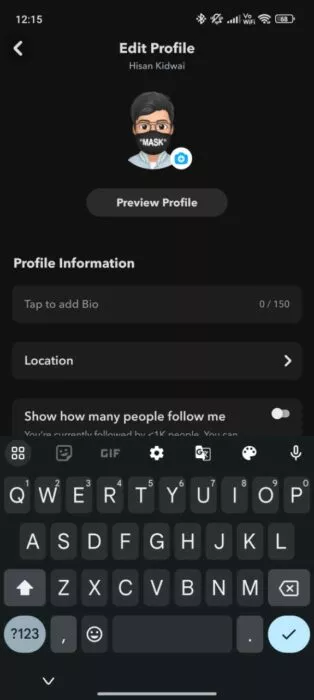
- Add your bio and location.
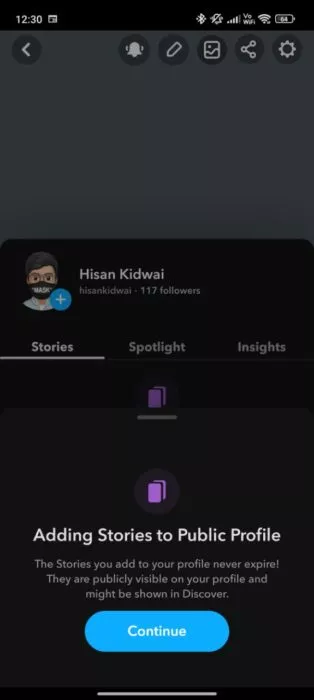
The next step in our journey is to add a public story. To do this:
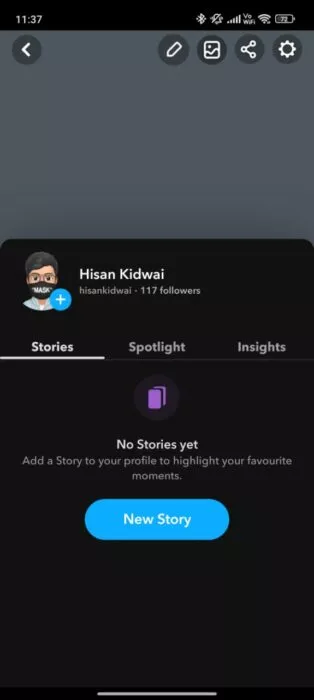
- Head back to the “My Public Profile” section.
- Click on “New Story” and then hit “Continue.”
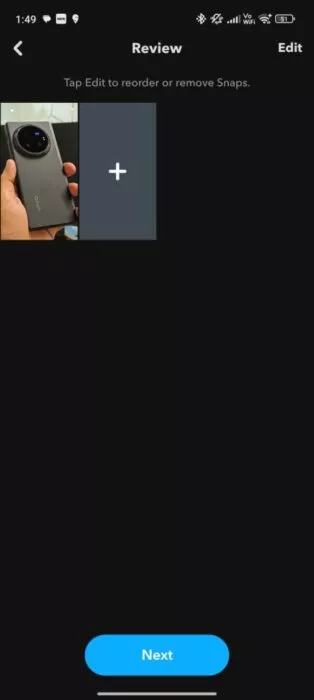
- Select your photos.
- Click on “Next.”
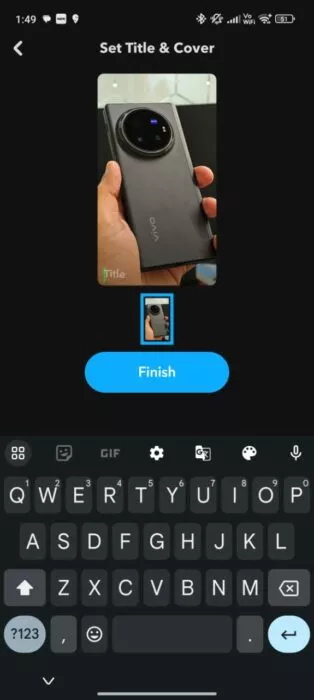
- Add a title.
- Click “Finish.”