Here’s How To Expand Your PS5 SSD Storage
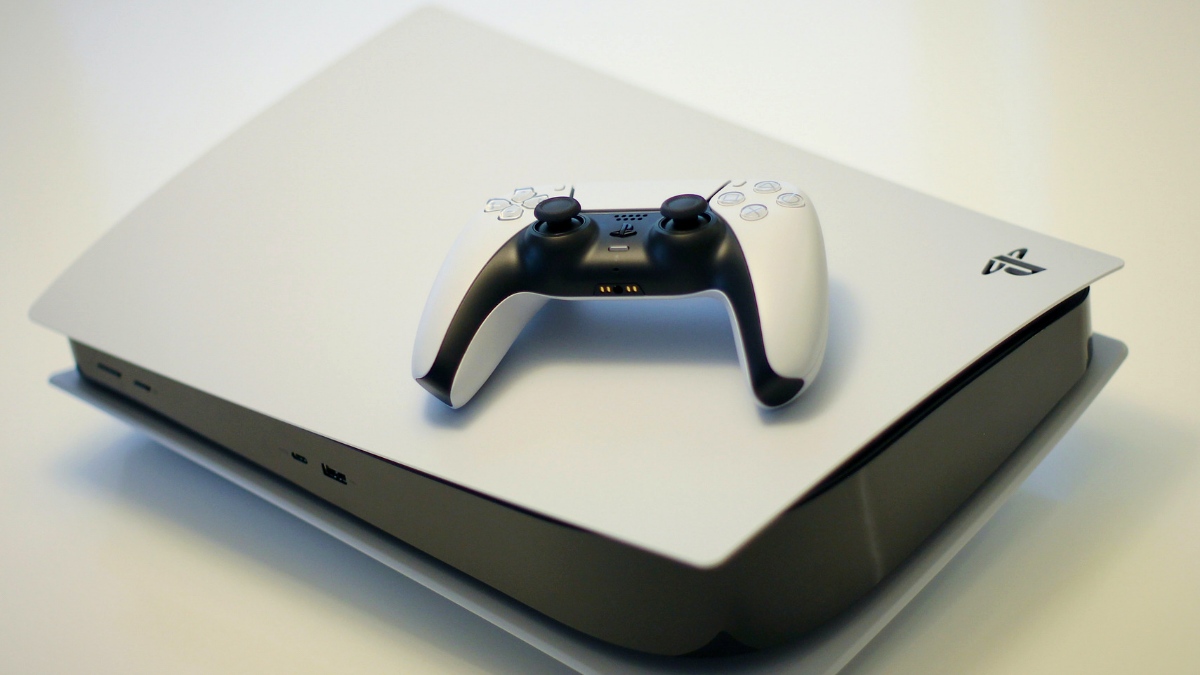
Clearly, it’s never enough for some users to have the bare minimum storage on their consoles. While we’re on the topic, Sony will soon allow users to add additional storage to their PS5. To be precise, PS5 will allow users to add another M.2 NVMe SSD to the next-gen console via an internal slot.
While the feature is now out in beta, it would be made available to a larger audience in the coming weeks. Furthermore, Sony’s approach to the expandable storage on the PS5 is more flexible, unlike Microsoft’s. With Microsoft’s Xbox, users can only expand the storage with a Seagate proprietary expansion card plugged in the console.
Although Sony’s method of expanding storage on PS5 allows more flexibility to users, there’s a catch. The options are constrained by a list of approved choices. With one being the 5.5 GB/s bandwidth. Meanwhile, this is to ensure that the SSD users choose the new PCle 4.0 SSDs that support the said bandwidth, which Samsung and Western Digital are already manufacturing.
Before moving on to how you can expand the SSD storage on your PS5, a few pointers to know, in case, you don’t.
PS5 M.2 SSD requirements
The below-described requirements for an M.2 SSD for PS5 are prescribed by Sony.
Interface: PCIe Gen4 x4 M.2 NVMe SSD
Capacity: 250GB – 4TB
Cooling structure: Using an M.2 SSD with your PS5 console requires effective heat dissipation with a cooling structure, such as a heatsink. You can attach one to your M.2 SSD yourself, either in a single-sided format or double-sided format. There are also M.2 SSDs that have cooling structures (such as heatsinks) built-in.
Sequential read speed: 5,500MB/s or faster is recommended
Module width: 22mm width (25mm width is not supported)
Form Factor: M.2 type 2230, 2242, 2260, 2280 and 22110.
These numbers can be found on retail listings for M.2 SSD devices. The first two digits refer to the width, the remaining digits to the length.
Socket type: Socket 3 (Key M)
Total size including cooling structure:
In millimeters: smaller than 110mm (L) x 25mm (W) x 11.25mm (H).
In inches: smaller than 4.33in (L) x 0.984 in (W) x 0.442in (H).
Length: The following M.2 SSD lengths are compatible with PS5 consoles: 30mm, 42mm, 60mm, 80mm, 110mm (corresponding to the form factor type, per above).
Width: A 22mm-wide M.2 SSD module is required. The total structure (including an added cooling structure) cannot exceed 25mm (0.984in).
Height: The total height of the M.2 SSD and its cooling structure (such as a heatsink) – whether built-in or separate – must be less than 11.25mm (0.442in).
The height must also be in the right place, in relation to the M.2 SSD’s circuit board:
- The size below the board must be less than 2.45mm (0.096in).
- The total size above the board must be less than 8mm (0.314in).
(Note: millimeter measurements are the technical standard and are more precise than inches. We recommend double-checking that the total dimensions of M.2 SSD and heatsink products you’re considering meet the millimeter requirements before purchasing).
How to install an M.2 SSD in PS5
Before proceeding to install the SSD to expand the PS5’s storage, ensure that you’ve updated the system because this feature is only available in beta as of now. Make sure that the latest beta release is installed on your PS5 before expanding your PS5’s storage.
Now, follow these steps to install the M.2 SSD in PS5.
1. Turn off the system and unplug it completely. If the system was running, wait for it to cool down.
2. Now, position the console so that the screw hole base is facing you and the power button is to your left.
3. After ensuring the position is correct, take off the outside panel by gently pulling the cover-up, and towards yourself, you’ll hear a click sound.
4. The SSD slot is below the fan, remove the screws and adjust the spacer based on the SSD you will use.
5. Now, insert the SSD diagonally while adjusting the notch with the connector.
6. Firmly insert the drive inside and tighten the screw on the other end of the SSD.
7. Finally, put everything back in place and pop the cover back on.
Additionally, just like any other drive, you’ll have to format the drive on system startup. Furthermore, in the settings menu, you’ll see the ‘installation location’ in the storage section. Choose the location to install games directly to the installed M.2 SSD. Afterward, you can also move your games on the newly installed M.2 SSD from either the internal storage or any external one.