How To Set Up A Remote Game Streaming Server using Moonlight?
When game streaming platforms like Stadia first launched, they promised a future where people wouldn’t need to invest in a gaming laptop or console and could enjoy games anywhere. While many of these platforms failed miserably, the concept of gaming from any location persisted and gave rise to devices like the PS Portal. However, rather than purchasing devices like the PS Portal, you have the option to create your game streaming server using services like NordVPN, Sunshine, and Moonlight. Here’s a step-by-step guide on how to do it.
Why choose a personal gaming server?
While streaming platforms eliminate the need for owning a computer, they come with their set of challenges, including game restrictions, resolution limitations, and subscription costs. On the other hand, a personal gaming server offers users the freedom to choose their preferred games, customize settings, and avoid monthly fees.
Sunshine, an open-source, self-hosted software compatible with Windows, macOS, and various Linux distributions, is at the heart of our gaming server setup. In simple terms, Sunshine transforms your PC/laptop into a game-streaming server, supporting NVIDIA, AMD, and Intel GPUs. However, the service lacks some mainstream features, such as an automatic game list.
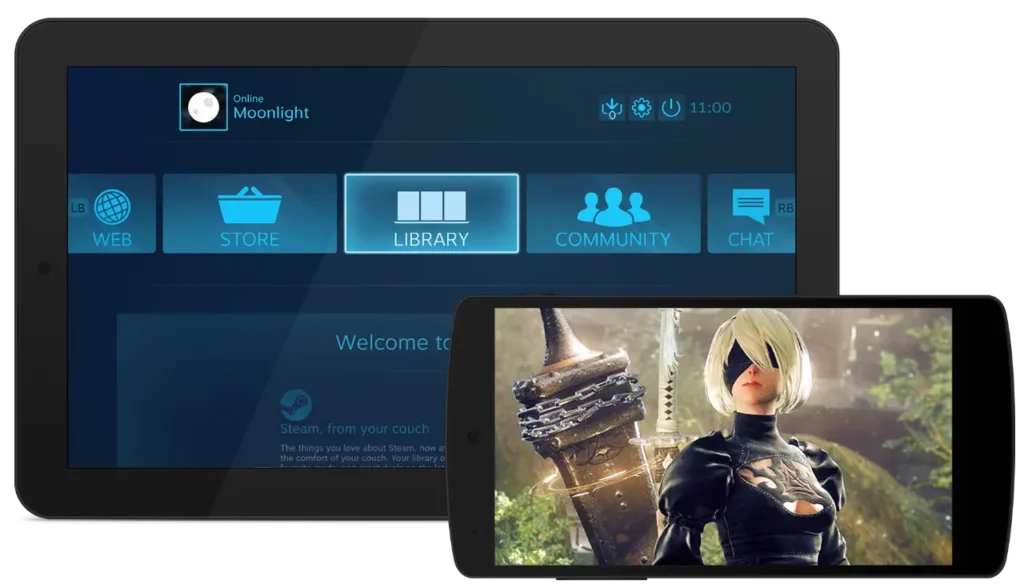
Once your system is transformed into a gaming server, the next step in this journey is Moonlight, an open-source streaming client. Moonlight enables users to adjust their resolution and bitrate, optimizing the gaming experience based on their specific setup. Additionally, the software’s availability on almost all platforms ensures users can even game on their MacBooks.
What is the use of NordVPN?
As mentioned earlier, while you set up a game streaming server using Sunshine and Moonlight, one can only access it from within a LAN. However, this is where NordVPN Meshnet comes in, as it enables users to access devices globally by establishing direct connections between them. Whether you are on the move or at home, this feature lets you enjoy your favorite games from any compatible device.
Set up a Gaming Server
Before delving into the process, ensure your gaming server PC meets the minimum/4K system requirements [link]. We’ll be setting up the media server on a Windows machine while streaming on a MacBook, so keep in mind that certain steps might vary for other operating systems.
Step 1: Install Sunshine
- Visit Sunshine’s GitHub page [here] and download the application.
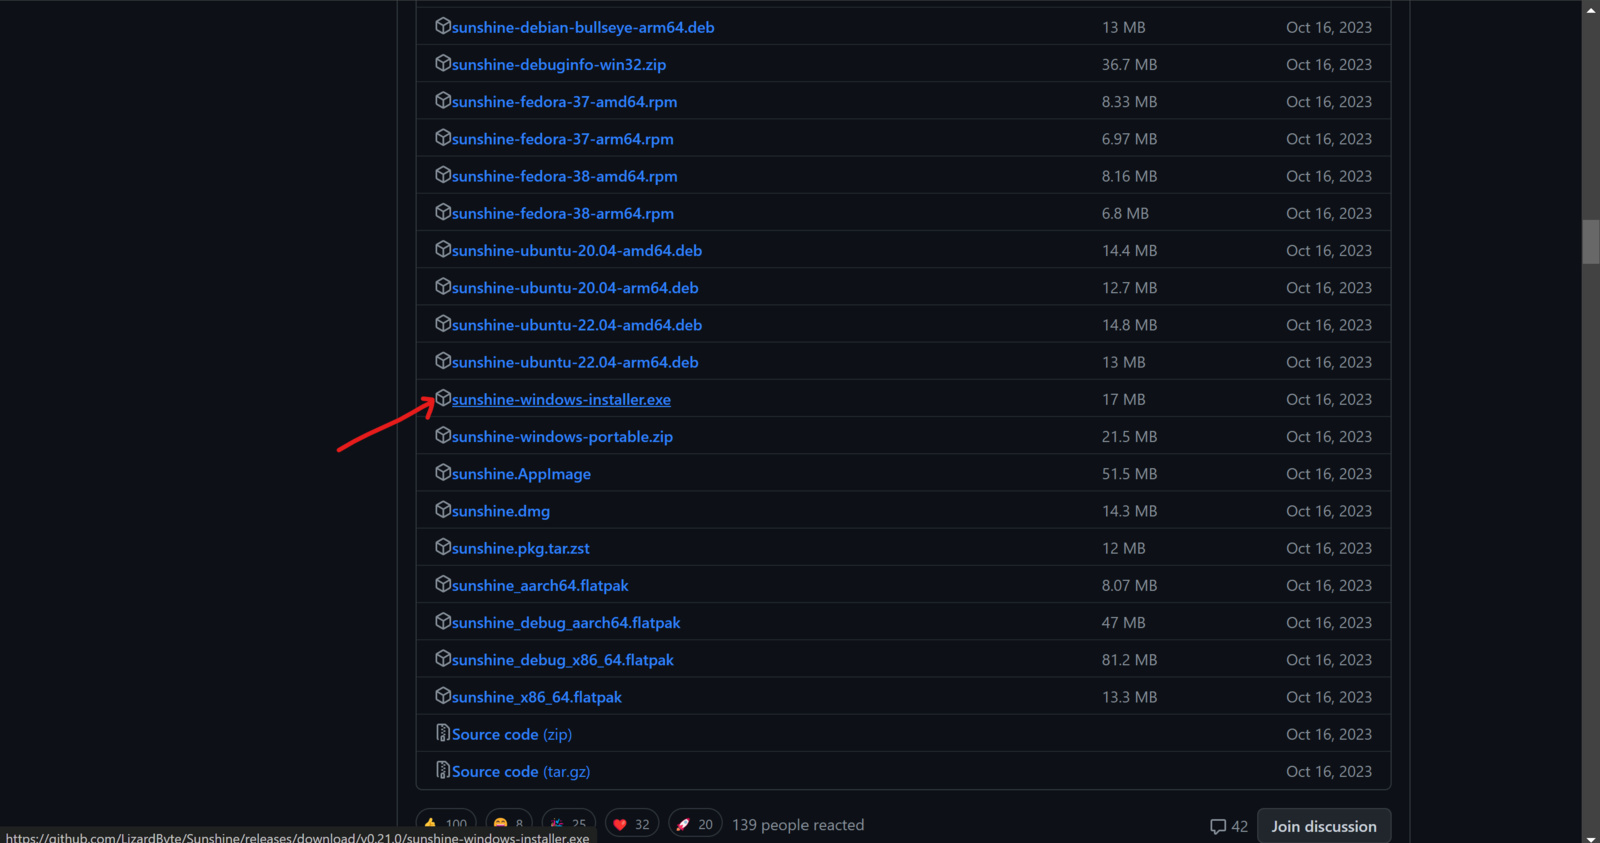
- Open the downloaded file and follow the on-screen instructions to complete the installation.
- Click “Finish.”
Step 2: Configuring Sunshine
- Launch the Sunshine client; it will open a URL.
- Enter your preferred username and password.
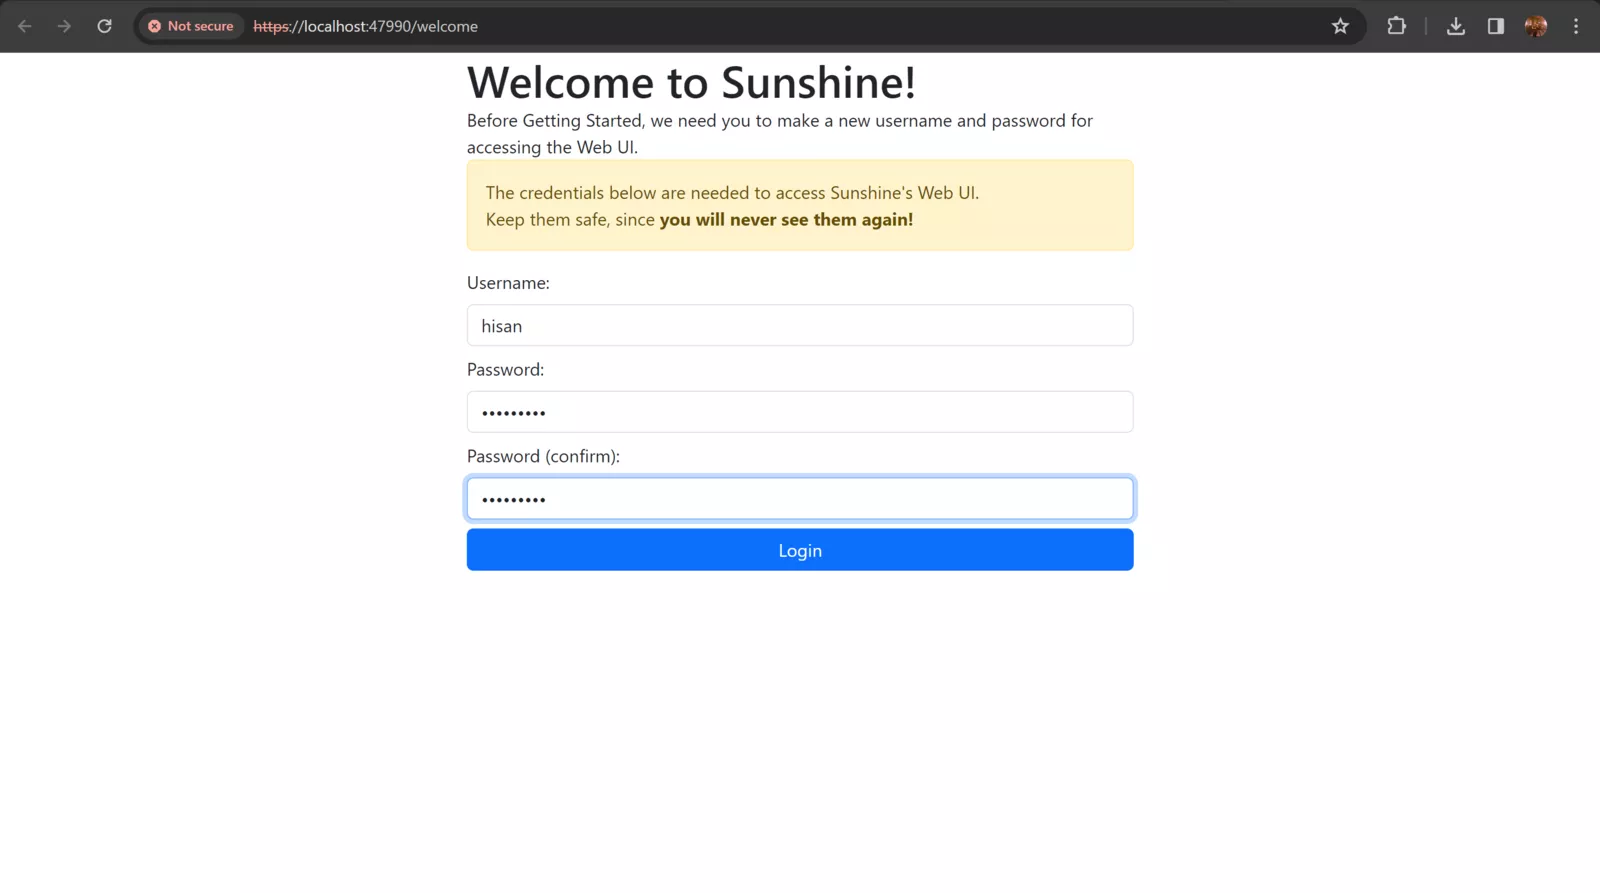
- Log in to the service using your credentials.
Step 3: Import Games
- Navigate to the Applications section.

- Click on the “Add New” button.
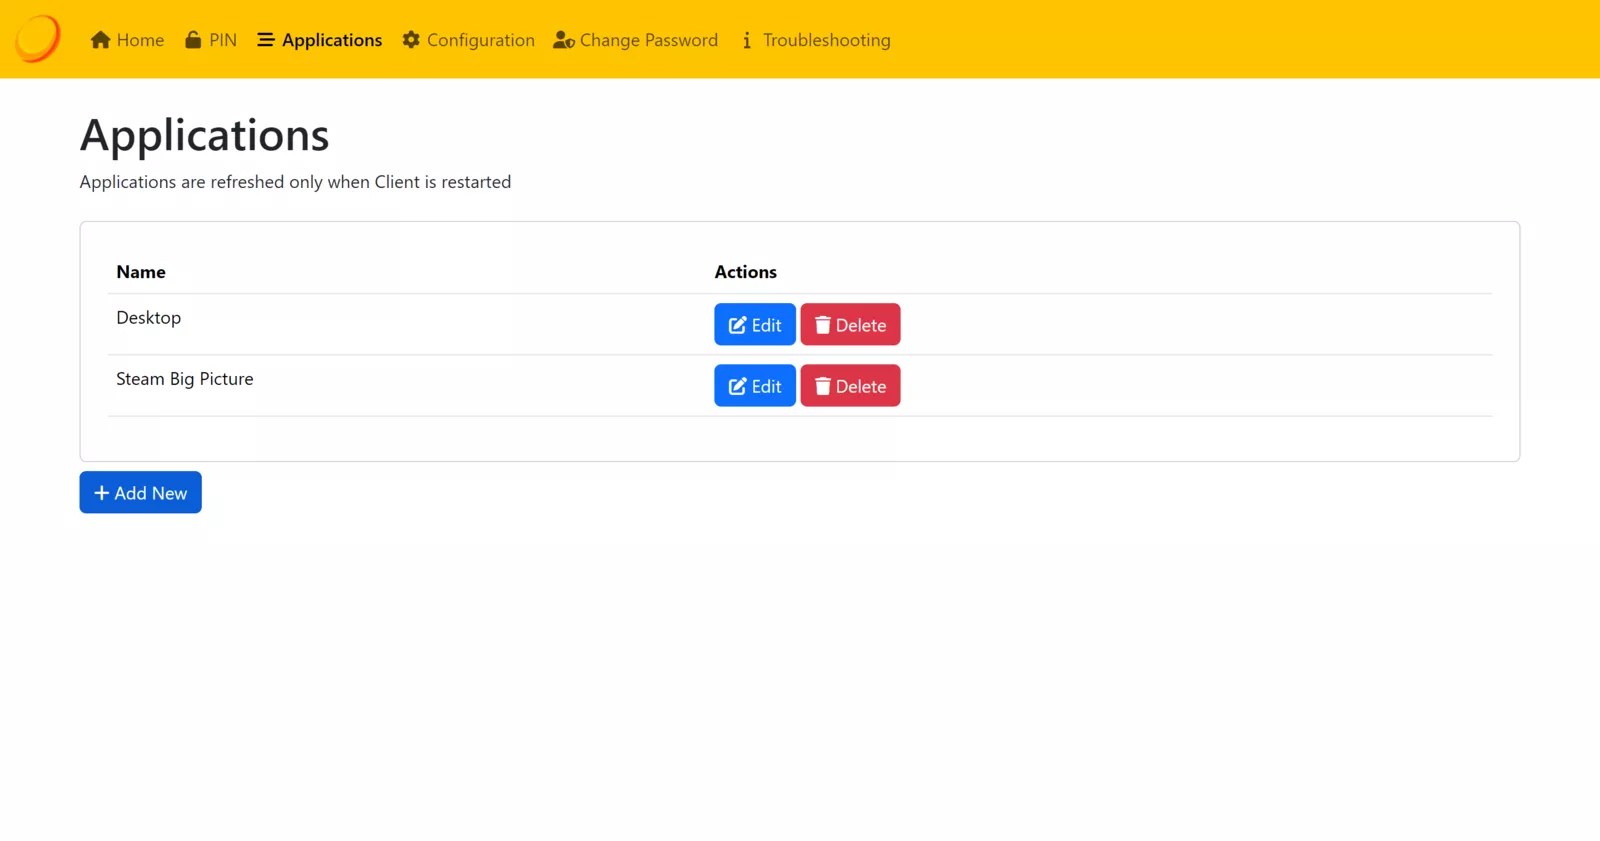
- In the name field, enter the game’s name.
- In the command field, input “cmd /c <file_name.exe> “ for Windows or “<file_name>“ for macOS/Linux to initialize the game’s executable file.
- Copy the path of the game folder from your PC and paste it into the working directory.
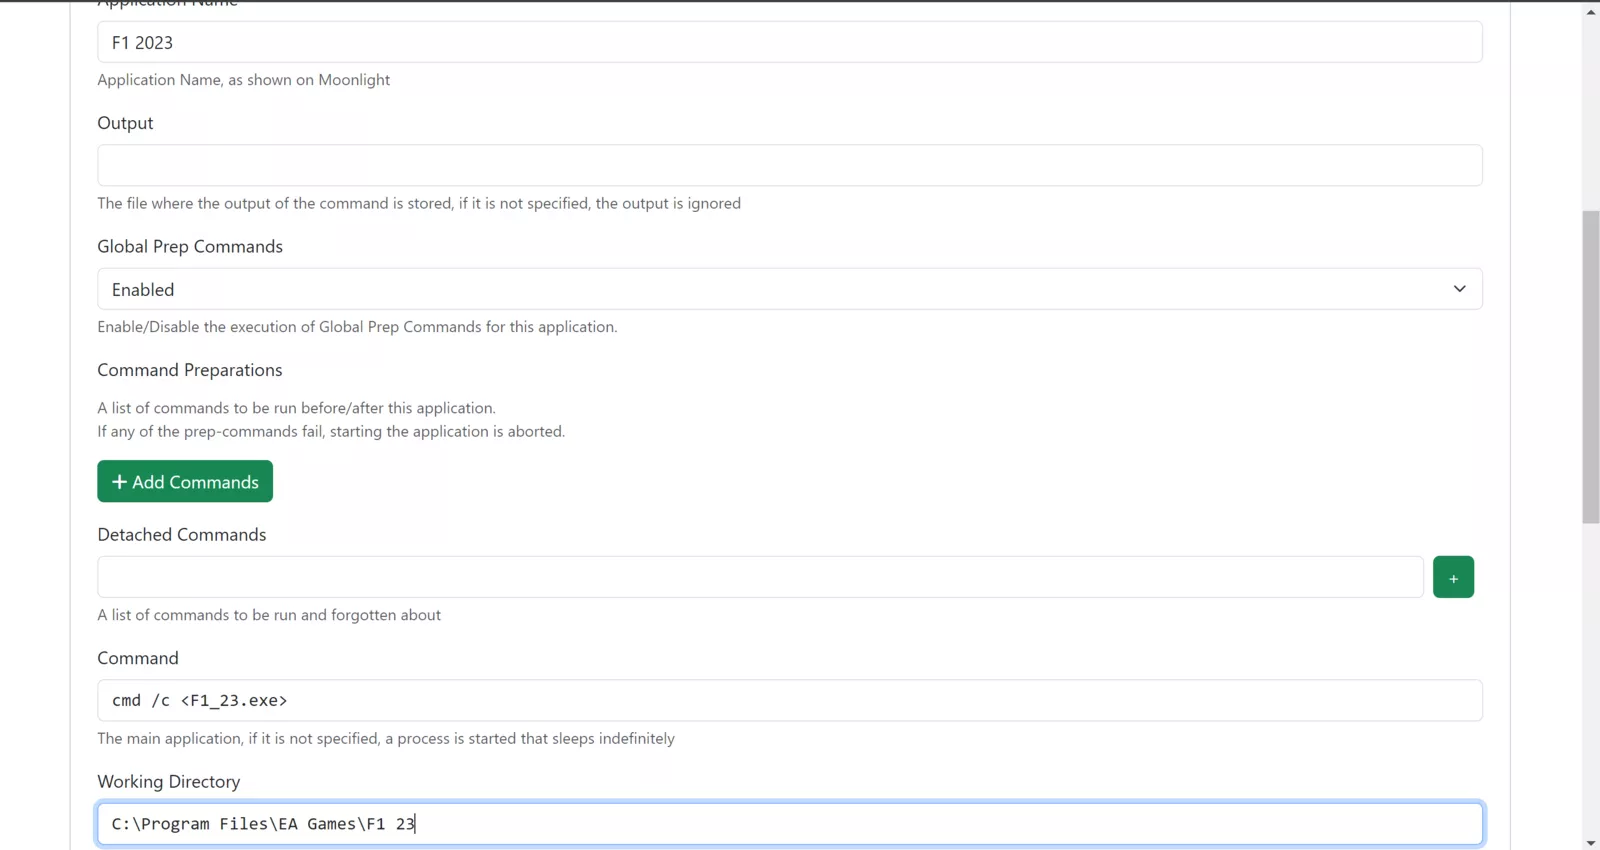
- Click “Save.”
Step 4: Install Moonlight
Now that your gaming server is operational, let’s install Moonlight on the other device:
- Visit Moonlight’s GitHub page [here] if you’re installing it on another computer. Alternatively, install the iOS and Android apps.
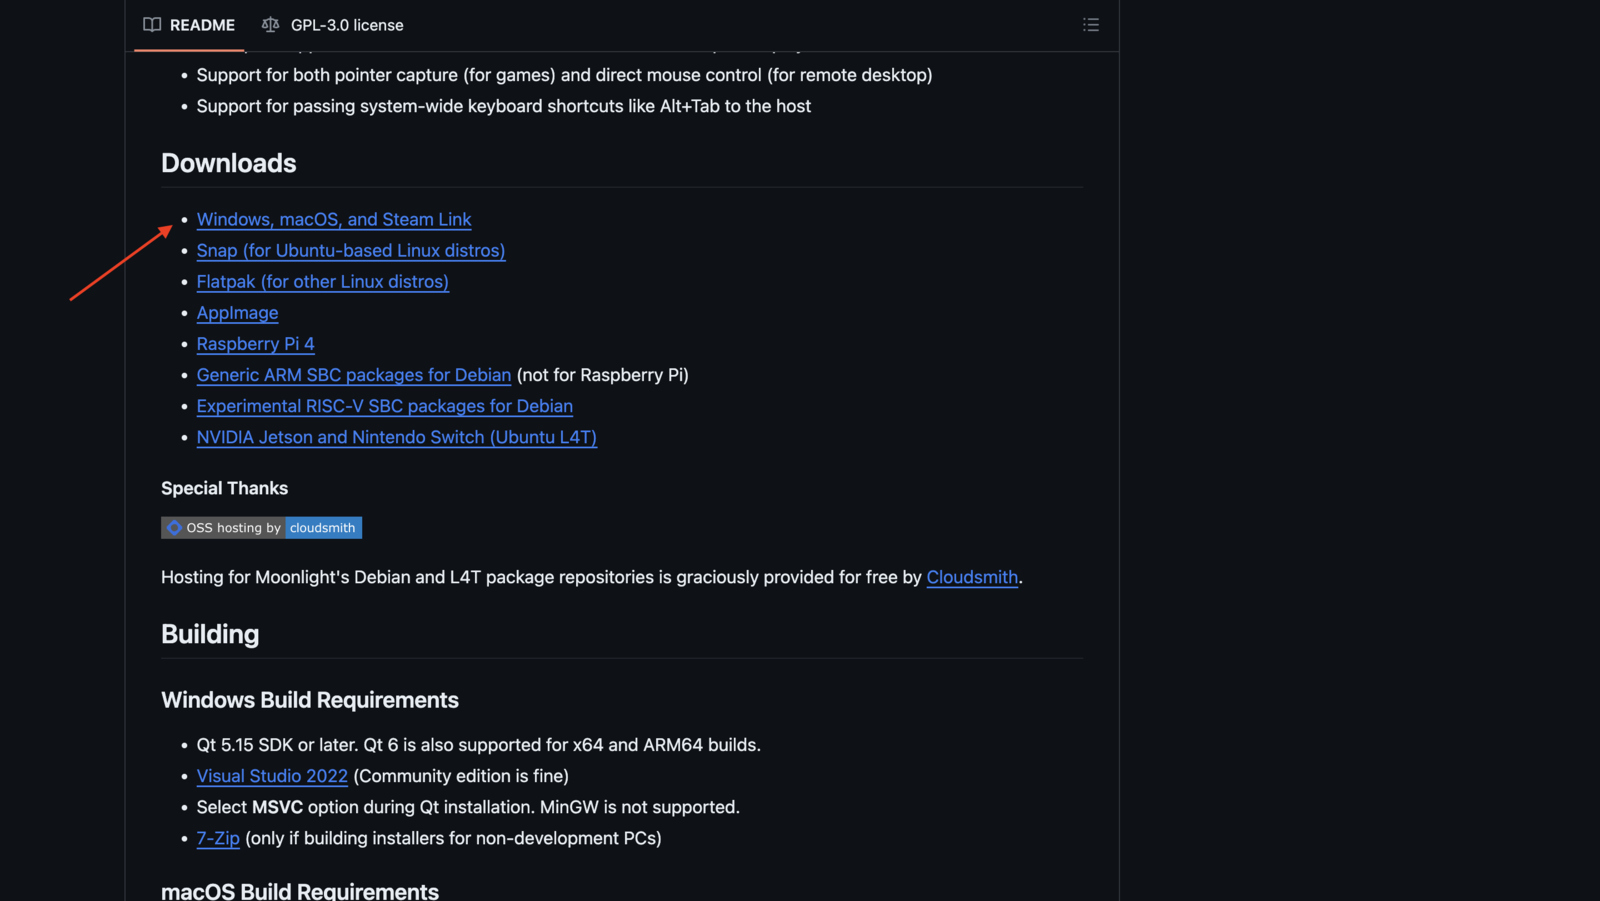
- Complete the installation process.
Step 5: Connect both devices
- Install and open the NordVPN application on both devices.
- Go to the Meshnet section on your server and client PC and toggle it on.
- Copy your server’s Nord name.
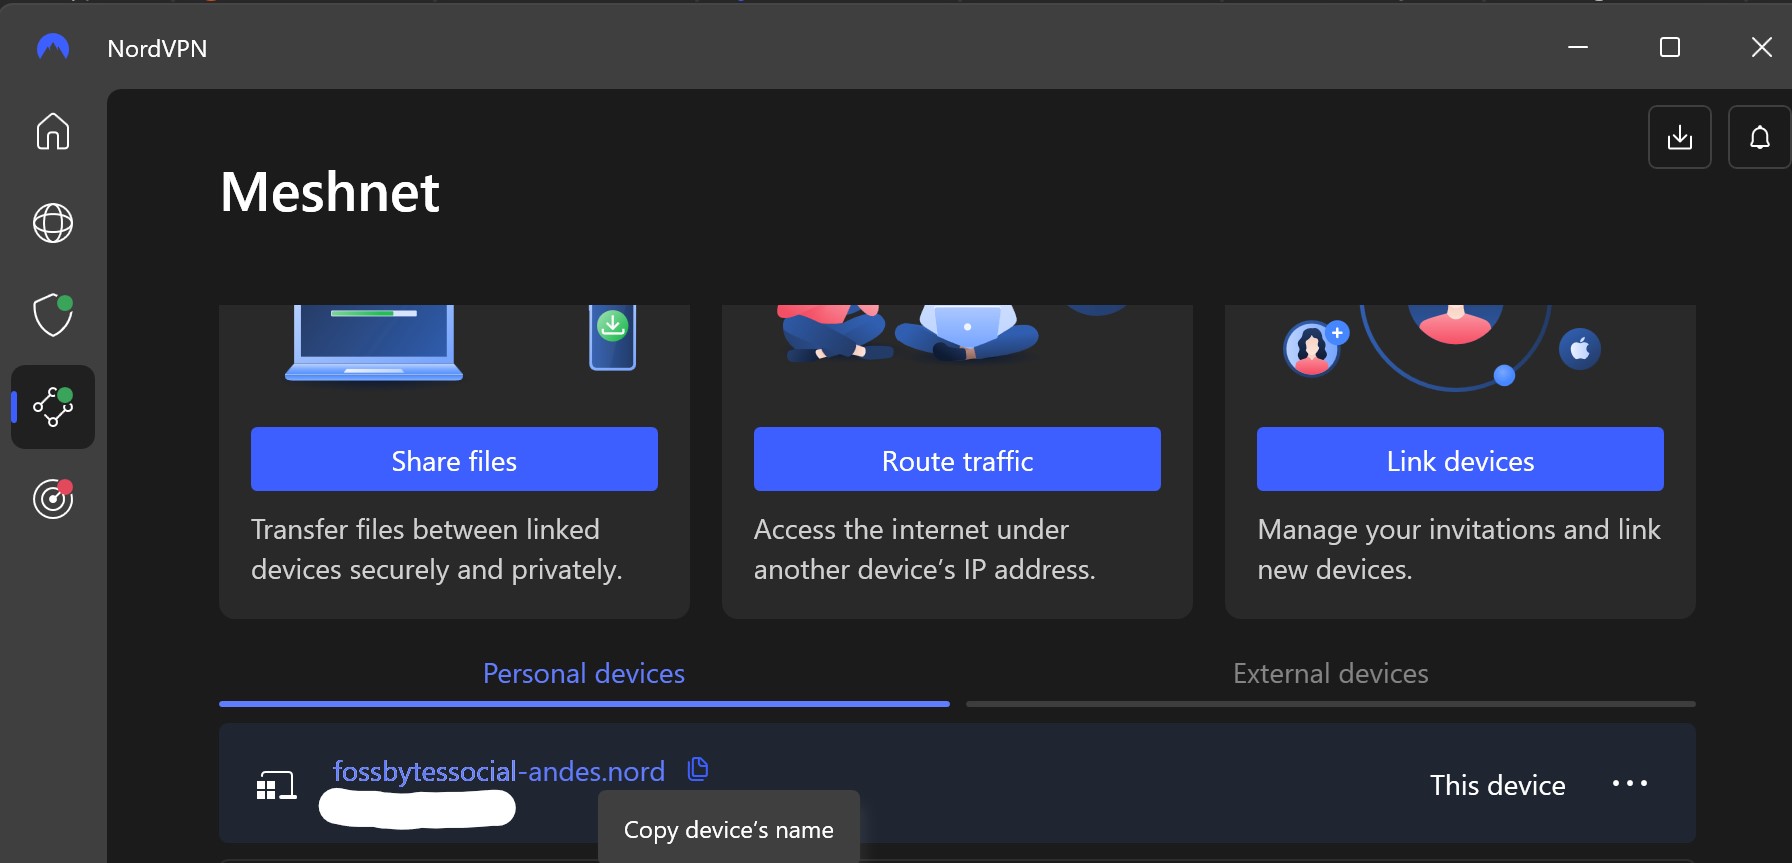
- Open Moonlight on your client machine, click on the computer icon in the top right and paste the server’s Nord name.
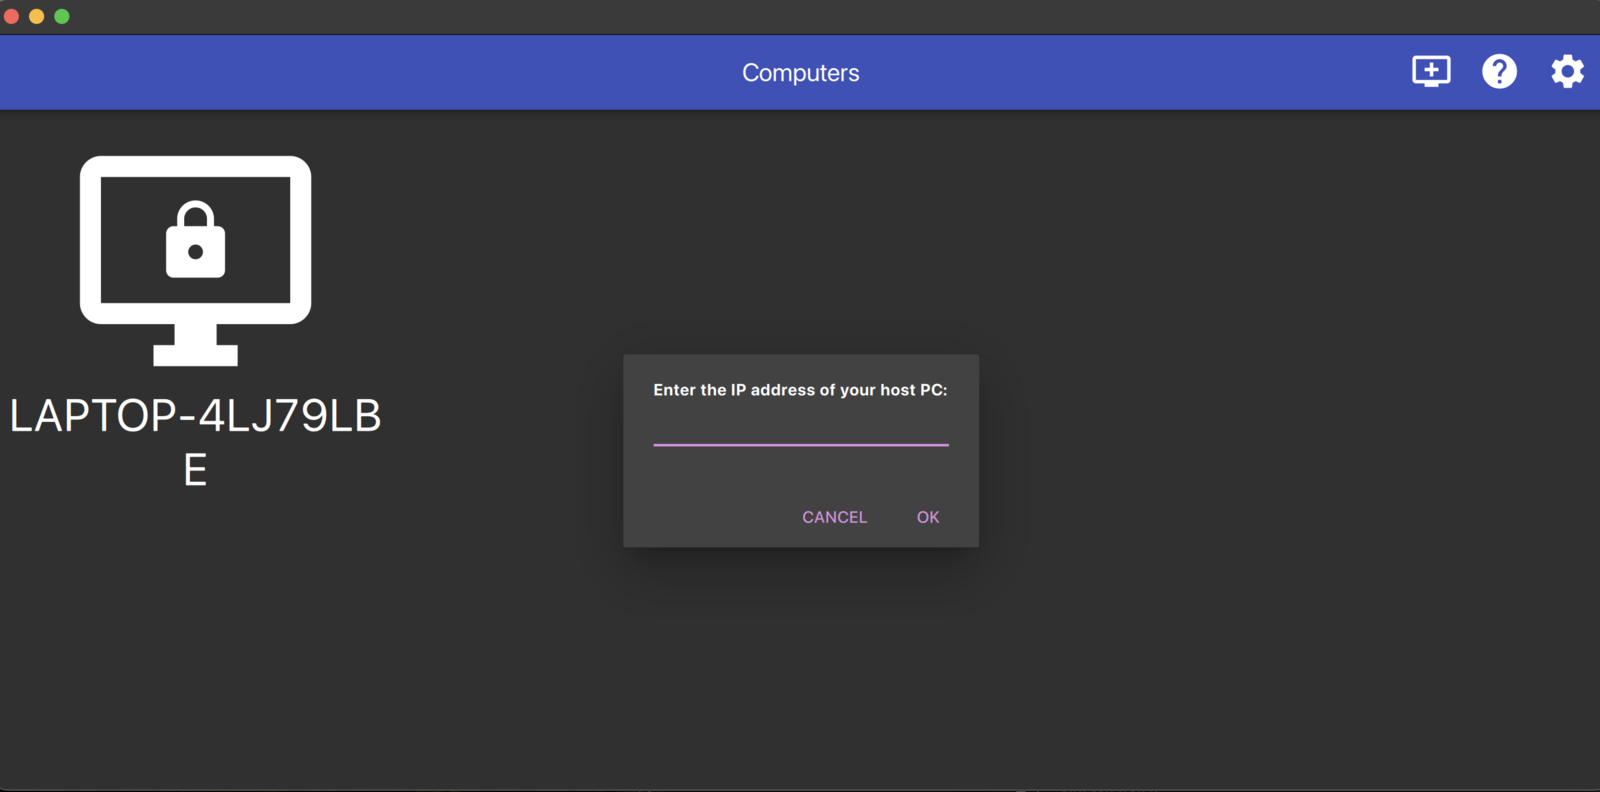
- Click “OK.”
- Click on the PC icon to obtain a PIN code.
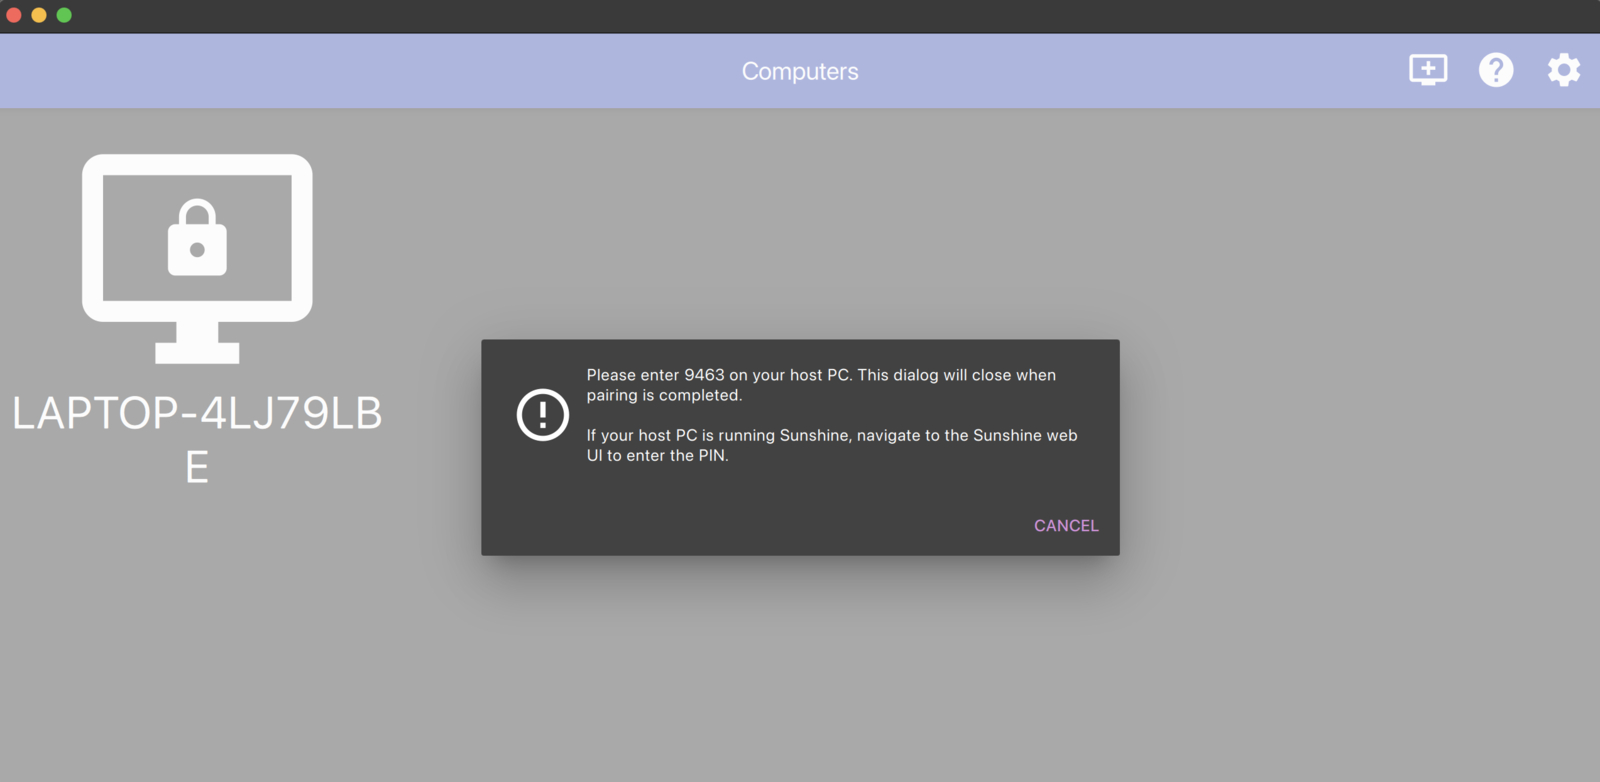
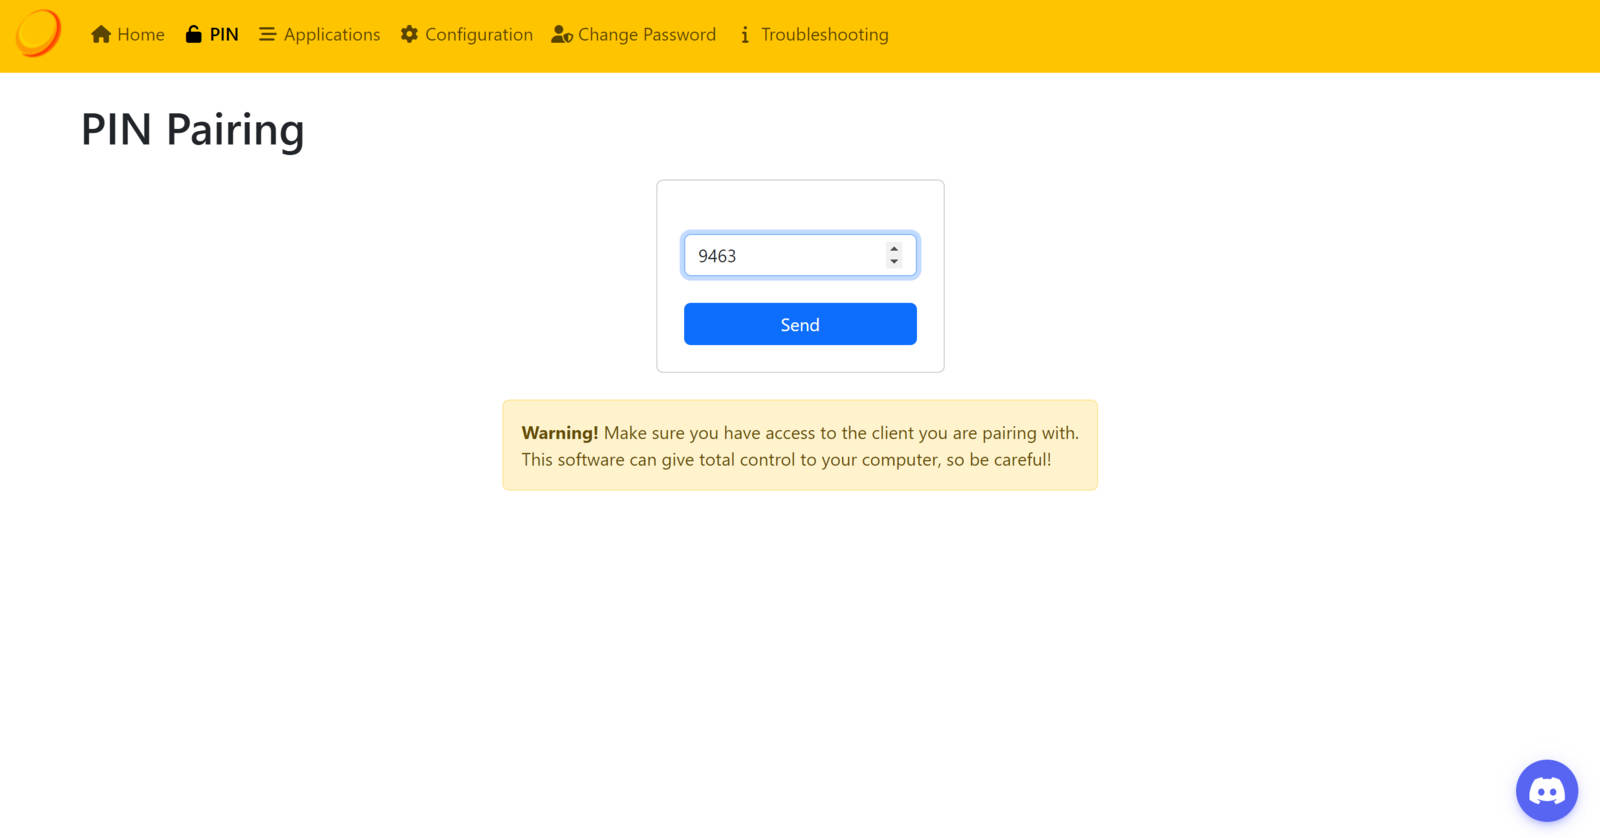
- On the gaming server machine, open the Sunshine client, click on the PIN icon on top, and enter the PIN.
Step 6: Play Games
- On your client device, select the Sunshine PC.
- Choose the game you want to play.
However, it is important to note that the gaming experience will depend on the strength of your Wi-Fi.

