How To Rename A File In Chromebook?

Have you switched to a Chromebook from Windows recently? One of the things that you might want to relearn then is renaming a file. In this article, let’s look at how to rename a file in Chromebook.
Renaming the files on your Chromebook is a pretty straightforward process. If you’ve renamed the files on Windows, renaming the files on Chromebook will be a breeze. The process is a little different from Windows’s, but it’s simple nonetheless.
How do I rename a file on a Chromebook?

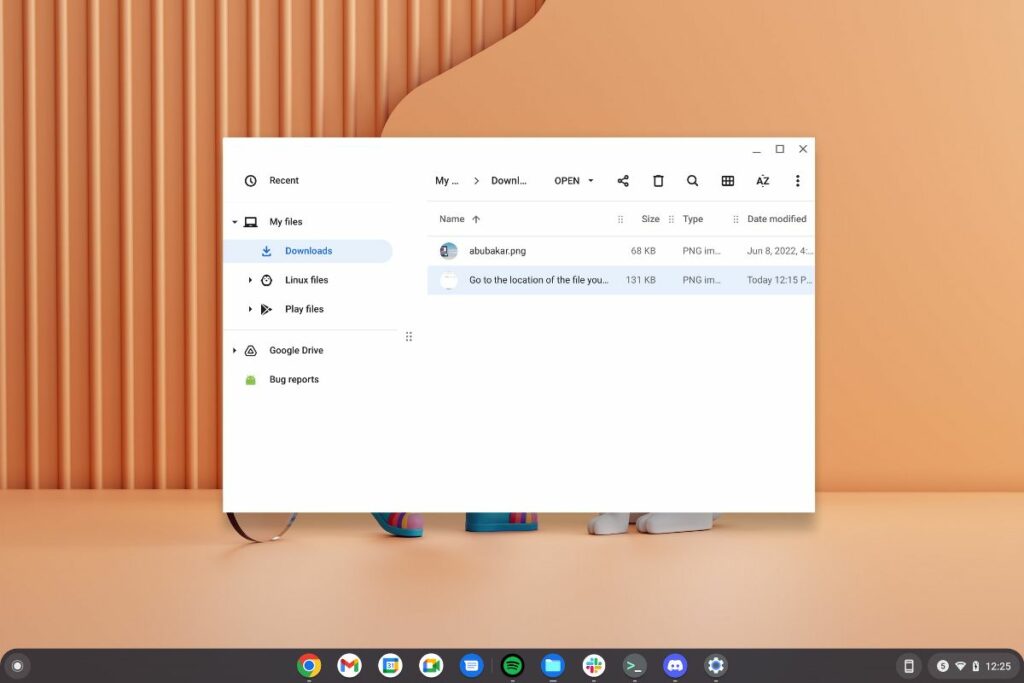
1. Open the files app on your Chromebook and head over to the location of the file you want to rename.
2. Right-click on the file, and from the options, click on “Rename.”
3. Type the new file name and press enter to save the file name.
4. Alternatively, you can click on a file and use the Ctrl + Enter shortcut to rename a file.
5. After entering the new name, just hit enter to save the file.
6. You can also change the file extension while renaming it, although we wouldn’t suggest doing so as it might break the file.
7. Here’s an example: we changed a JPEG file to PNG by replacing “.jpg” with “.png.
The process of renaming files in Linux on Chromebook is similar. Head to the Linux folder using the Files app and follow the same steps.
Do you have Linux installed on your Chromebook? Enabling Linux on Chromebook will help you install Linux desktop apps on Chrome OS, like the new Microsoft Edge, Firefox, Discord, etc., without hassle. Here’s how to enable Linux on Chromebook.
If you’re confused about Chromebooks, here are the five reasons why you should buy Chromebook and three reasons why you should avoid them.


