How To Record Windows 10 Screen Using Xbox App
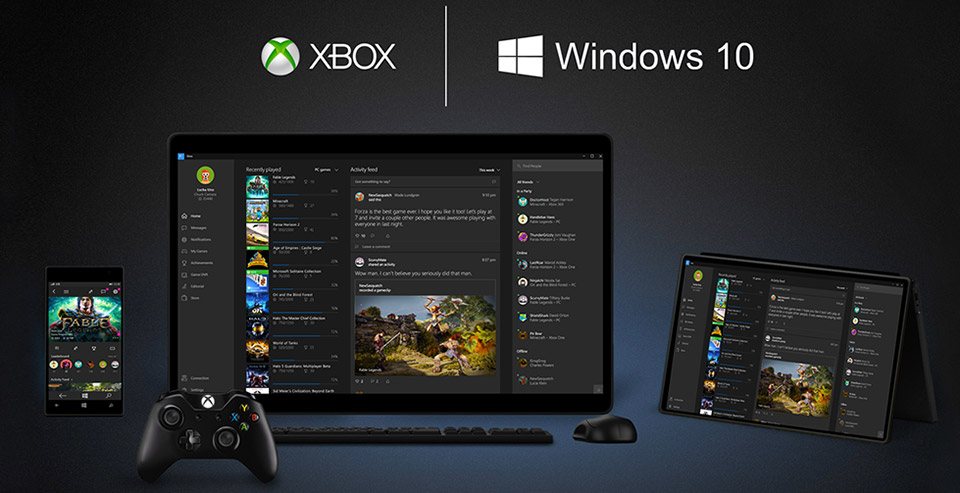 Short Bytes: Windows 10 has an inbuilt feature which lets a user record the Windows screen up to 2 hours. This screen recording feature is hidden inside the Xbox app and its called Game DVR. Game DVR feature can be used to record video games and other motions in Windows 10.
Here are the steps telling you how to record Windows 10 screen using Xbox app —
How To Record Windows 10 Screen Using XBox App?
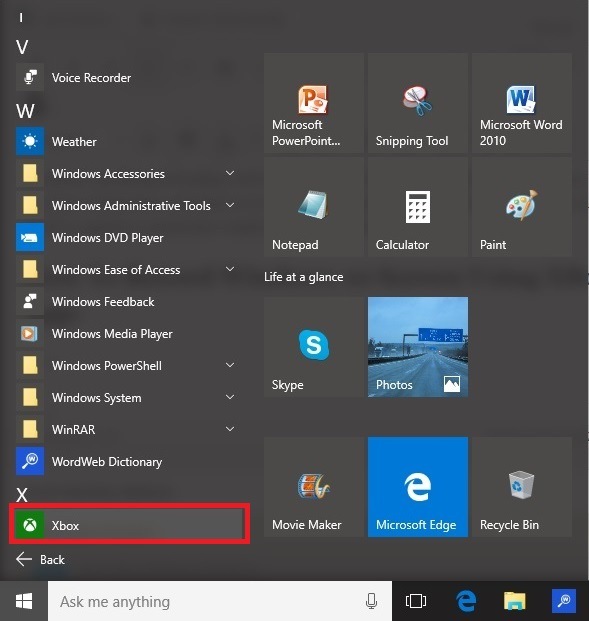
- Go to the Start Menu. Open “All Apps” and click on Xbox.
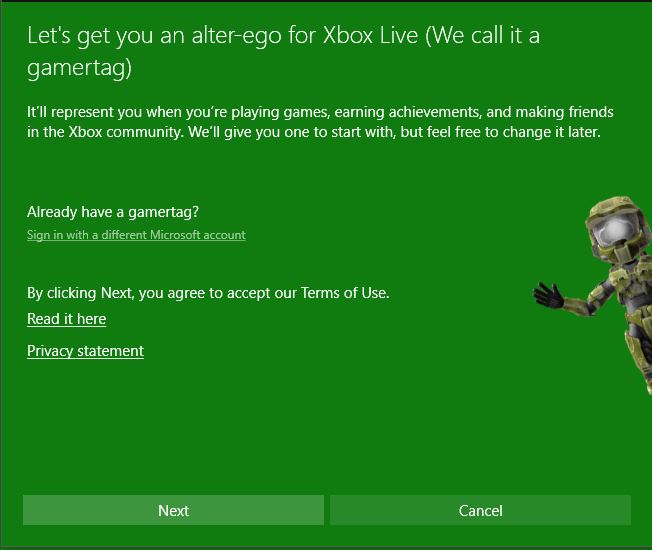
- You Xbox app will set up automatically.
- Open Game Bar inside any app or program by hitting win key + G
- Confirm the pop-up message that you want to open the game bar even if that’s not a game.
Also read: How To Remove Pre-installed And Suggested Apps In Windows 10
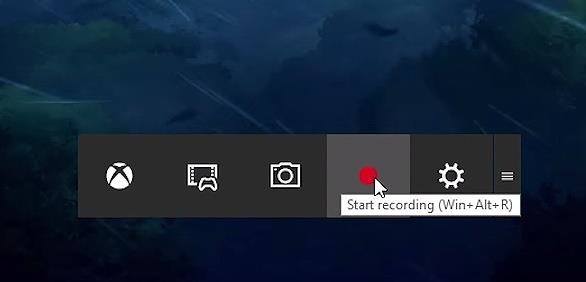
- In the Game Bar, hit the red circle button to start recording the screen. It only records an app window. As mentioned earlier, it would not be able to record the entire screen.

- Once done, stop the recording by hitting the same win key + G or the red button.
- You can open the recorded video by opening the folder in which the file was recorded.

As mentioned before, GamdeDVR feature in the Xbox app is pretty limited in recording a video. However, this app can be tweaked to accommodate more feature in its settings. Use the below image to understand the other features.
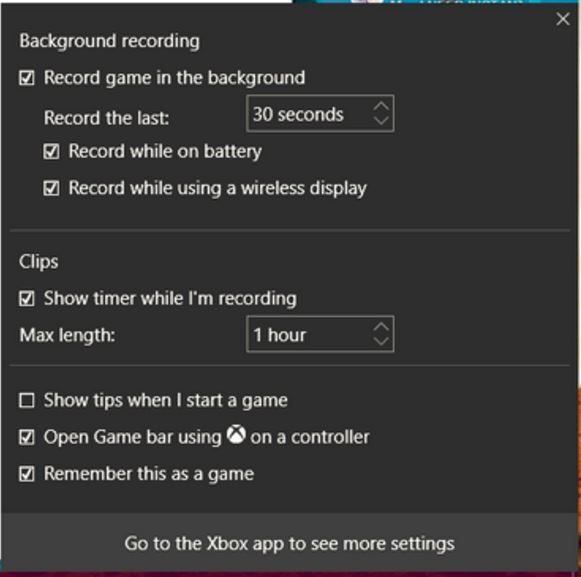
Some of the features that can be enabled are:
- Record the game in the background
- Record on different kinds of display
- Setting up the max recording duration
- Showing the recorded time on display
If you are aware of any other inbuilt method of recording Windows 10 screen, let us know in the comments below.

