How To Install DirectX 11? Guide For Other Versions & Uninstallation
DirectX is a crucial software program that optimizes the multimedia experience on Windows computers. For many graphics-heavy applications, especially games, it is a prerequisite.
By default, every Windows OS comes with its version of DirectX installed. However, there are times when updating or re-installing the software might be needed to fix specific errors.
Below, we can tell you how to download, install, and uninstall DirectX. Moreover, we also give an insight into various DirectX versions and their compatibility with different OSes.
How do I download and install DirectX?
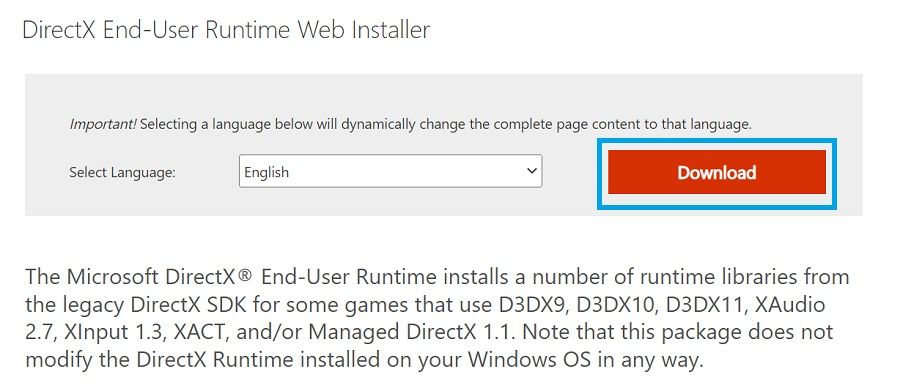
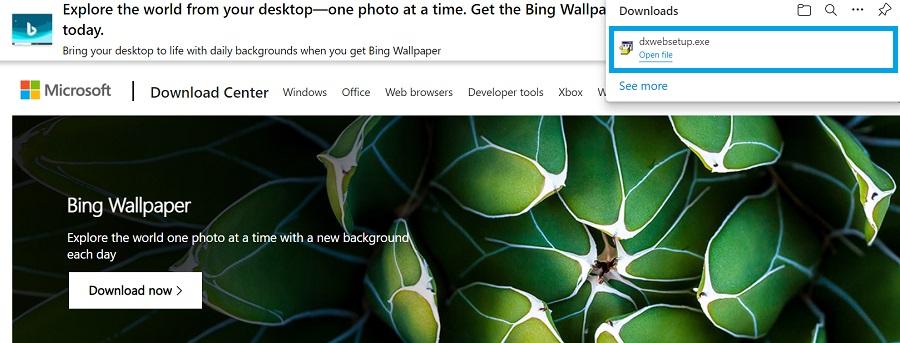
- Go to the official DirectX download page.
- Choose your language from the dropdown option and click on “Download.”
3. After the download finishes, open the file.
Note: If you receive a prompt saying, “Do you want to allow the app to make changes to your device?” click on “Yes.”
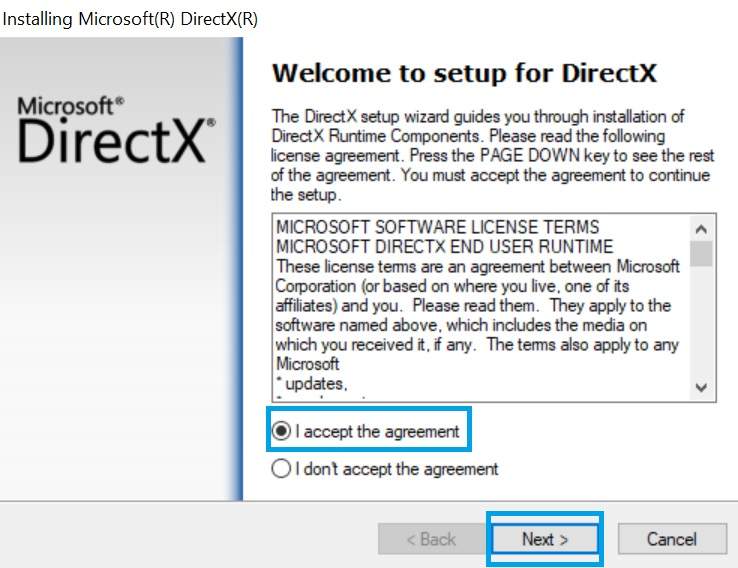
4. In a new window, accept the agreement and click on “Next.”
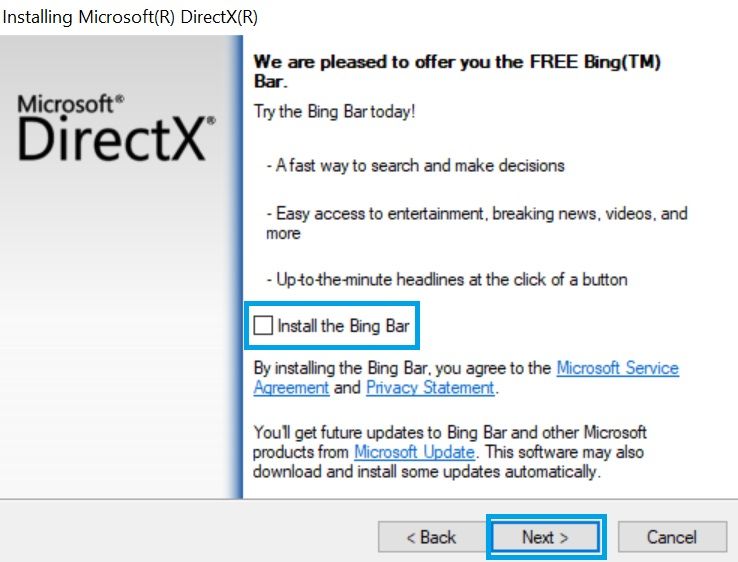
5. Uncheck “Install the Bing Bar” and click on “Next.”
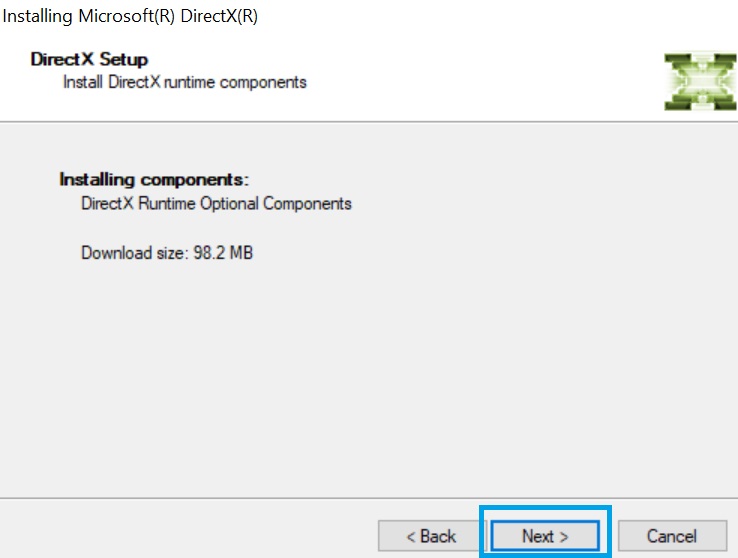
6. The setup will identify the DirectX components your system might require. Click on “Next” to proceed.
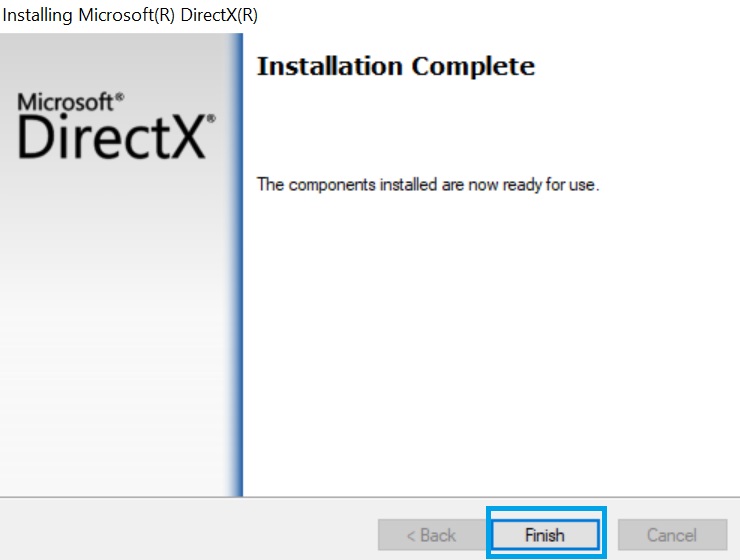
7. Once the installation progress completes successfully, click on “Finish.”
DirectX Versions & Compatibility
In case you are wondering which version of DirectX is supported by your current Windows OS, this table should help clear the air. While Windows 10 is backward-compatible with every DirectX version that came before it, the older Windows versions are only compatible with specific DirectX variants.
| DirectX Version | Compatible OS |
| DirectX 12 | Windows 10 |
| DirectX 11.4 & 11.3 | Windows 10 |
| DirectX 11.2 | Windows 10, 8 |
| DirectX 11.1 | Windows 10, 8, 7 (Service Pack 1) |
| DirectX 11 | Windows 10, 8, 7, Vista |
| DirectX 10 | Windows 10, 8, 7, Vista |
| DirectX 9 | Windows 10, 8, 7, Vista, XP |
How do I uninstall DirectX?
It is important to note that uninstalling a certain problematic DirectX version can help fix some existing errors. While you can’t uninstall DirectX in the traditional sense, i.e., completely rid your system of the program, you can still roll back from a newer version to an older version that worked without a hitch. For those of you who want to uninstall DirectX for one reason, here is how to go about it on Windows 10.
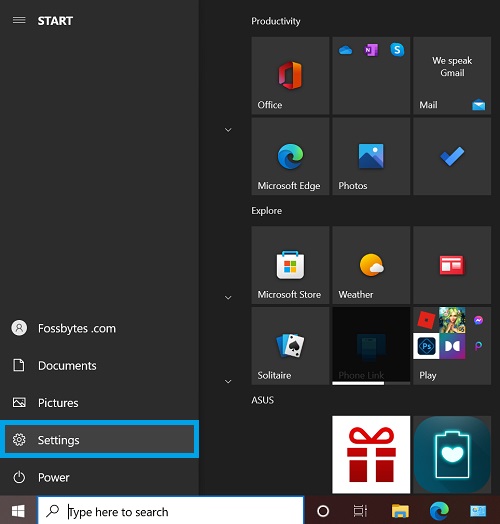
- Click on the Start button and select Settings (gear icon).
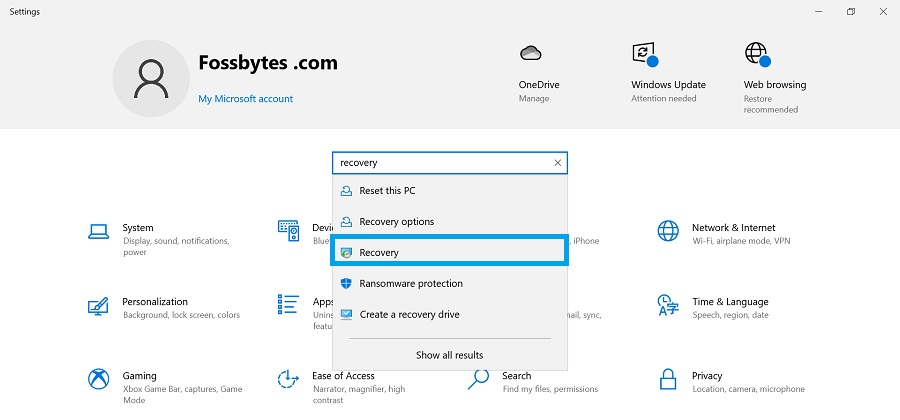
2. In the Settings menu, type in “recovery” in the search box and select the corresponding choice.
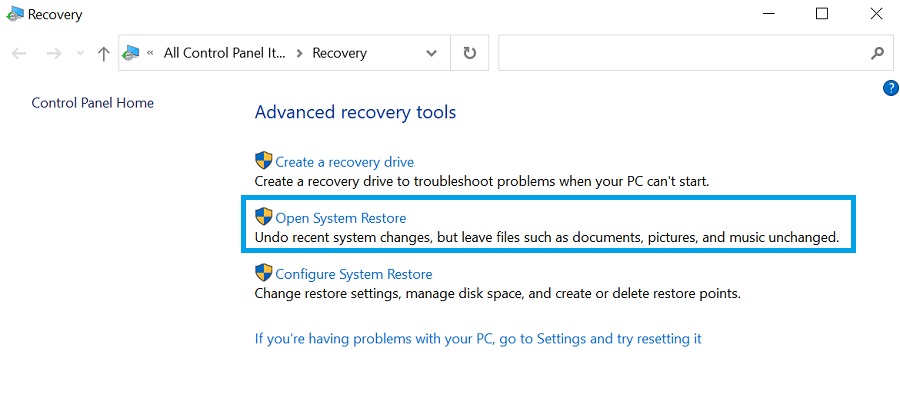
3. Click on “Open System Restore.”
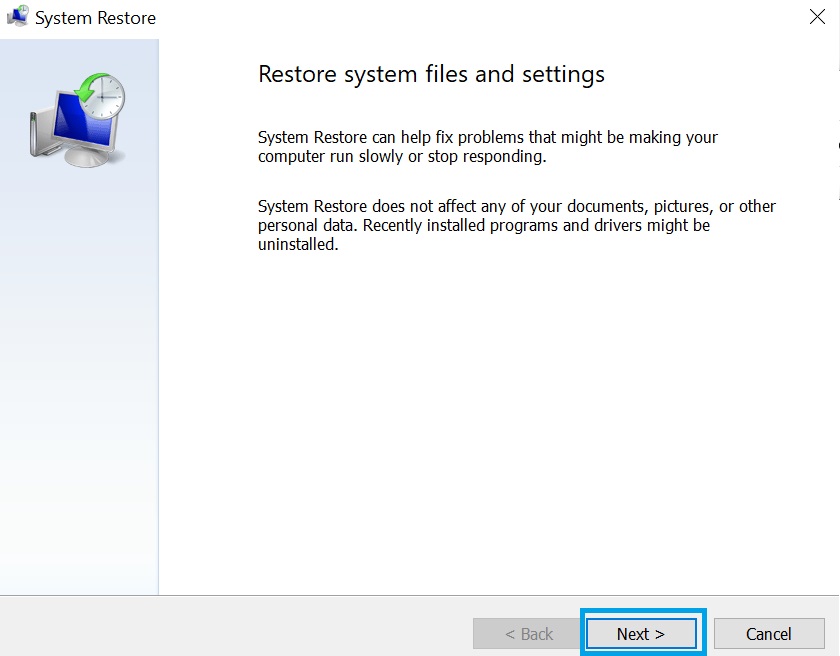
4. In the System Restore window, hit “Next.”
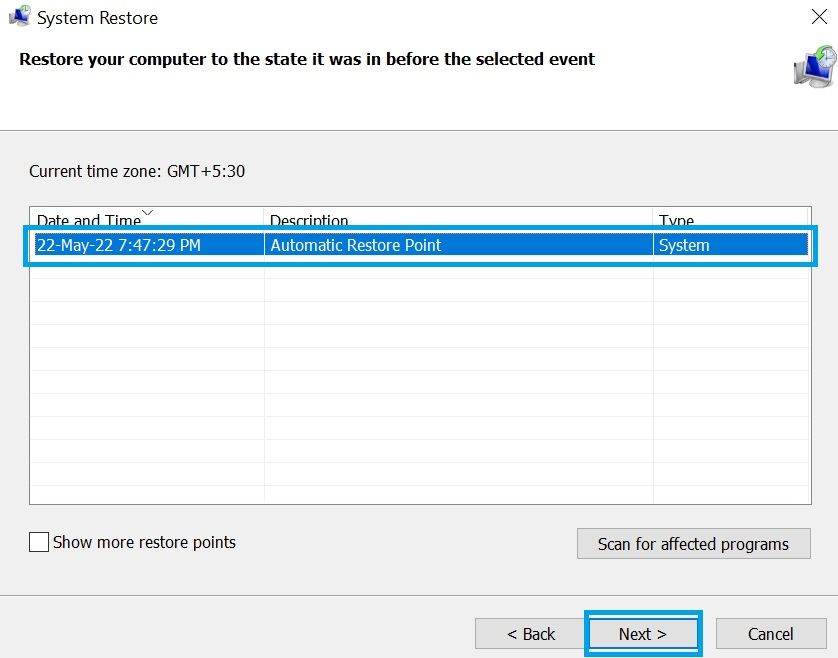
5. Select your preferred restore point where you hadn’t yet installed the current DirectX version and click on “Next.”
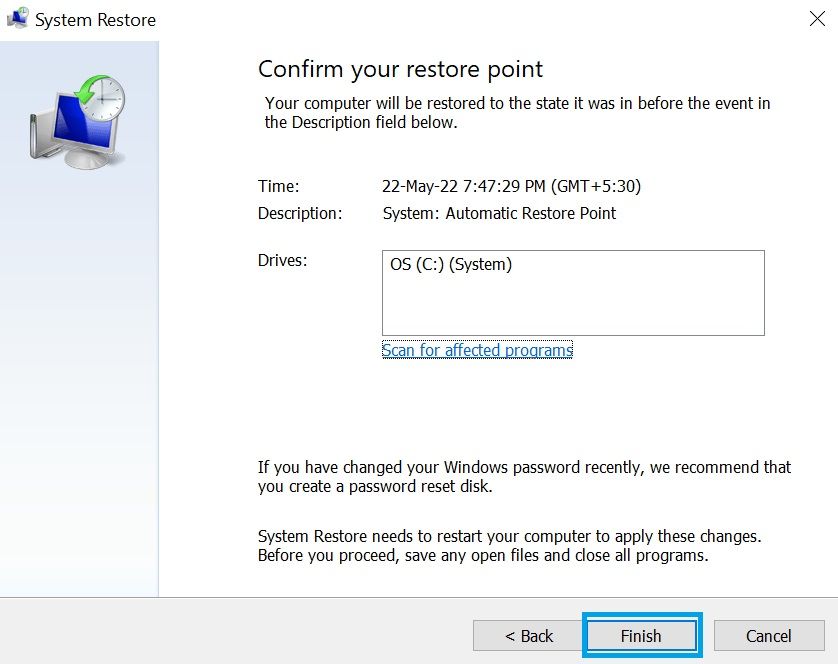
6. Click on “Finish” to confirm your decision.
FAQs
To manually install DirectX 11, you need to download the installer from Microsoft’s official website and launch the same.
DirectX can be updated simply through Windows Update. Just go to “Start > Settings > Update & Security > Windows Update” and click on “Check for updates.”