How To Use The New Snap Assist Controls On Windows 11?
Window snapping is already a thing since the launch of Windows 7. It’s one of those features that I use daily on my machine.
The recently leaked Windows 11 build has opened a new horizon for the Snap Assist feature. This article will talk about my hands-on experience with the new snapping feature on Windows 11.
New Snap Assist Experience on Windows 11
Speaking of the existing Windows, you can snap windows side by side or on corners of your desktop window. For example, you can do so by holding the title bar of an app window and ramming it into the right or left edge of your screen, splitting the screen into two halves.
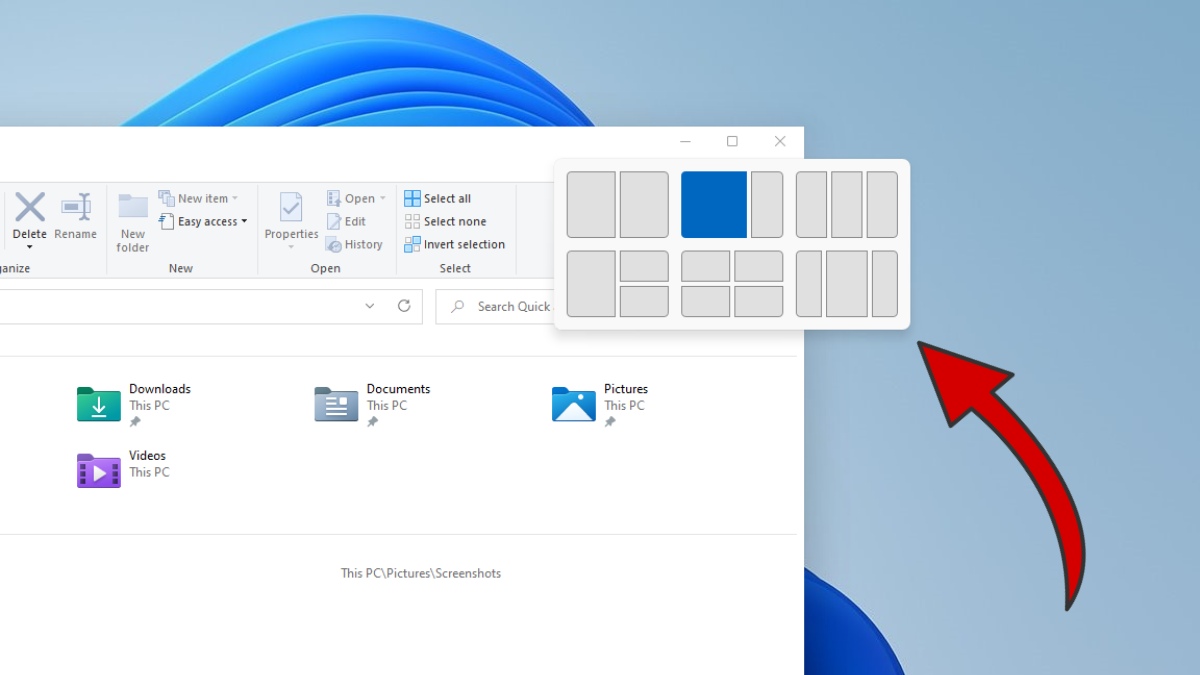
Now, in Windows 11, Microsoft has added more options that you can use while snapping windows. For instance, in addition to four apps on corners, you can now divide your screen into 3 parts of different shapes. Earlier, this feat was only possible manually and took a lot of time. Now, it’s just a matter of few clicks.
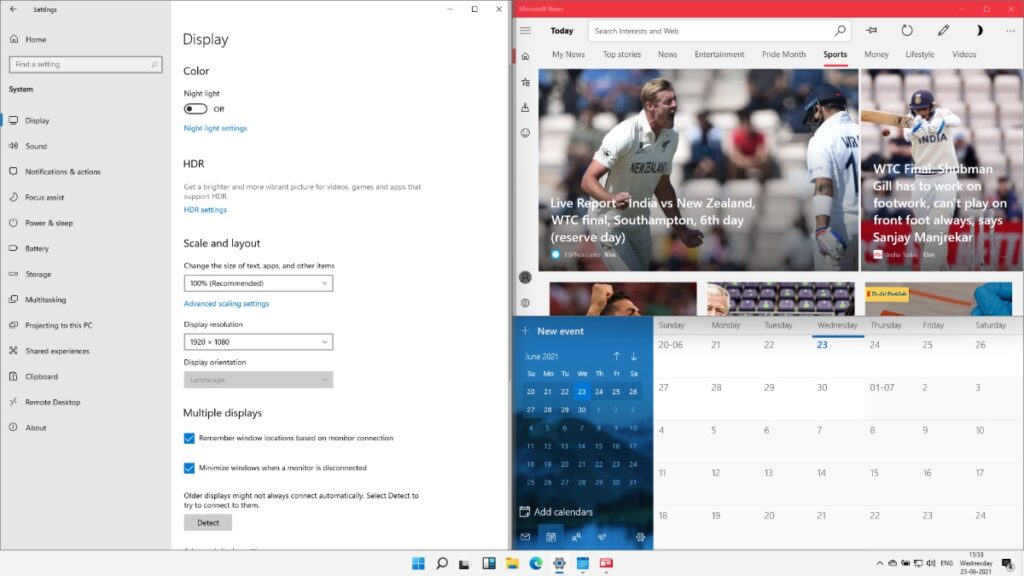
For example, your desktop can have 1 app covering 50% real estate and two more apps covering 25% each. Or you can have 3 apps covering 33% each.
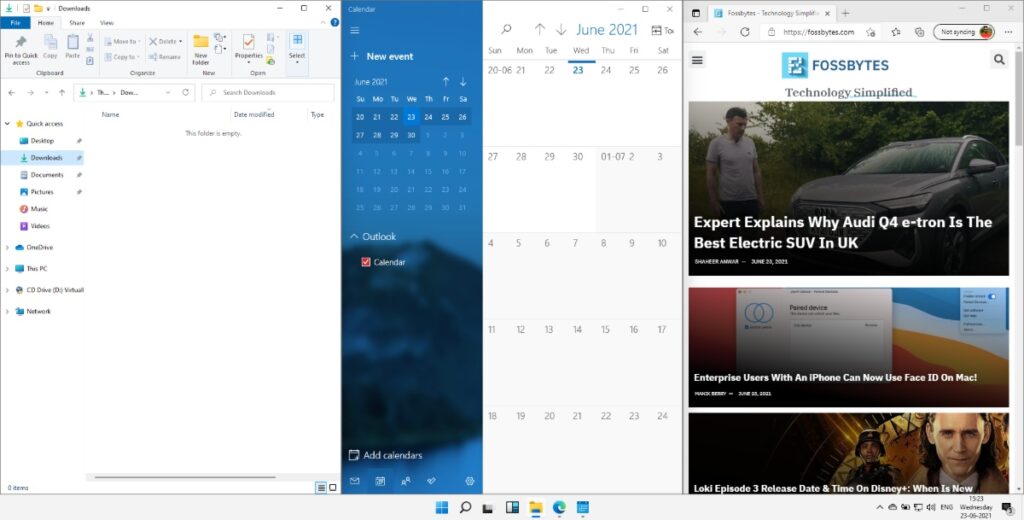
In total, there are six different configurations for Snap Assist to arrange your favorite apps accordingly. Of course, the older drag to snap option still works, and Microsoft has added a new animation to it.
How to use the new Windows 11 Snap feature?
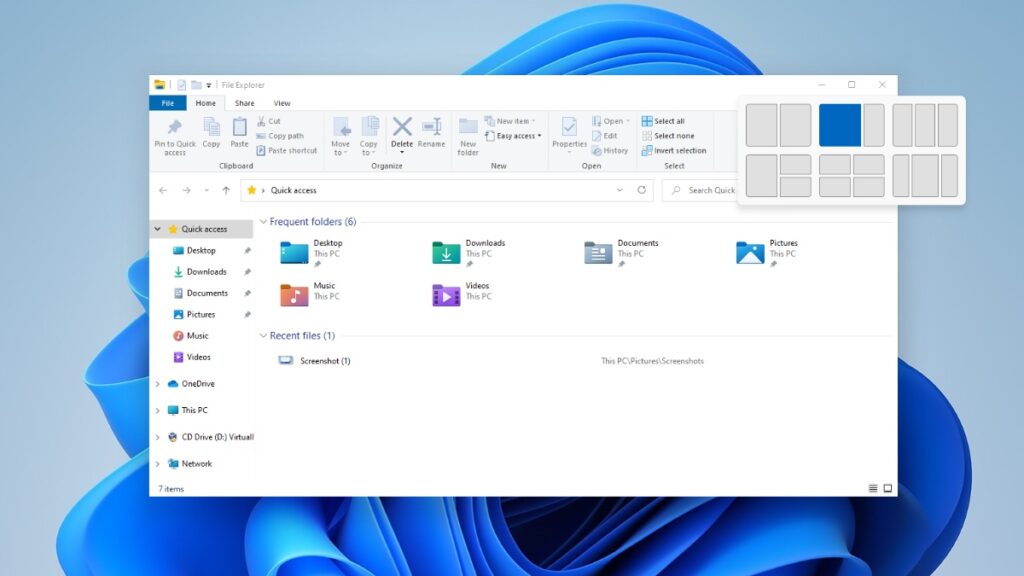
To access snap options, hover your mouse on the maximize button of an app window, and you’ll see the different options available. After that, click on the desired shape to customize your snapping experience.
If the snap option doesn’t show up on your device or you want to disable the feature, you need to tweak a registry entry. Open Windows Registry Editor and go to the following location:
HKEY_CURRENT_USER\Software\Microsoft\Windows\CurrentVersion\Explorer\Advanced\ "EnableSnapAssistFlyout"Now, edit the DWORD value for EnableSnapAssistFlyout by right click > Modify. Here, set the value to 0 to disable the feature and 1 to enable it. Finally, restart your machine to apply the changes.
If EnableSnapAssistFlyout isn’t present in the registry, you can create it from Edit > New > D-Word 32-bit.
So, this was the new Snap Assist feature on Windows 11. Let’s wait for the official release to see if there is more to it. Until then, you can refer to our detailed Windows 11 coverage and keep yourself updated.