5 Easy Ways To Create Bootable USB Media From ISO In Ubuntu Linux
Rufus is one of the easiest ways to create bootable USB media in Windows. However, the tool only supports Windows and Mac. So if you are using Linux distributions, RUFUS is not an option. But like most tools, there are some great Rufus alternatives that you can try to convert ISO to bootable USB Media on Ubuntu or any Ubuntu or Debian-based Linux distributions.
Ubuntu and many major Linux distributions come preloaded with a set of essential utility tools. This includes Startup Disk Creator, which helps to create bootable USB Linux media. In this article, let’s look at making a bootable USB drive in Ubuntu using different apps.
1. Create Bootable USB Media in Ubuntu Using Startup Disk Creator
Startup Disk Creator is a built-in application in many Linux Distros like Ubuntu. Here’s how to use it:
- Open the dash menu. If you are using the latest version, use the left pane to open the show applications.
- Open the Startup Disk Creator application by typing or searching in the search box.
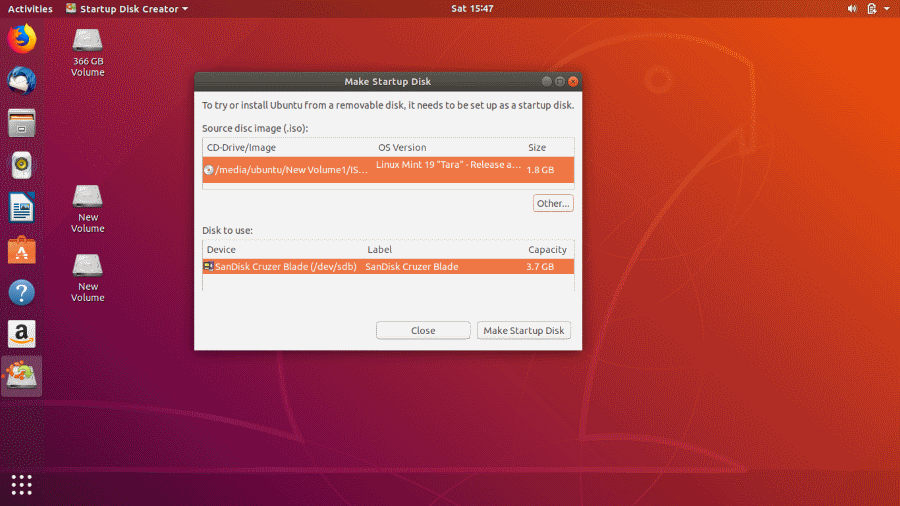
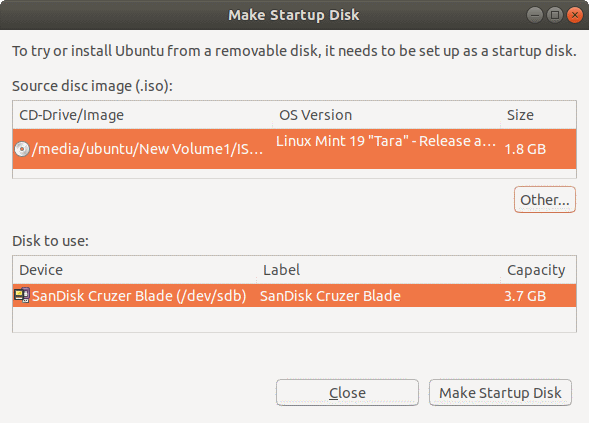
- Now, you will need to select the source ISO file and specific device for bootable media. If you have chosen the wrong device or ISO, click other to change your selection.
- After verifying the ISO file, click on Make Startup Disk to create a new Bootable USB startup disk in Ubuntu Linux.
- Finally, a prompt will appear asking you to confirm your selection. Confirm the prompt to start the process.
2. Create Bootable USB Media Using Unetbootin
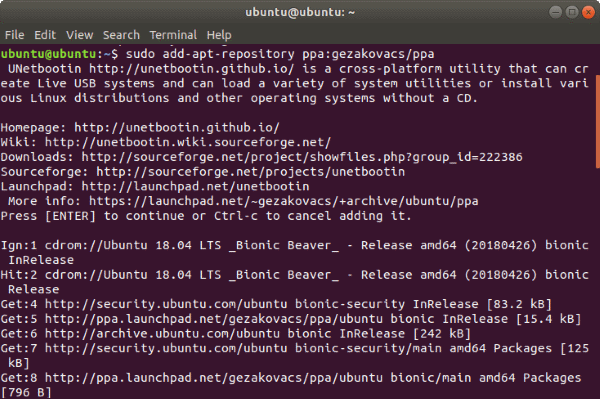
Unlike Startup Disk Creator, UNetbootin doesn’t come preinstalled in the Ubuntu Linux distribution. To install it, first, add the official PPA, update the repo base and then process with installing Unetbootin
Install UNetbootin
sudo add-apt-repository ppa:gezakovacs/ppa
sudo apt-get update
sudo apt-get install unetbootin
Now, UNetbootin will be installed and the bootable USB creator application will appear in your applications list.
Using UNetbootin for Ubuntu Linux
- Plug in the USB drive and Unetbootin will automatically recognize it
- There are two options to make a bootable USB – using the Distribution dropdown menu or selecting a disk image.
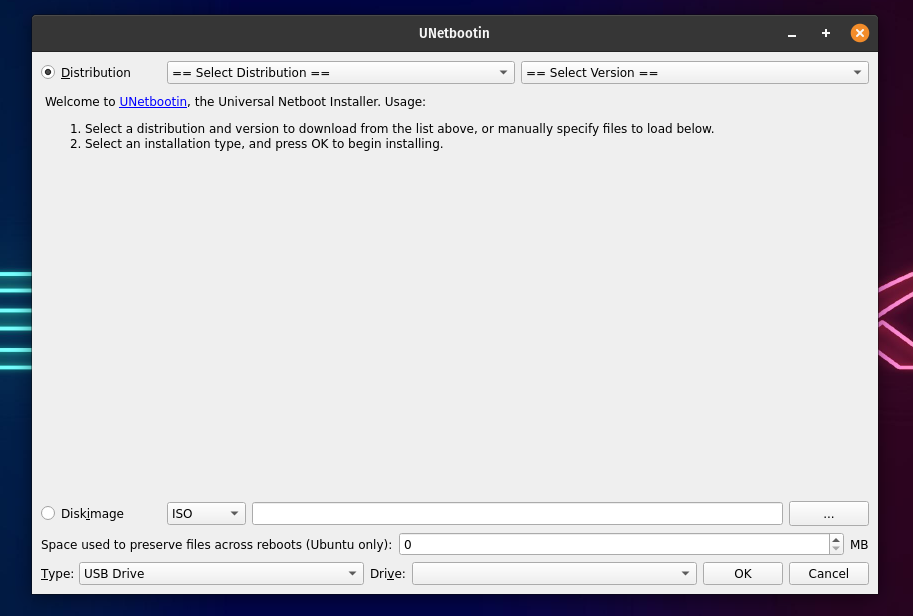
Selecting the distribution will automatically download the necessary files for the specific distribution from the internet. To install a distribution using the same method.
- Select both the distribution and the version.
- Now, choose the type as USB and select your USB drive from below and click OK.
- Once you click ok, UNetbootin will download the necessary files and install them on your USB.
If you are looking to create a Windows 10 USB installation media using UNetbootin, you will choose the disk image option. To do so:
- Select disk image and choose ISO.
- Now, Browse the ISO that you want to make as an installation media.
- Again, choose the type as USB and select your USB drive. Once you click ok, UNetbootin will install the boot media to your USB.
3. Convert ISO to USB in Ubuntu Using ddrescue
This is Ubuntu we are talking about. The terminal is the top tool for a typical Linux user. So let’s say that we were saving the best for the last. This is the easiest way to convert ISO files to a USB disk if you are fond of using terminal commands.
For starters, ddrescue is a data recovery tool that can clone any storage device. We can use ddrescue to convert ISO files to USB sticks.
Install ddrescue
First things first. You will need a working internet connection to download and install ddrescue. (In case you already have it installed, you can skip this step).
sudo apt update
sudo apt install gddrescue
You will need to know the exact block device name (something like dev/sd..). To do this, use the command fdisk. Enter the following command,
sudo fdisk -l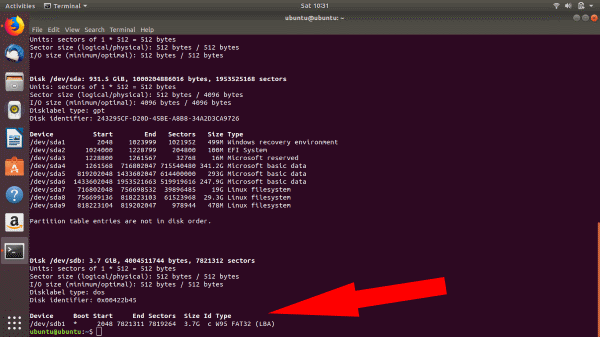
Once you enter the fdisk command, you can see all your devices connected. Here, you can see that the block device name for the USB is /dev/sdb1.
It is important to verify that the block device name you chose is the correct one, or you might end up with corrupt/destroyed data.
Once done, enter the command as follows:
ddrescue path/to/.iso /dev/sdx --force -D
Replace the x and path/to/.iso with your specific device block name and the path for the iso file.
When the process is finished, you can boot into your bootable Ubuntu USB stick.
4. Create Bootable USB Using Etcher On Ubuntu
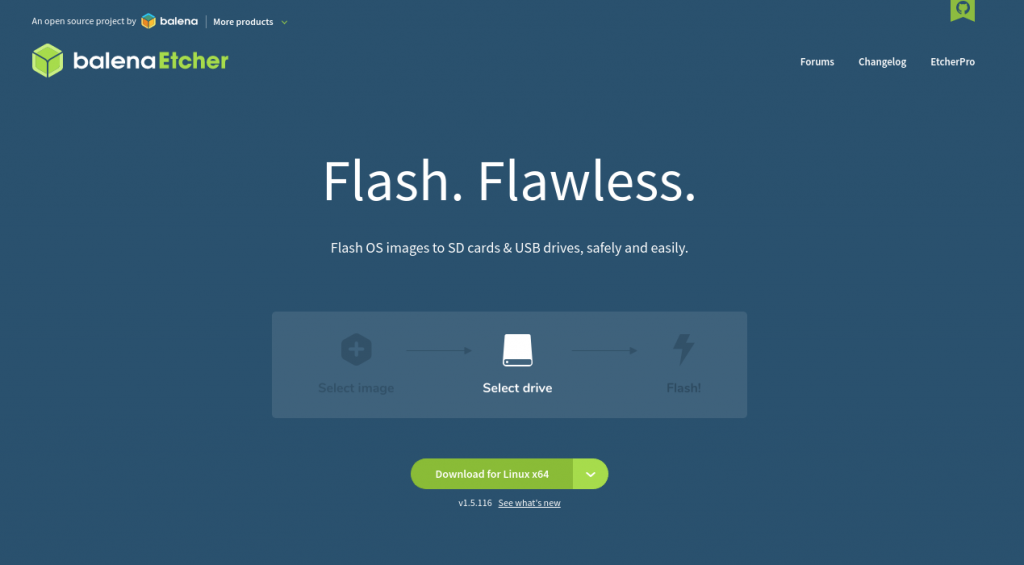
Balena Etcher is another great tool for making bootable USBs. What makes it special is its speed and amazing UI. Also, it is very easy to install and use.
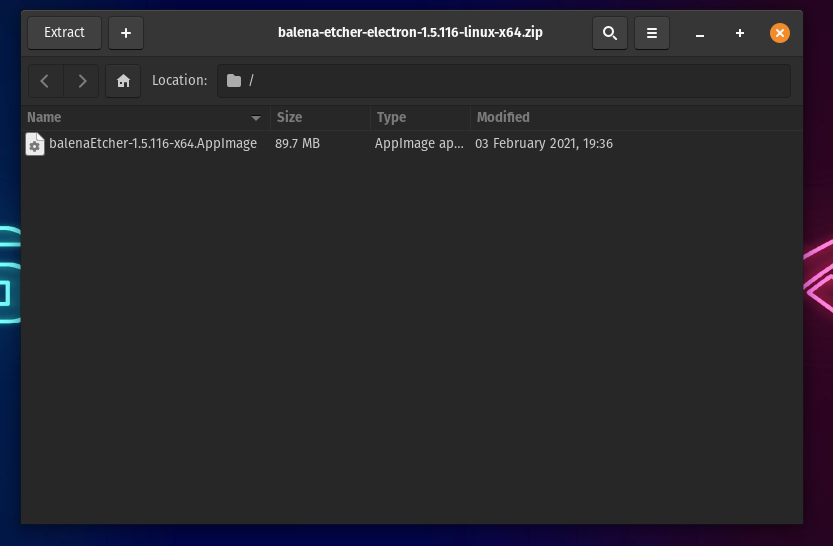
- Head over to the official Etcher website and download the zip for your OS.
- Now, extract the zip using the default archive manager on Linux. If you’re on Windows, all you need to do is download the .exe file and double-click to execute it.
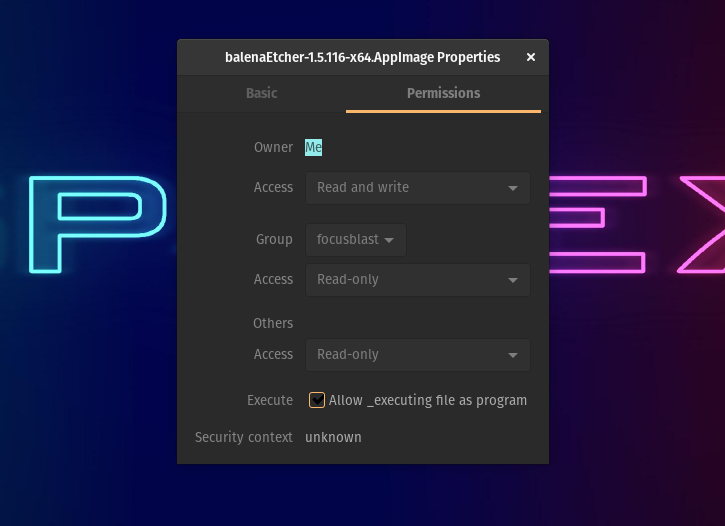
- After you’re done extracting it on Linux, right-click on the extracted app image and click on properties.
- In the permission tab, find and check the “Allow executing as a file program” option.
- Double-click on the App image to open Etcher. If nothing happens, fire up the terminal, head over to the directory where the app image is located, and run the following command.
./balenaEtcher-x.x.xxx-x64.AppImageReplace the x.x.xxx with the version that you have downloaded. For example, balenaEtcher-1.5.116-x64.AppImage. Wait for a couple of seconds until Etcher launches and when it does, here’s what you’ll see.
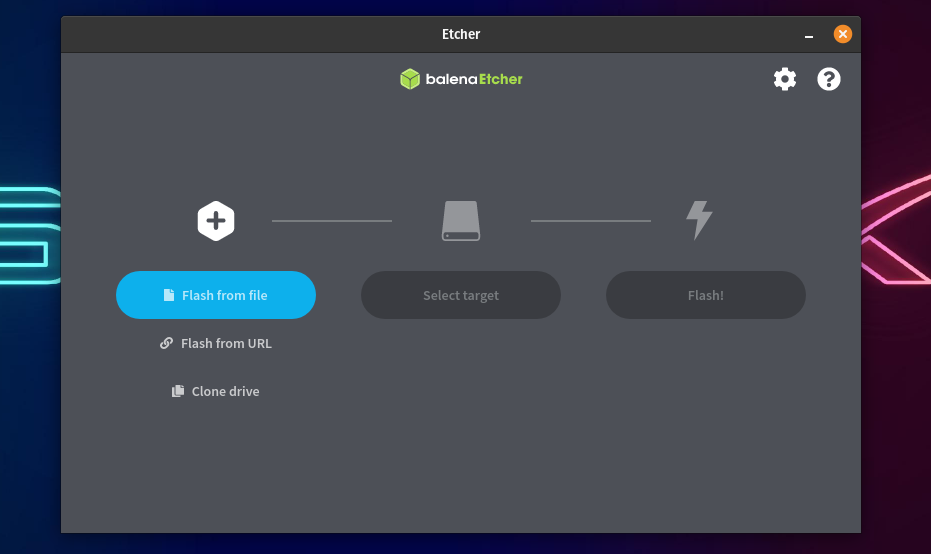
- To flash a USB drive, select the ISO that you’ve downloaded.
- Select the target USB device from the list of devices, and finally.
- Click on the Flash! Button.
Also, check out our article on how to mount and unmount a USB drive on Ubuntu in detail here!
5. Create A Bootable USB Using Popsicle (Linux Only)
Popsicle is a USB bootable media creation tool that comes preinstalled in Pop!_OS. It is a lightweight and fast USB flasher that also allows you to flash ISOs on multiple USB drives simultaneously. As Pop!_OS is based on Ubuntu, you can install Popsicle on Ubuntu. To do it.
- Open the terminal and add the System76 PPA where Popsicle resides, using the following command.
$ sudo add-apt-repository ppa:system76/pop- Now, install Popsicle.
sudo apt-get install popsicle- To flash an ISO open the Popsicle application.
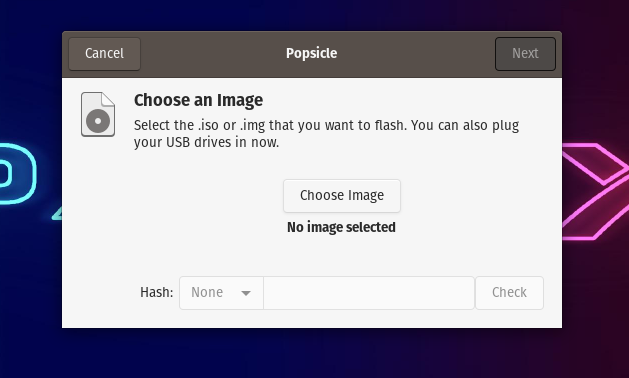
- Now, click on Choose Image and browse for the ISO that you want to flash.
- After selecting the ISO, click on Next.
- Plug-in the USB drive and select the target device on Popsicle.
- Finally, click on the Write button and wait for 5-15 minutes until the flashing is done.
- Voila! You now have a bootable USB. That was pretty easy, right?
Meanwhile, you can also check out our detailed guide on how to repair a corrupted sd card or pen drive here!
Bootable USB Media from ISO in Ubuntu Linux
Now that pretty much sums up the necessary steps that you would need to do to Create a Bootable USB stick using Ubuntu Linux. Furthermore, if you are still having trouble booting into the USB stick, head over to BIOS/UEFI in your machine to configure the boot settings. Finally, as always, use the comment section to remind us of anything that we missed. Cheers!
Also, check out our article on how to create a Windows 10/11 bootable USB without Media Creation Tool here!