How To Play Minecraft In VR (PC & Meta Quest 2)
Minecraft is one of the biggest names in the world of gaming, as it gives full creative reign to its players. Players have used the game to create unique creations out of the blocks. Now they can do the same thing in VR as they can play Minecraft on PC VR and Quest 2.
Obviously, Minecraft is not the only flatscreen game that can be played in VR. For more information, here is a list of all flatscreen games that can be played in VR with native support and mods. Users can now play the game as a standalone VR game (QuestCraft) on Quest 2 without a PC.
However, playing Minecraft in VR can be a little complicated. So we have made a guide on how to play Minecraft VR on PC and Quest 2.
Things needed to play Minecraft in VR
There are a few hardware and software requirements that users might need to run Minecraft in VR. Running the Bedrock version of the game on PC is quite simple, whereas the Java version will require a Viveport emulator. For the Quest version of the game, users will need an Oculus developer account and sideloading software.
Users can learn how to get a developer account and use SideQuest sideloader application right here.
PC VR
- Medium-spec gaming PC
- VR headset
- USB-C cable
- Minecraft on PC
- SteamVR
- Controller (optional)
- VR motion controllers (optional)
Meta Quest 2
- Oculus Developer Account
- SideQuest
- PC or Android smartphone
- Quest 2
How to play Minecraft VR on PC?
Bedrock Edition
1. Install Minecraft for Windows and run the game at least once.
2. Right-click on your desktop and press New > Shortcut.
3. Enter the following location for the shortcut: minecraft://Mode/?OpenXR=true
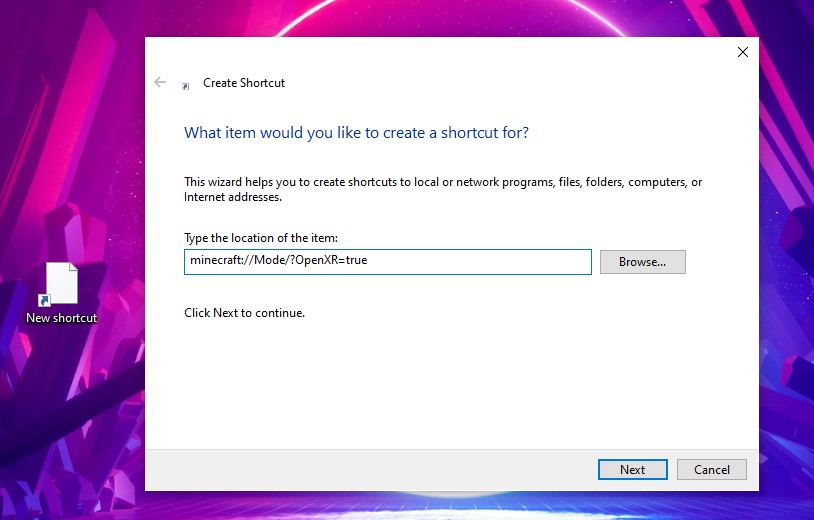
4. Name your shortcut “Minecraft VR.”
5. Click “Finish,” and your Minecraft VR shortcut has been created!
Java Edition
1. Download and install the latest version of Vivecraft (the VR version).
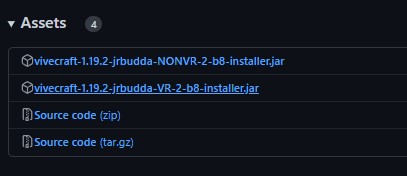
Note: Ignore the Windows security pop-up. It shows up for all Jar files and unknown publishers.
2. Connect the PC to a VR headset.
3. Launch SteamVR.
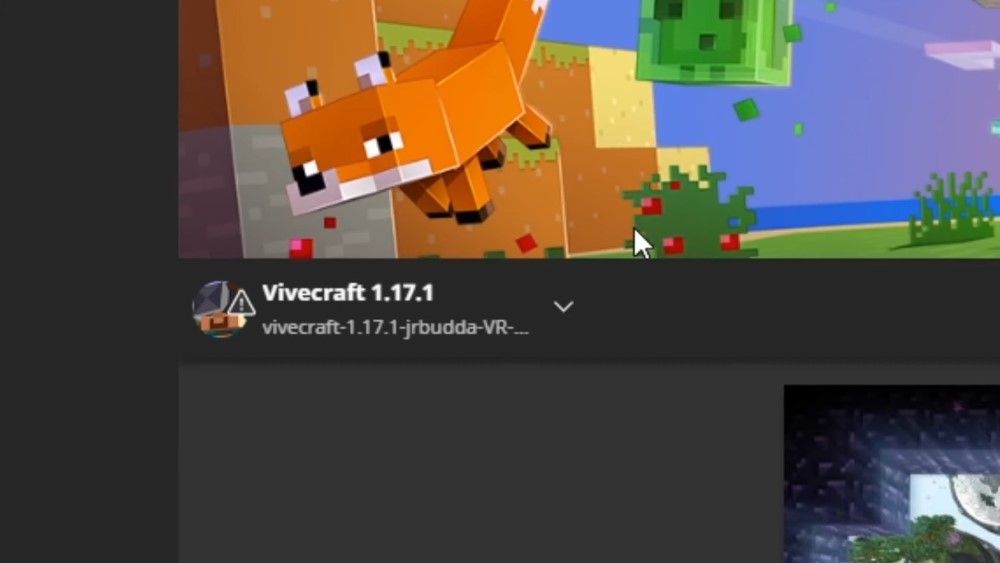
4. Open Minecraft Launcher on your PC.
5. Select the Vivecraft version and click Play.
How to Play Minecraft on the Meta Quest 2
1. Enable developer mode on the Quest mobile app. Menu>Devices>Developer Mode.
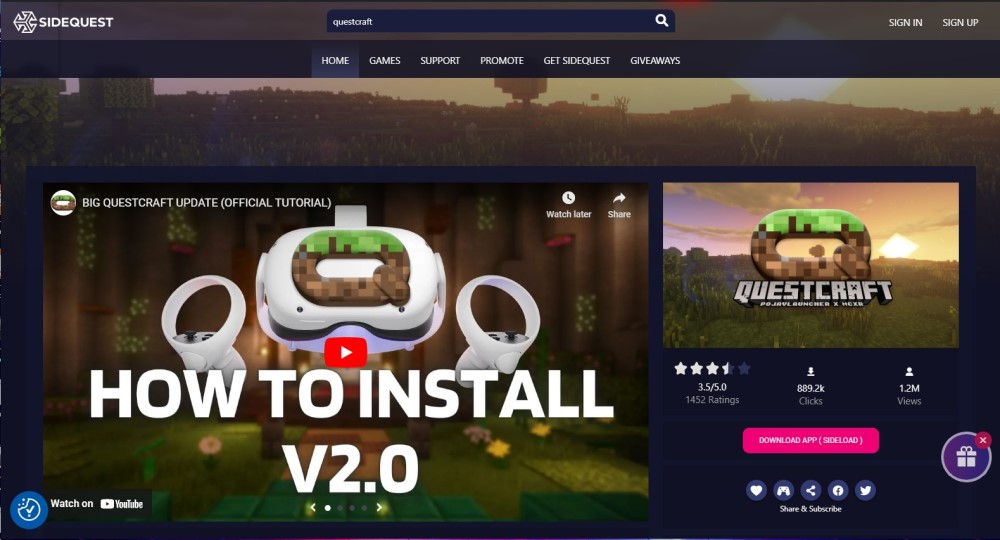
2. Download and install SideQuest.
3. Connect the PC to Quest 2.
4. Open SideQuest and make sure it is connected to the headset.
5. Search QuestCraft and click Download App (Sideload).
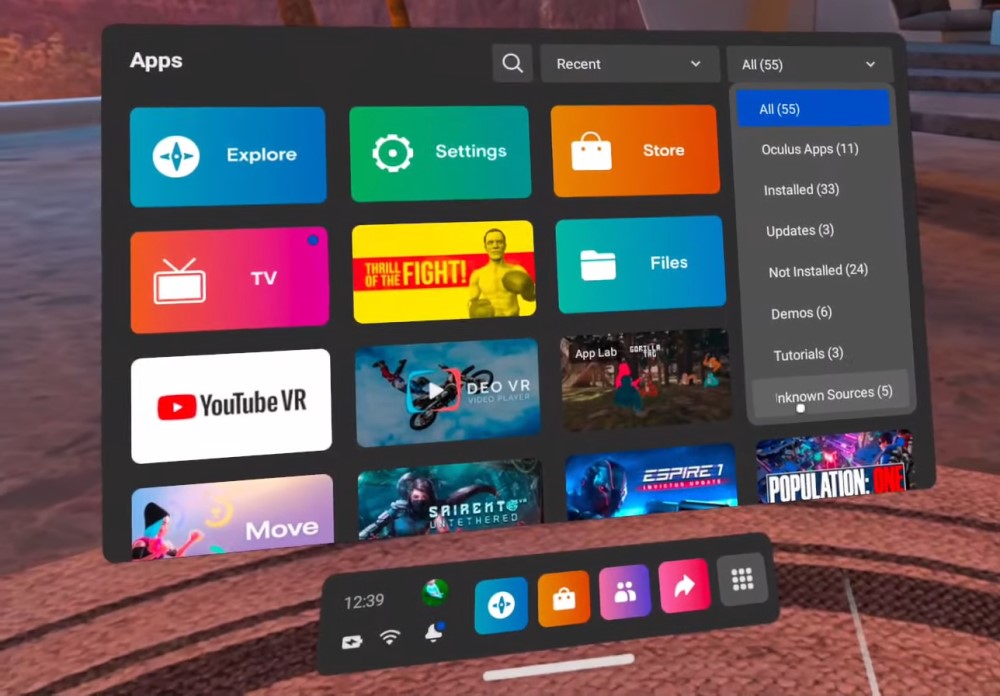
6. In Quest 2, open Apps and select Unknown Sources in the top right corner.
7. Open QuestCraft and log in to your Microsoft account.

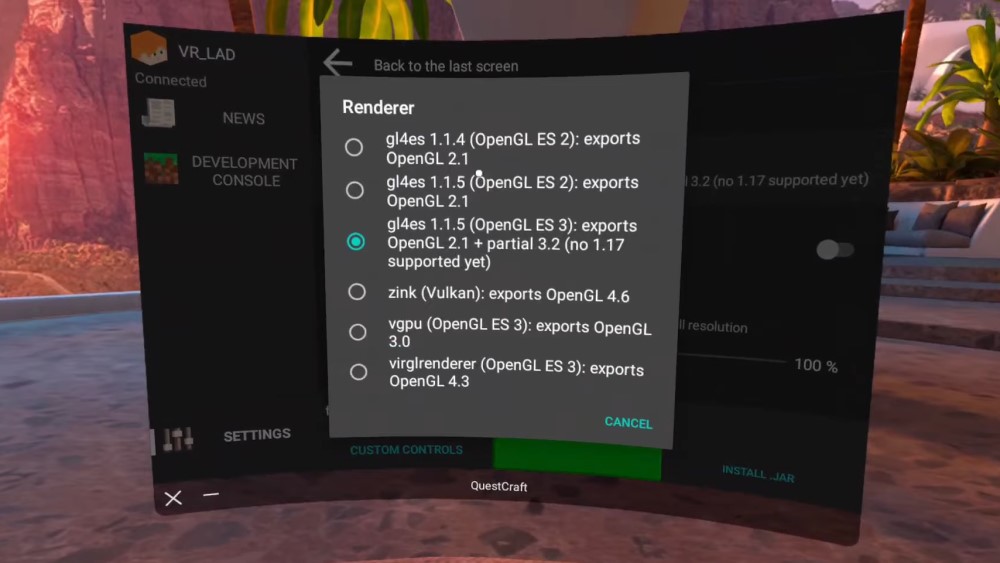
8. Go to Settings > Video and Renderer> Renderer and select the third option, version gl4es 1.1.5 (Open GL ES 3).
9. Change the game version from the dropdown menu and select the latest version of fabric-loader.
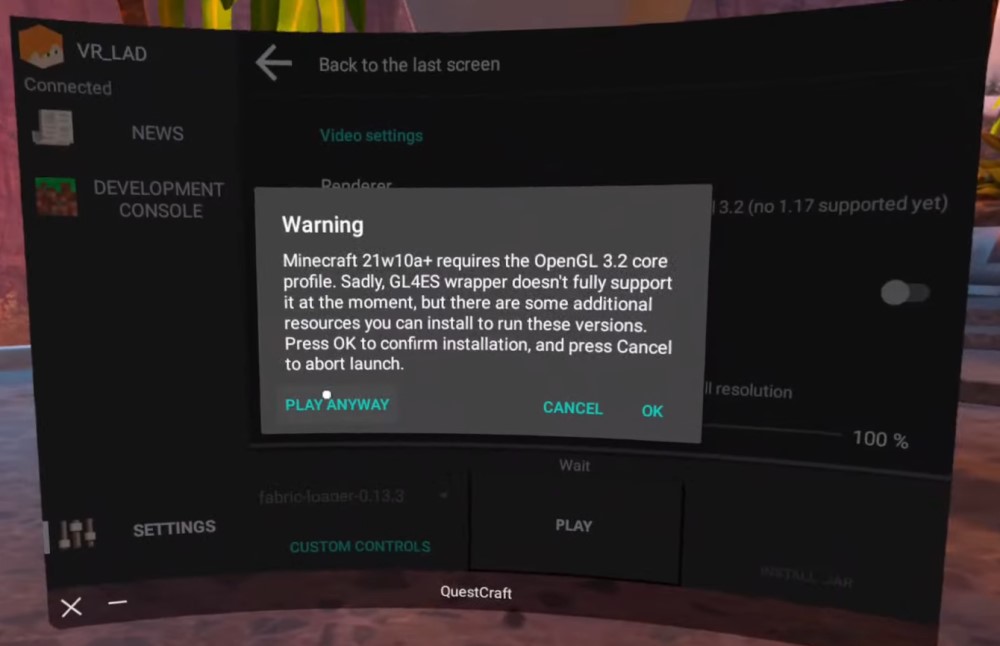
10. Press the Play button and select Play Anyway to run Minecraft VR on Quest 2.
Note: Users must own the Java edition of Minecraft on their Microsoft account. The developers recommend changing the render distance from the Video settings menu in the game. Change the render distance to 5-8 chunks for Quest 2 and 3-5 chunks for the original Quest.
Play Minecraft online with friends on Quest 2
Users can also play Minecraft online on Quest 2 if they have installed the Java edition of the game on their PC.
1. Open the Minecraft installation folder on your PC.
2. Copy the server.dat file.
3. Connect the PC to Quest 2 and open its internal storage.
4. Got to This PC > Quest 2 > Internal Shared Storage > Android > data > net.kdt.pojavlaunch.debug > files >.minecraft
5. Paste the server.dat file here to play Minecraft online in VR.
We hope that this article was able to help the players in running Minecraft on PC VR and Quest 2. Let us know your thoughts about playing the game in VR in the comment section below.