How To Install And Set Up Raspbian/Raspberry Pi OS Using NOOBS For The First Time?
Flexibility is one of the great aspects of Raspberry Pi. From Android to different flavors of Linux distros, installing any operating system requires minimal effort. If you want to revert to Raspberry Pi OS or if you’re setting up your Pi for the first time, in this article, let’s look at how to install Raspbian/Raspberry Pi OS and set up your Raspberry Pi using NOOBS, easily.
For starters, NOOBS stands for New Out of Box Software. It acts as an installation wizard for installing Raspberry Pi OS or other OSes.
How To Install Raspbian/Raspberry Pi OS?
Before we begin, here’s what you’ll need.
1. A fast MicroSD card with an SDHC adapter/USB Reader
2. A Windows or a Linux machine
3. NOOBS zip file
5. A Raspberry Pi (of course)
6. A monitor, keyboard, micro HDMI to full-size HDMI cable, official Raspberry Pi charger, and a Type-C cable.
7. Patience.
How To Set Up Raspberry Pi 4 Using NOOBS?
- Connect your Raspberry Pi 4 to the monitor using the Micro HDMI cable (Use the first micro HDMI port). Plugin the power adapter and the Type-C cable, and connect the USB keyboard and mouse to the Raspberry Pi.
- Power on the Pi, and after the rainbow screen, you’ll be greeted by the NOOBS installer.
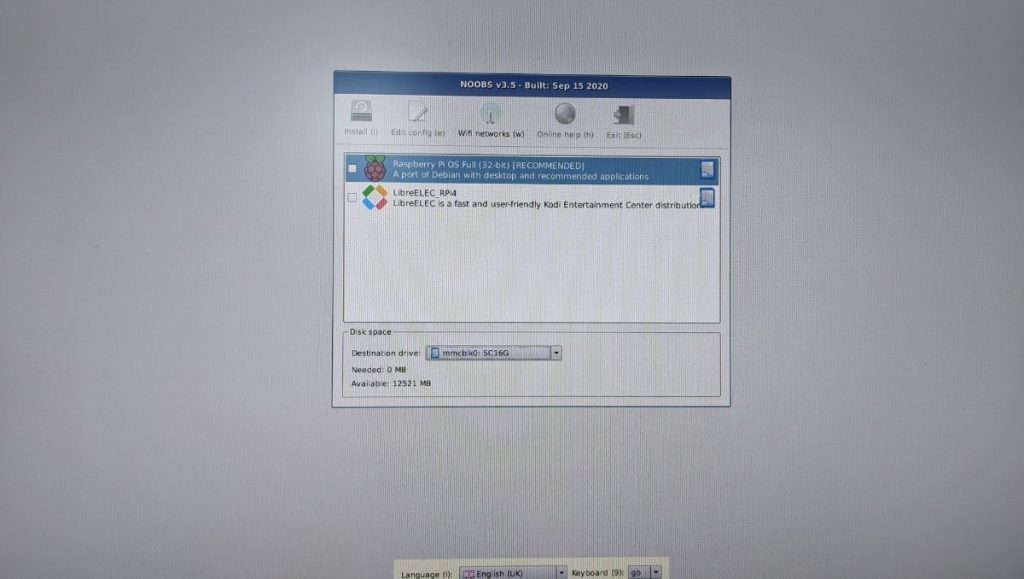
- Click on the Raspberry Pi OS check box and click on the Install option, which you’ll find at the top-right corner of the installer window.
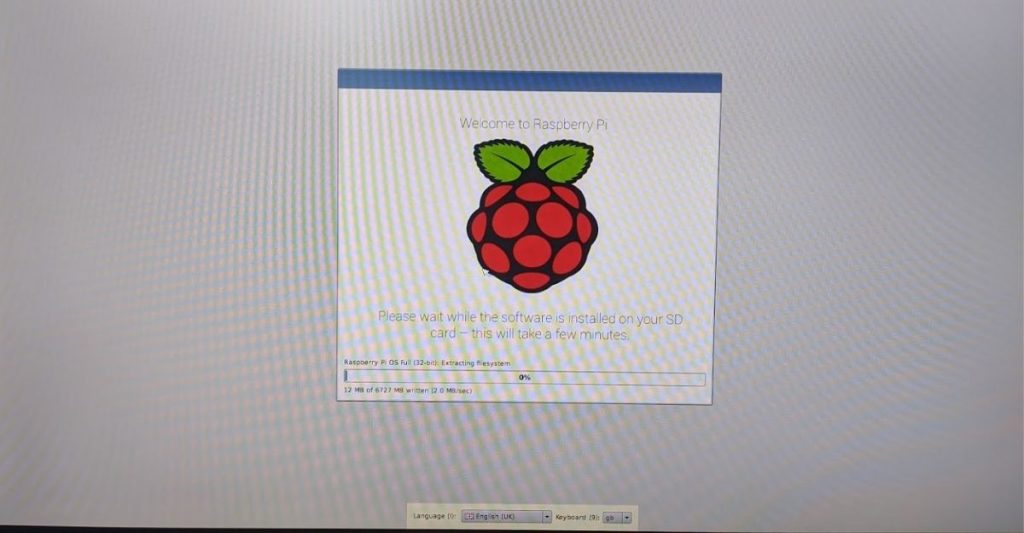
- Sit back and relax as the installation might take around 15-20 minutes. After it’s done, you’ll see this.
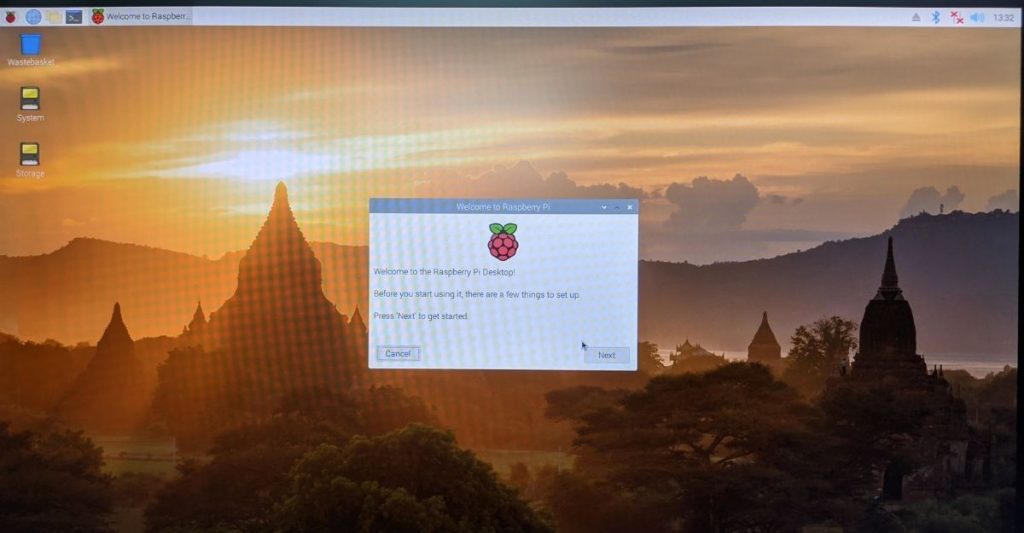
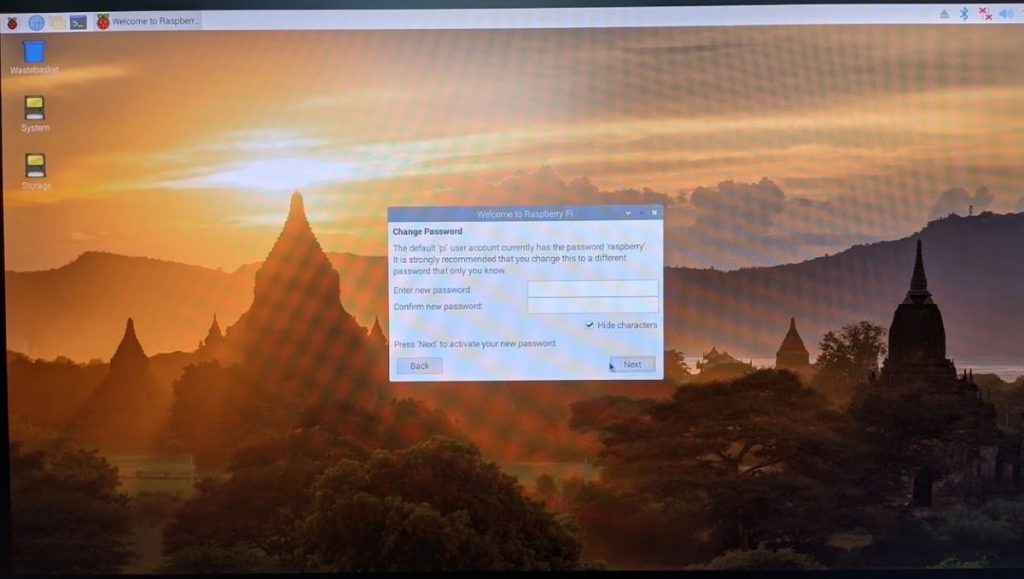
- Now, select the country, language, and timezone, and finally, set a login password. That’s pretty much it.
If you get a warning on the first step itself, which reads, “The SD card should be first converted to MBR partition,” click on Okay.
This is because your SD card is formatted in a different scheme. Raspberry Pi OS can only be installed on SD cards with an MBR partitioning scheme. After the format’s complete, you’ll see a pop-up that says the SD card has been successfully reformatted.
Now, you’ll need to boot into Windows or Linux and follow the process from step one. Also, check out our in-depth introduction to Raspberry Pi here!
Final Words
There’s another way of install Raspberry Pi OS without a monitor, which is also called the “Headless method.” We’ll be covering that soon. Until then, stay tuned!
Want to install Android instead? Check out our how to install Android on Raspberry Pi article.
Did you face any issues following the installation process in this article? Let us know in the comments section below.

