How To Install Android On Raspberry Pi 4?
There’s no denying the fact that Android is one of the best open-source operating systems out there. What makes Android special is its flexibility, allowing it to run on multiple platforms with a little tweaking here and there. Thanks to that, you can also run Android on Raspberry Pi, the tiniest personal computer you can own. In this article, let’s look at how to install Android on Raspberry Pi 4 using LineageOS 17.1.
Before we get started here’s a list of things that you’ll need.
- A Raspberry Pi 4 with at least 4GB RAM
- An external monitor
- A 16GB or above Micro SD card
- A PC running Windows or Linux
- A USB reader or an SDHC adapter
- USB Keyboard and Mouse, micro HDMI to full-size HDMI cable, and a 5V 3A USB charger to power the Pi.
- LineageOS 17.1 for Raspberry Pi zip file
- Google apps package zip (Pico zip)
- Balena Etcher for Windows and Linux
- Lots of patience
One of the great things about Raspberry Pi is you don’t need to worry about bricking it, unlike Android devices. Even if something goes wrong, you’ll end up damaging your SD card. Thankfully, SD cards are cheap.
How To Install And Run Android On Raspberry Pi 4?
Raspberry Pi Android Gapps Installation
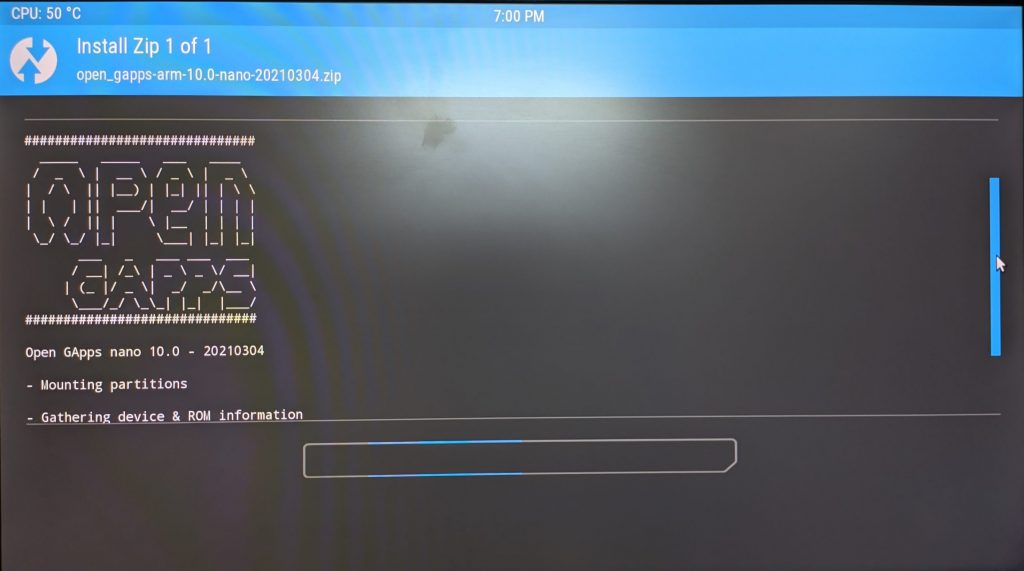
You’ll have to install the Google play store and the Play services by flashing a Gapps (Google Apps) package. First, download the zip file from here.
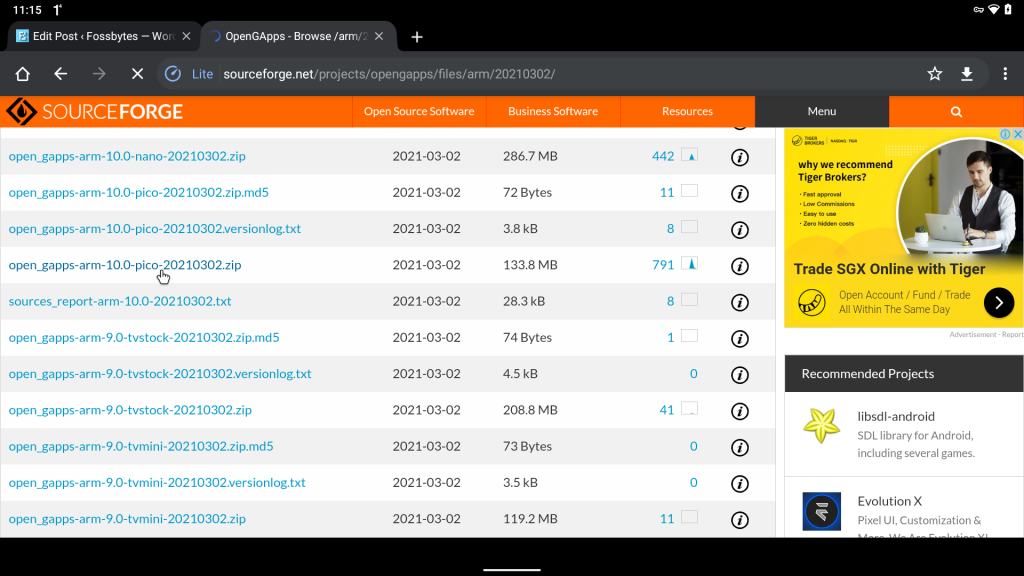
Make sure to download the pico version of Gapps. The lower the package size, the faster the flashing process will be, and the chances of flash success will also be high.
Pico package comes with Play services and Play store. Hence, you can install all the apps from the Google play store later.
- Open the Settings app.
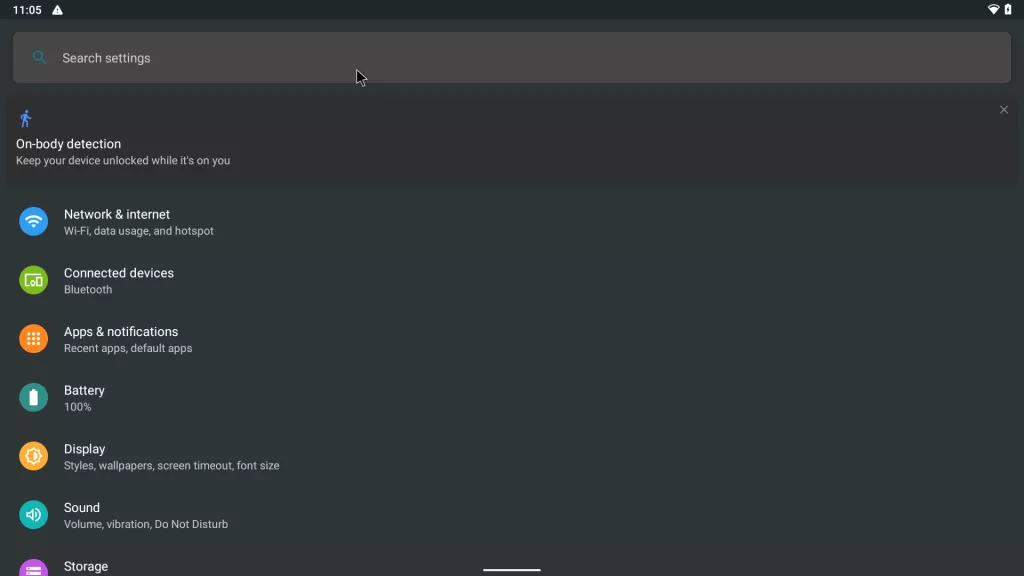
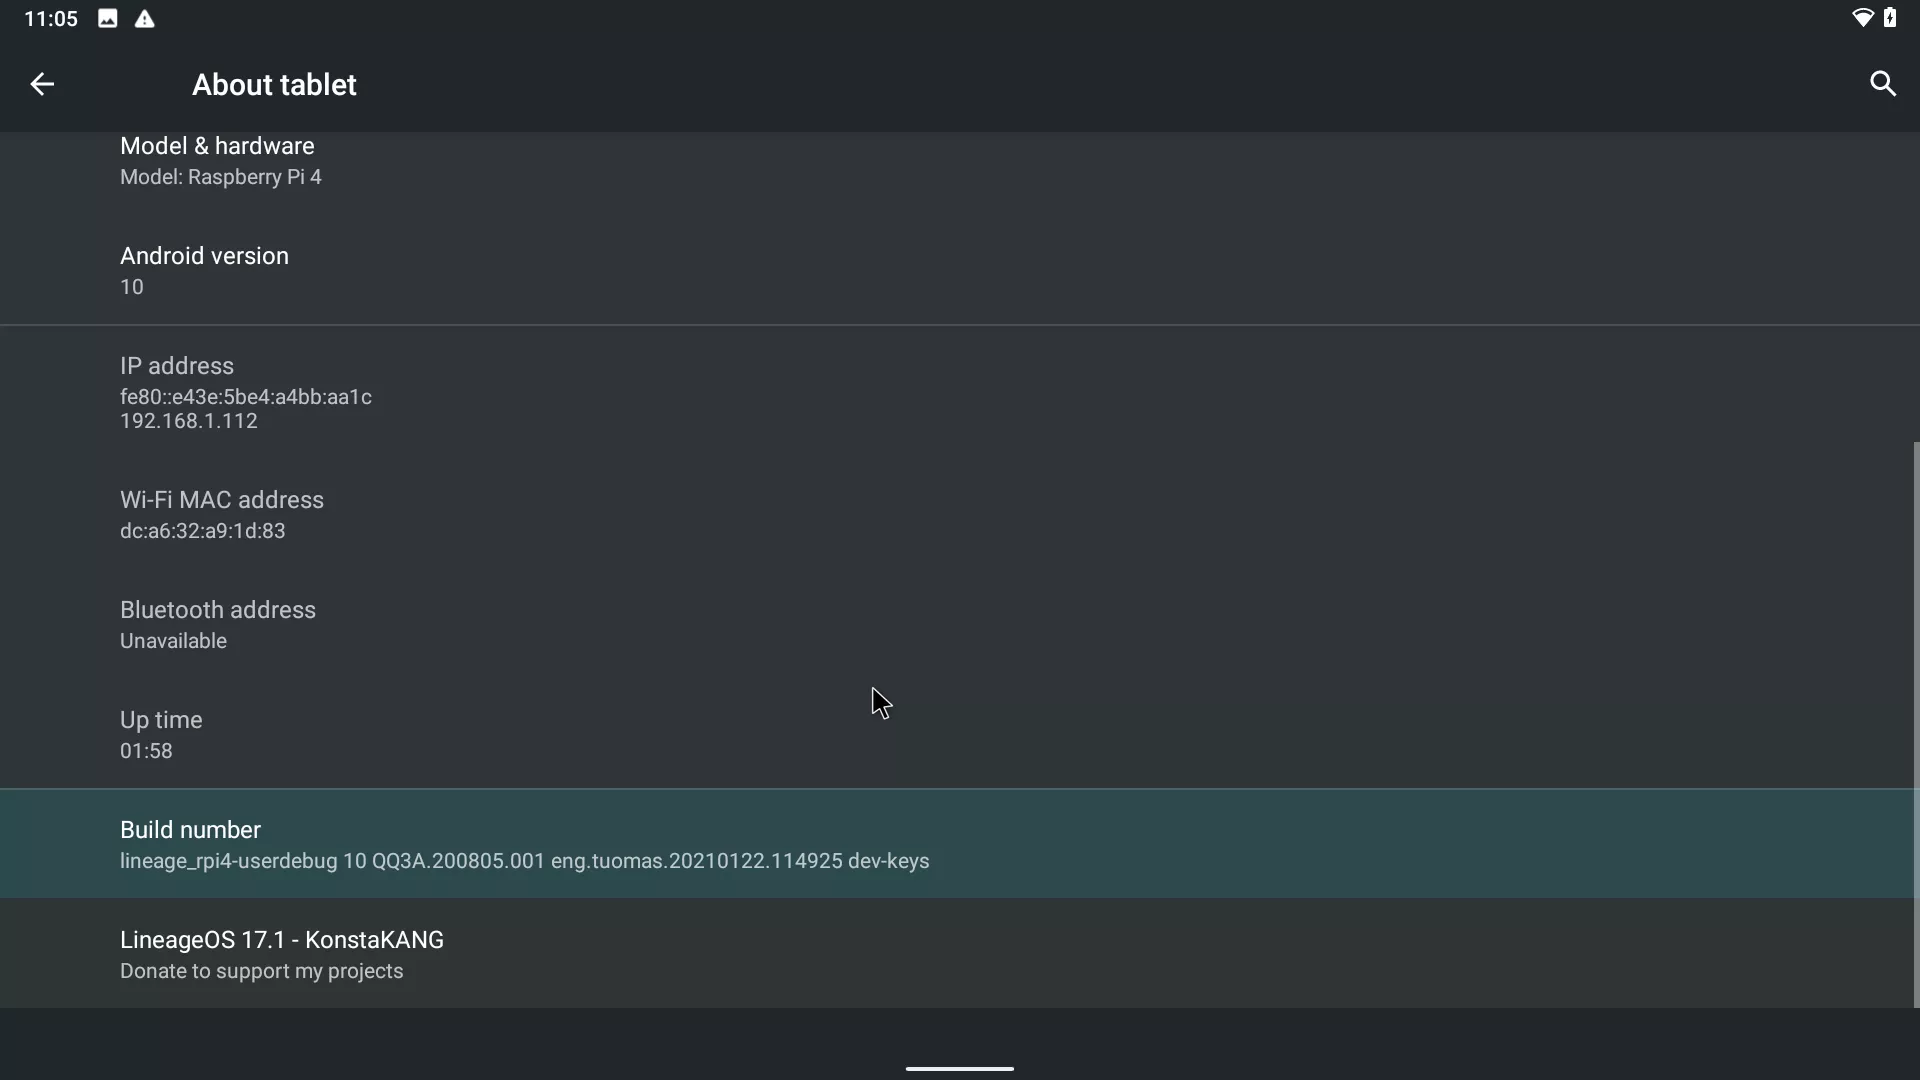
- In the search bar, type “build,” and from the list of search results, find and click on the build number.
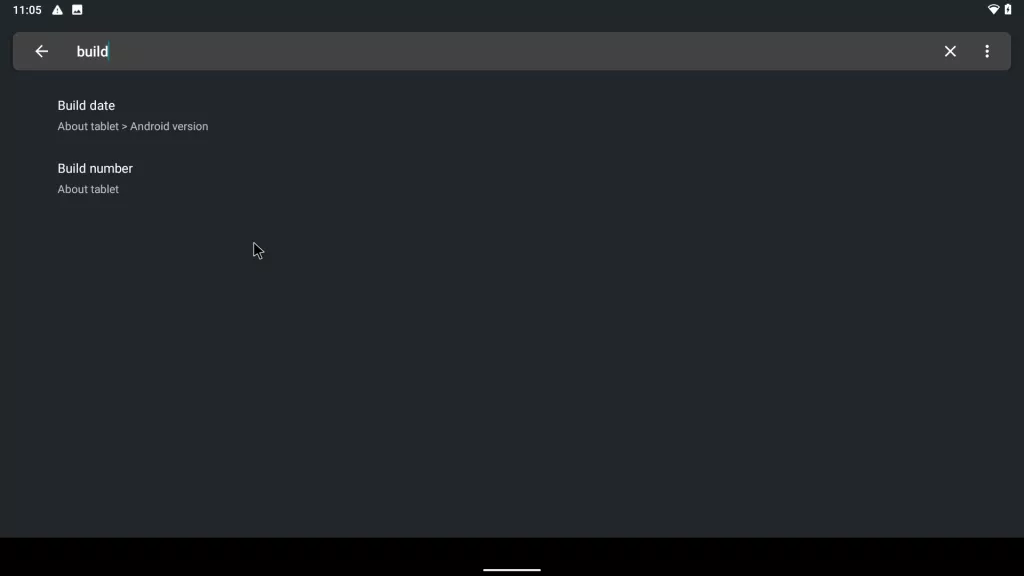
- Click on the “build number” seven times until you see a toast that reads, “You’re now a developer.”
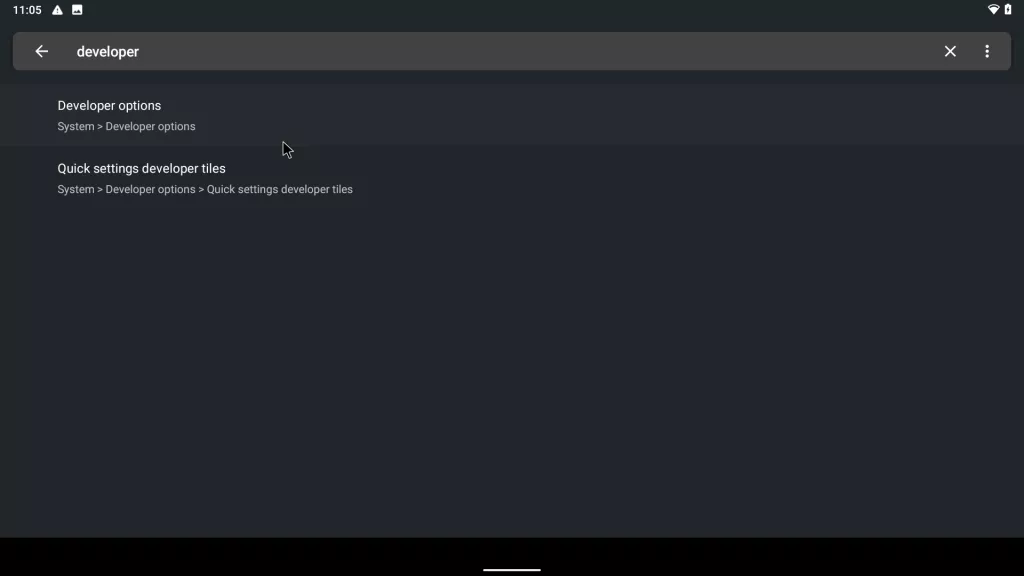
- Now go back to settings and type “Developer” in the search bar. From the search results, find and click on the “Developer options.”
- In the Developer options, find and toggle on “Root access.”
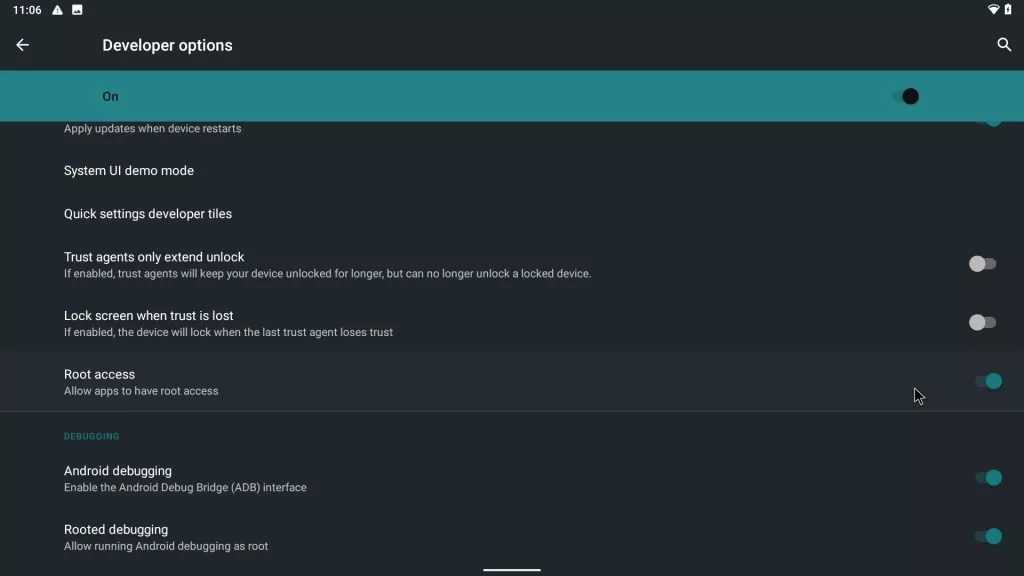
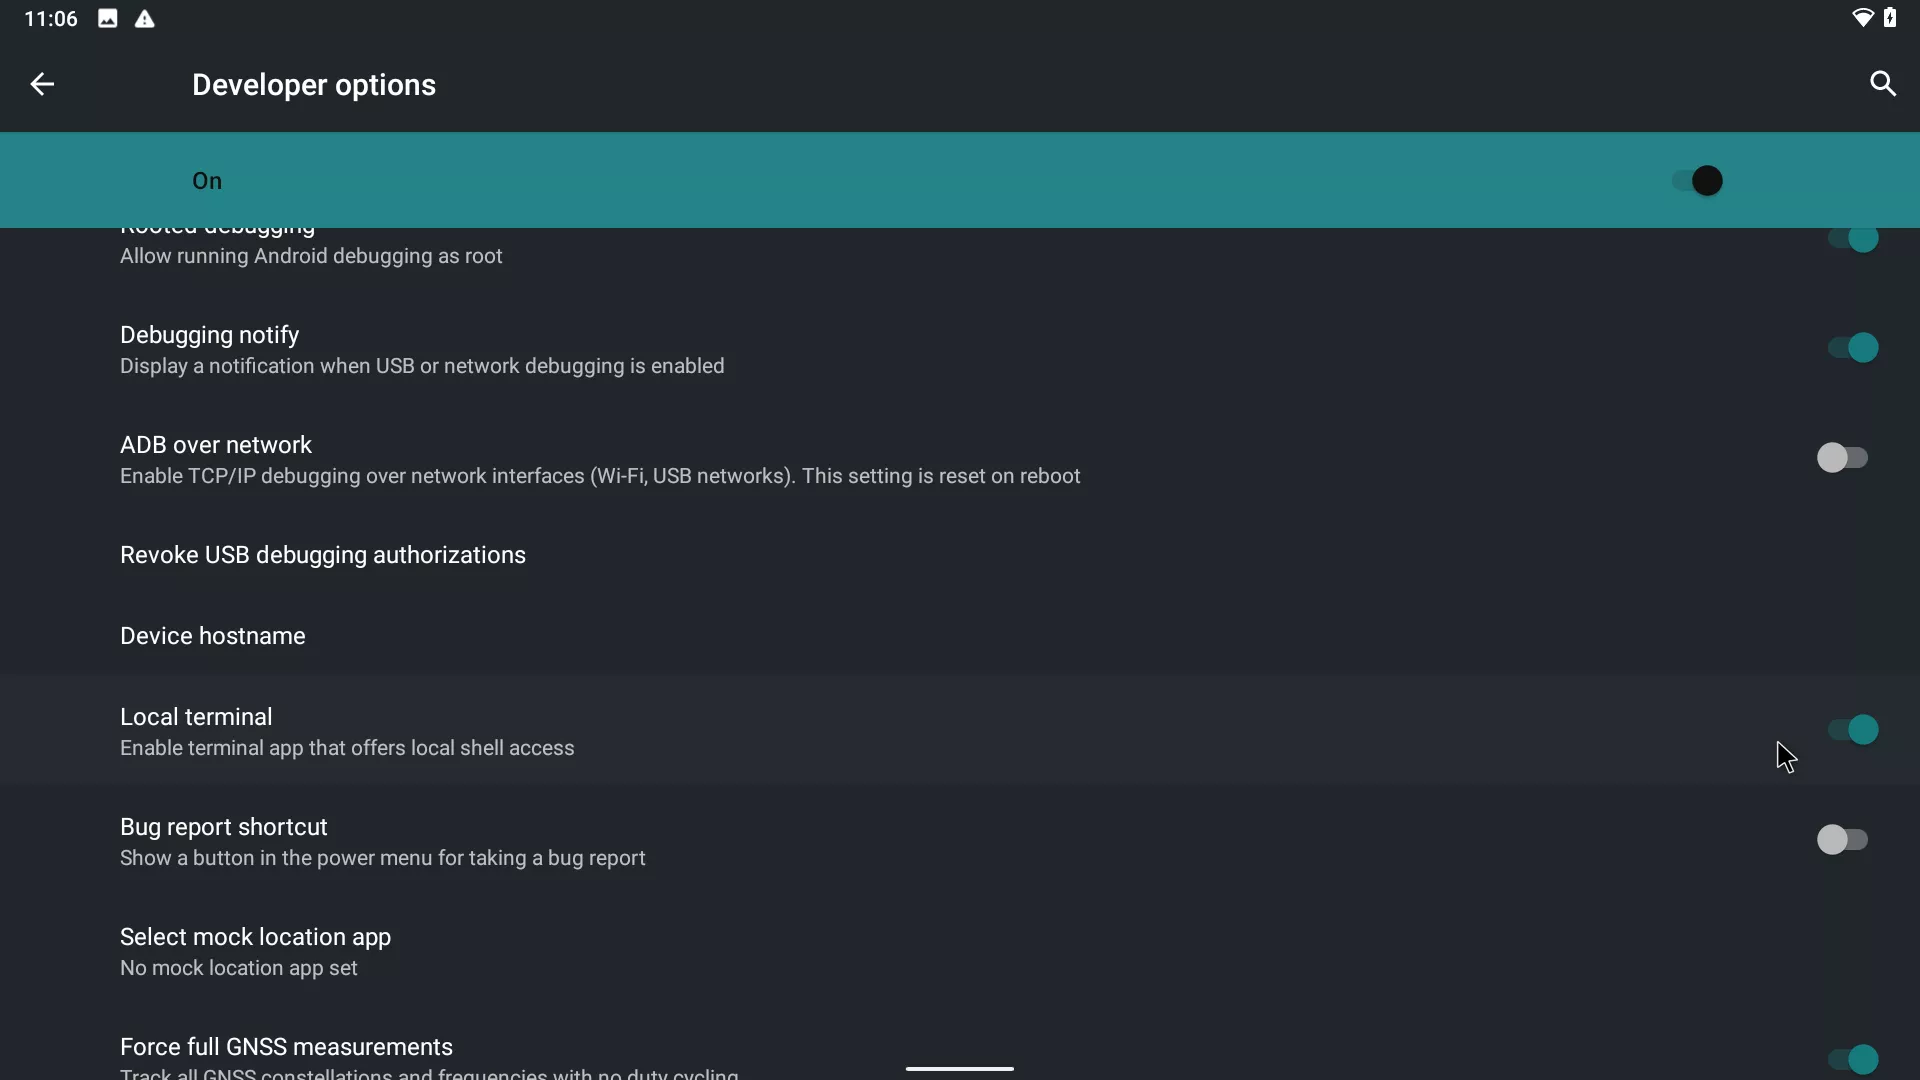
- Finally, find and toggle on “Local terminal.”
Booting Into TWRP
- Now, in the app menu, find and fire up the Terminal. If you don’t find it, reboot your Raspberry Pi.
- In the terminal, type the following commands.
su                      //To enter the rest of the commands as a super user
rpi4-recovery.sh        // To boot into recovery on the next reboot
- You’ll see this.
Mounting partitions...
Changing ramdisk...
Unmounting partitions...
Done, reboot device!
:/ #
- Now, type the reboot command and press enter.
reboot
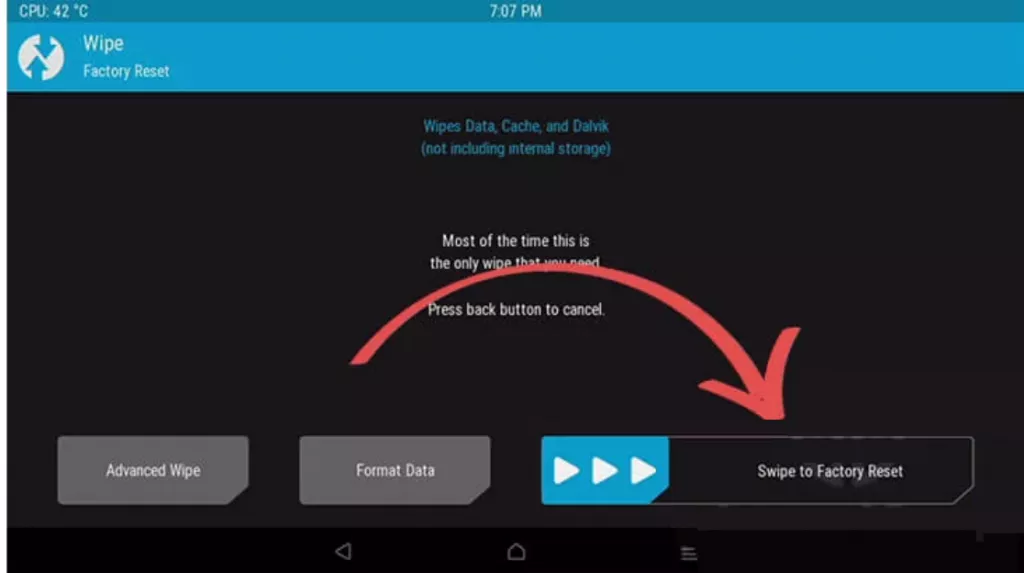
- Your Raspberry Pi 4 will now boot into TWRP recovery. I’ve comprehensively explained what is Rooting and how to install a custom recovery in my other articles so, do make sure to check them out (Psst. Follow these guides with caution. One mistake and your Android device will be as good as dead).
- After your Pi boots into recovery, “swipe to allow modifications.”
- Now you’ll be back to TWRP’s home section.
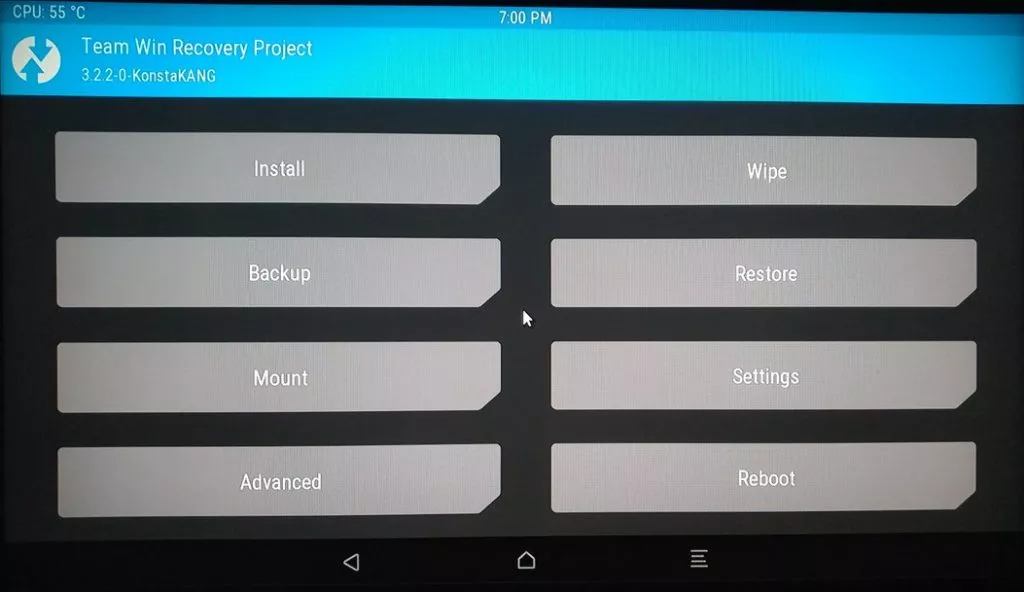
- Click on the install option. Navigate to the directory where you downloaded the Gapps Pico package, click on it, and finally, “swipe to flash” the zip.
- Now, go back, click on reboot, and click on “system.”
- Your Raspberry Pi 4 should now boot into LineageOS. Check the app menu, and voila! You should now have Google play services and Play store installed.
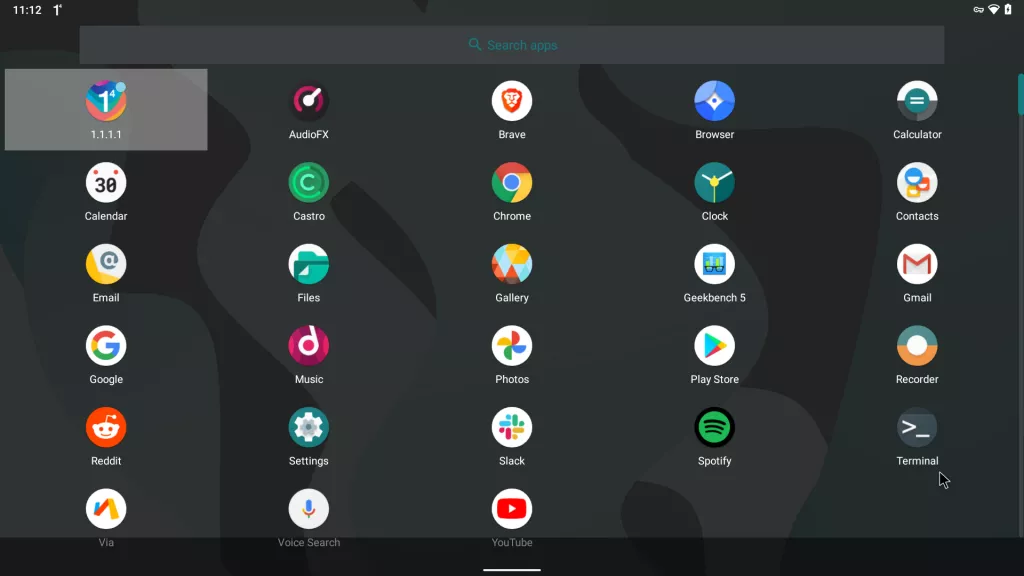
My Thoughts On The Build
I tested out this build for almost an entire day and found it to be fairly stable. I did experience random reboots a couple of times but, overall, this build can be used as a daily driver. The only thing that’s missing is hardware encoding (software encoding is present).
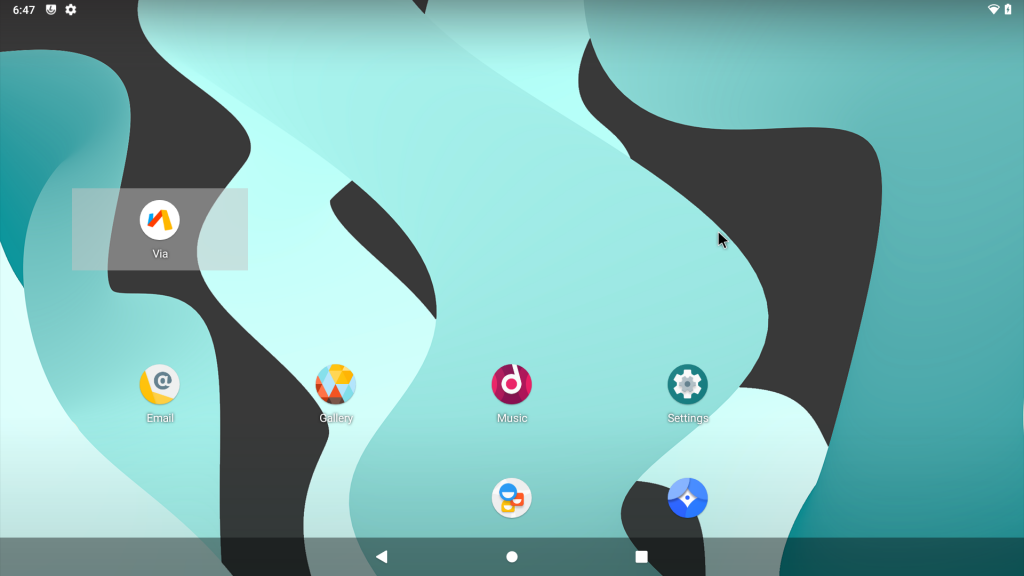
The apps that I tested were:
- YouTube
- Gmail
- Slack
- Cloudfare’s 1.1.1.1
- Google Chrome
- Via Browser
- Google photos
- Spotify
- Castro
Every app except Reddit and Brave worked well. The Pi 4B also handled 720P 30/60fps videos well on YouTube with minor frame drops here and there.
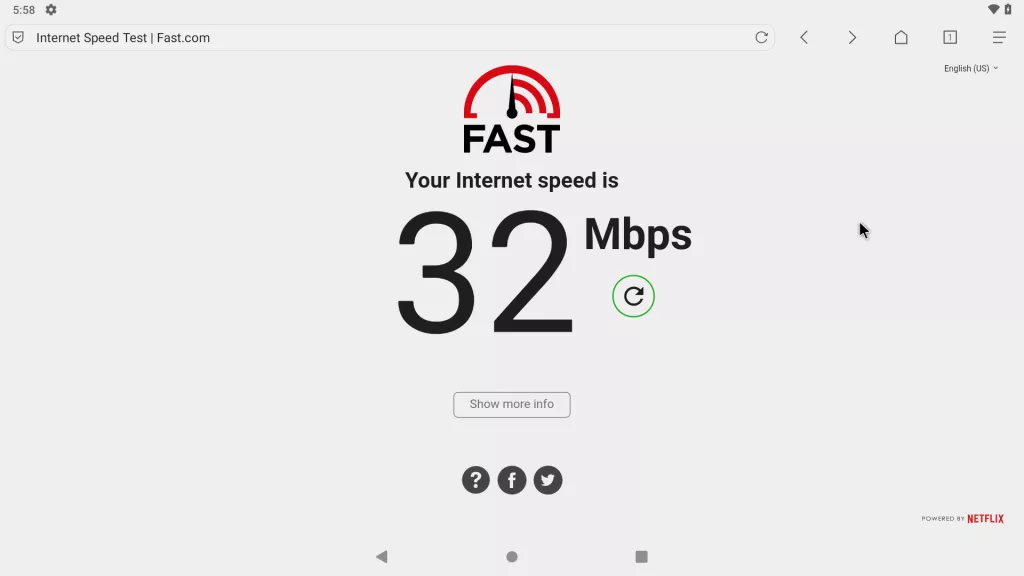
The internet speeds were decent. On our 50 Mbps connection, we got an average speed of 32 Mbps after four runs.
Coming to Geekbench 5, the scores were nowhere near to even 2-3-year-old mid-range devices like the Redmi Note 7, which was powered by the Snapdragon 660. The Pi put up a respectable single-core score of 237 and a multi-core score of 587.
Browsing the web on Chrome was a breeze. There were few occasional hiccups but, that’s acceptable for Pi’s hardware. With around five tabs of chrome, settings app, and Google Photos running in the background, the average RAM consumption was around 2GB.
Overall, the experience was better than average for an unofficial build. This build was brought to you by developer KonstaaT so, do make sure to check out his Github profile.
Want to install Ubuntu instead? Do make sure to check out our how to install Ubuntu MATE on Raspberry Pi article.
FAQs
- Can a Raspberry Pi run Android smoothly?
If you own a Raspberry Pi 4B, you’ll have no issues running Android. However, the OS will severely lag on other RPI boards, and you’ll not have a pleasant experience.
- Is 4GB enough for Raspberry Pi
Yes. For the most part, 4GB RAM is sufficient for daily use but, if you’re planning to do a lot of multi-tasking with Chromium and other apps, you might want to consider the 8GB variant.
- Is Raspberry Pi 64-bit?
Yes, it is. The Broadcom BCM2711 SoC is a 64-bit SoC which is a quad-core chip with ARM’s Cortex-A73 cores. Hence, you can install any 64-bit OS.
- How do I change the OS on my Raspberry Pi 4?
It’s quite simple. Head over to the OS’s website, read the flashing instructions, download the OS image, and flash it on the card using Raspberry Pi Imager.