How To Enable New & Built-In Windows 10 OpenSSH Client?
It’s not hidden that the experience of using a terminal-based software on Windows isn’t as good as doing the same on a *NIX machine. To make things better, Microsoft has added a Windows 10 OpenSSH Client and OpenSSH Server application.
I spotted this development on a Ycombinator Hacker News discussion on a link from ServeTheHome. As per PowerShell’s Project Manager, all this work is being done in open source out of a fork. Microsoft is also working closely with official OpenSSH Portable maintainers.
Windows 10 OpenSSH client: Enabling and Installation
Currently, built-in OpenSSH software for Windows 10 is in Beta. It works well, and you can give it a try to connect to a remote SSH server and gain access. Here’s how to enable it on your Windows 10 PC:
1. Get latest Windows 10 version
It goes without saying that you need to have your Windows 10 operating system updated to get this feature. I had Windows 10 Version 1709, also known as Fall Creators Update, running on my machine.
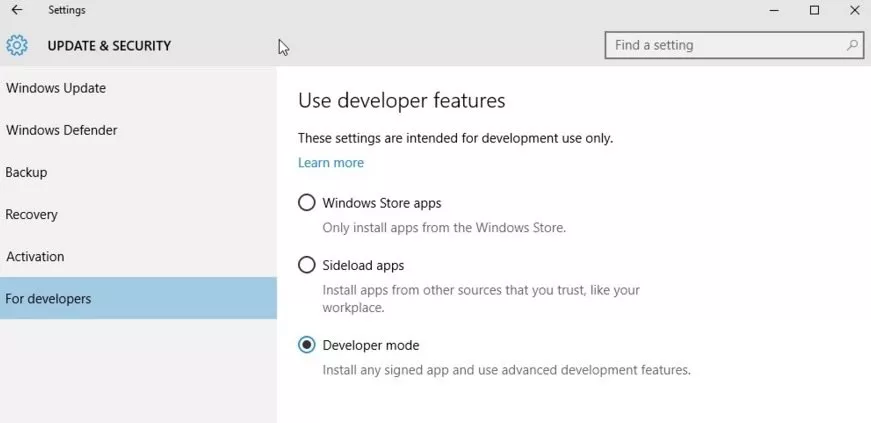
2. Enable Developer Mode
The next step should be to enable Developer Mode on Windows 10 to get the latest features. You can find this option in Update & Security section in Settings.
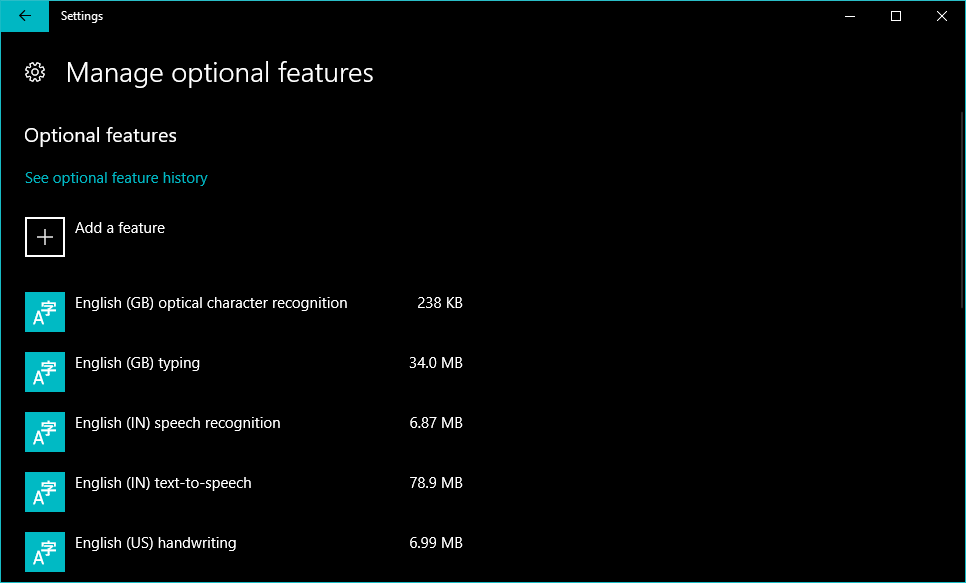
 3. Open Manage Optional Features
To open this setting, search in Start Menu search box for Manage optional features and click on it. A new window will open as shown below.
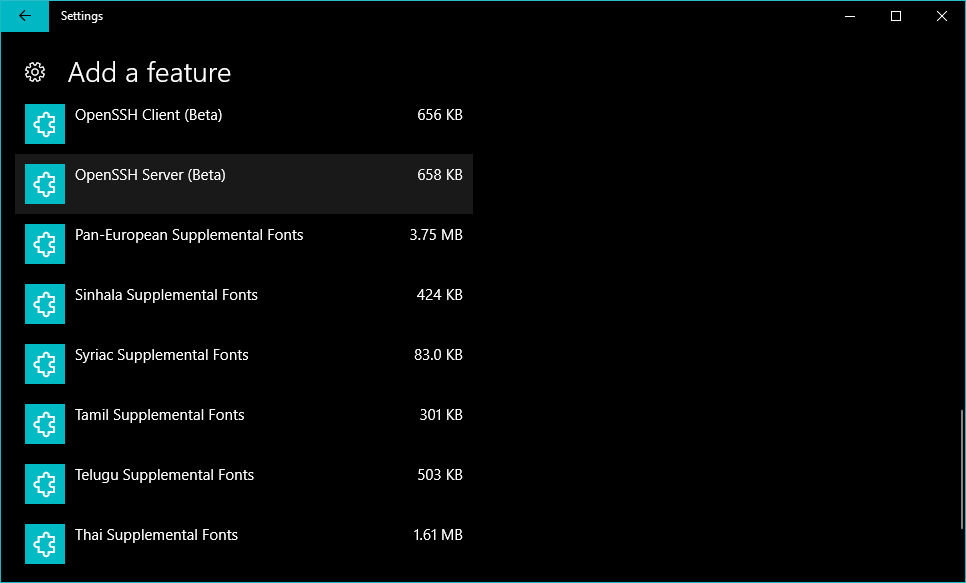
4. Click on Add a features
You’ll be able to spot the + button in the above Setting with text Add a feature. This will open a new screen with available new features. You need to scroll below to find OpenSSH Client and OpenSSH Server. Select the desired package and click Install. This will continue the installation in the background. Once finished, restart your PC.
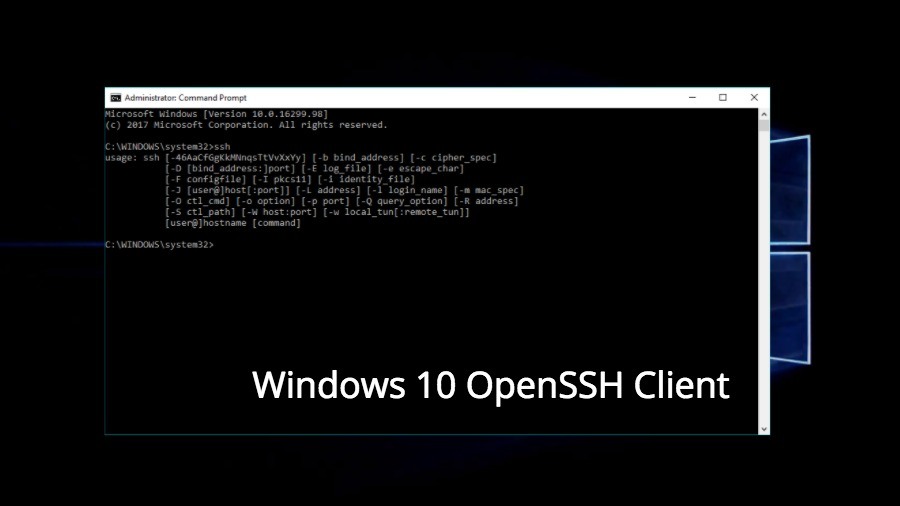
5. Use OpenSSH on Windows 10
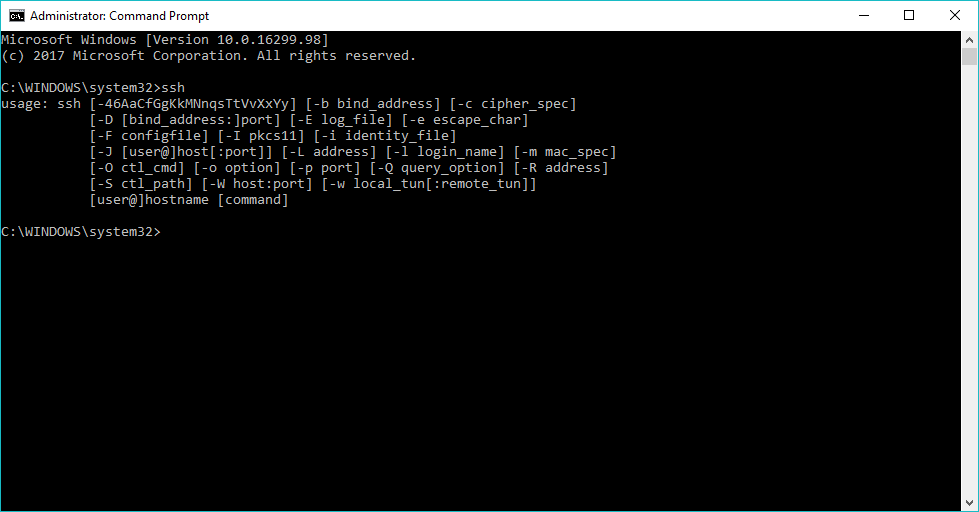
After the installation is completed, open the command prompt and start using OpenSSH client. To do so, type ssh and hit enter. This will show the following result. Now, feel free to use it on your PC.
That was all about how to enable new OpenSSH client on Windows 10. I’m assuming that you’re already aware of SSH and how to configure the same. Do give it a try and share your feedback with us.
Also Read: What Is “Near Share” In Windows 10? How To Share Files Wirelessly Without 3rd-Party Software?