How to Increase Download Speeds in Windows 11?
Downloading a new game can be very exciting. However, this happiness quickly turns into frustration when you know your internet is fast, but the speed just isn’t coming. If you are stuck in a similar situation right now—don’t worry. In this guide, I’ll show you four simple ways to increase download speeds in Windows 11.
1. Close Background Processes
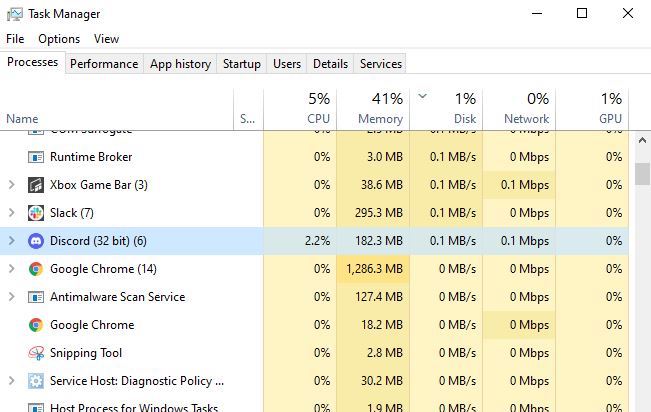
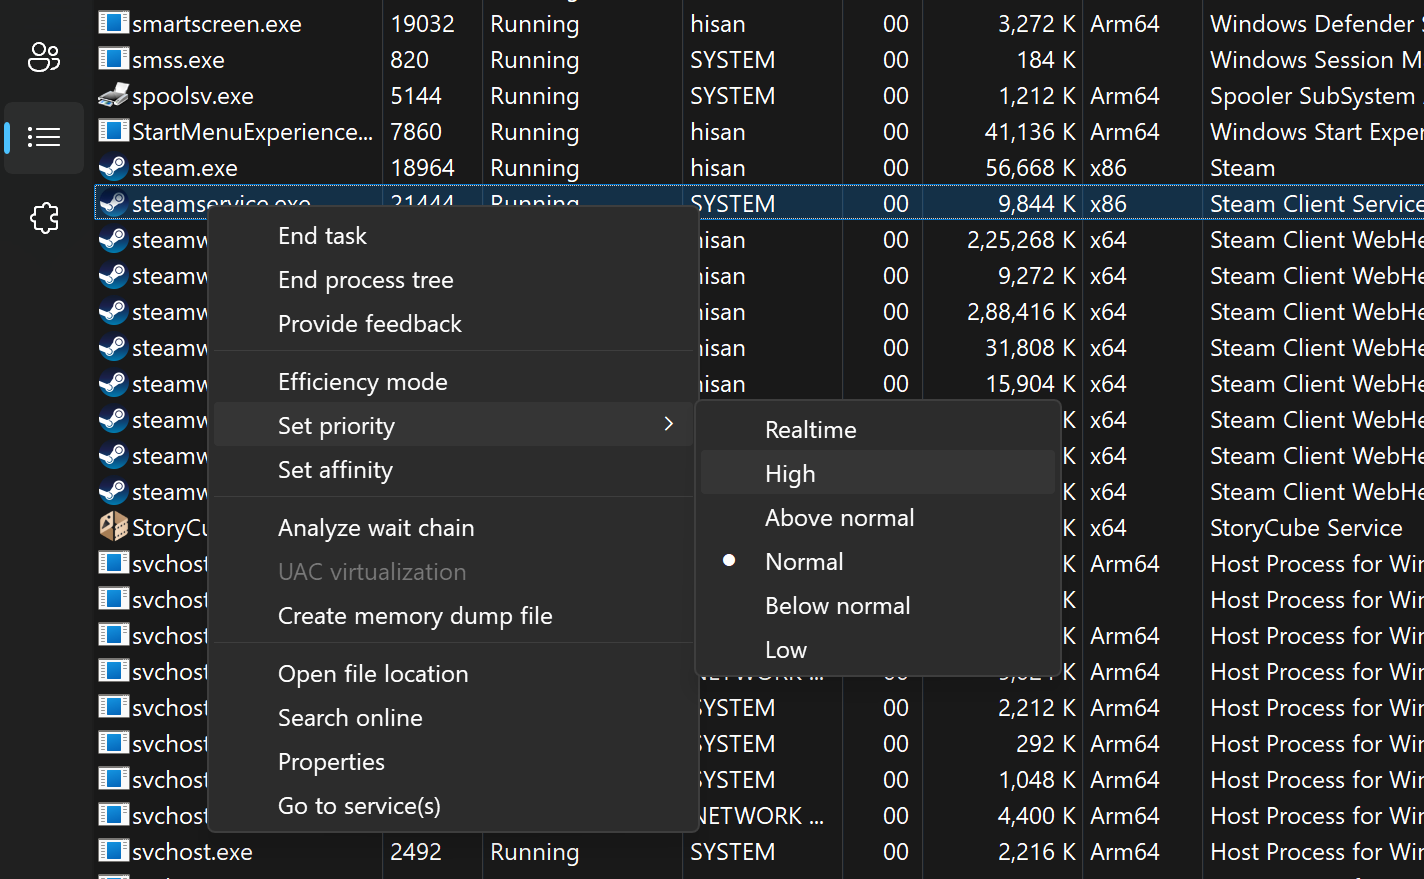
If you’re downloading a Steam game while watching a 4K YouTube video, both tasks will compete for network bandwidth and slow your download. Therefore, the first thing you should do is close all the background processes. To do this:
- Open Task Manager.
- Right-click on the processes you want to close.
- Click on the End Task button.
Additionally, you can give the downloading application more network priority. Here is how:
- Open Task Manager.
- Right-click on the desired app.
- Select the Go to Details option.
- Locate the exe file for the application and right-click on it.
- Set network priority to High.
2. Use a Wired Internet Connection
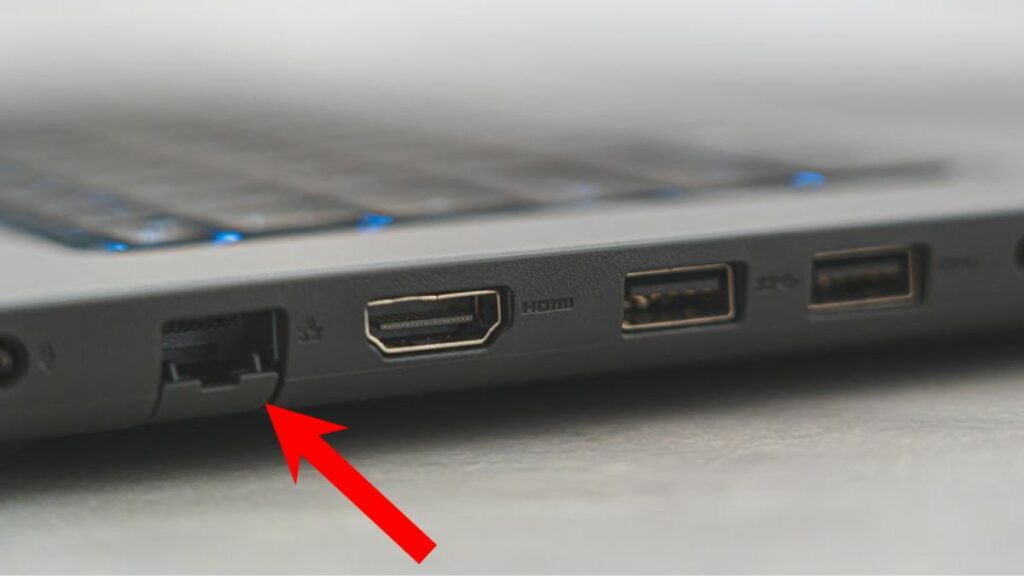
Although Wi-Fi speeds have improved, they still pale in comparison to ethernet speeds. Therefore, if you are downloading a big game like Call of Duty Warzone and your PC/laptop has an ethernet port, try plugging it in. You will instantly see your download speeds go up.
3. Change DNS Server
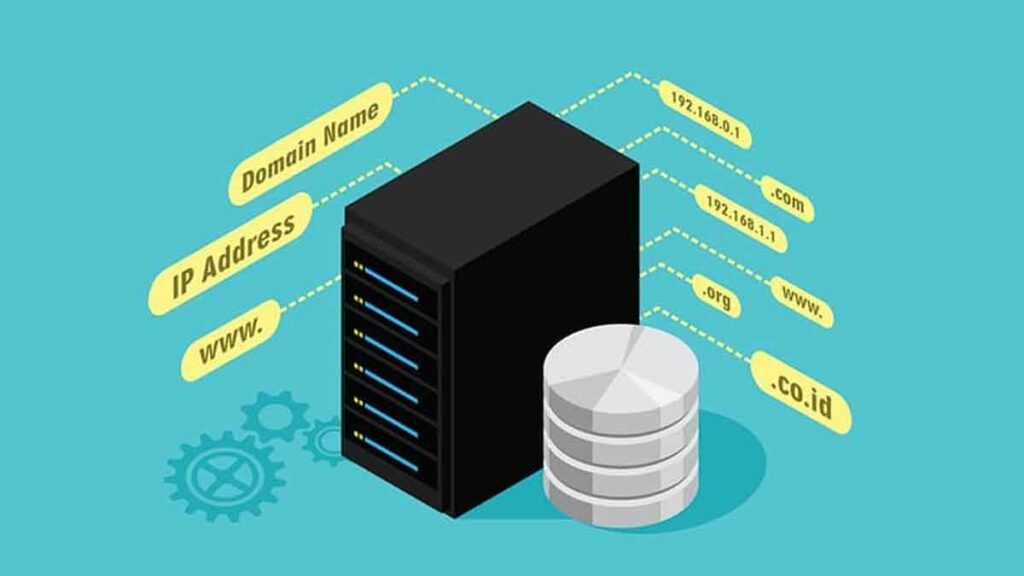
DNS, or Domain Naming System, is a service that translates human-written website names like Fossbytes.com into bits that computers can understand. In simple terms, DNS is your gateway to the internet. However, if your DNS server is slow, it can bottleneck the whole system. Fortunately, you can change it in Windows 11. Here is how:
- Open Control Panel.
- Click on the View network status and tasks button.
- Tap the name of your internet connection beside the Connections section.
- Click on Properties in the following dialog box.
- Select Use the following DNS server addresses and enter your preferred DNS server.
4. Use a Download Manager
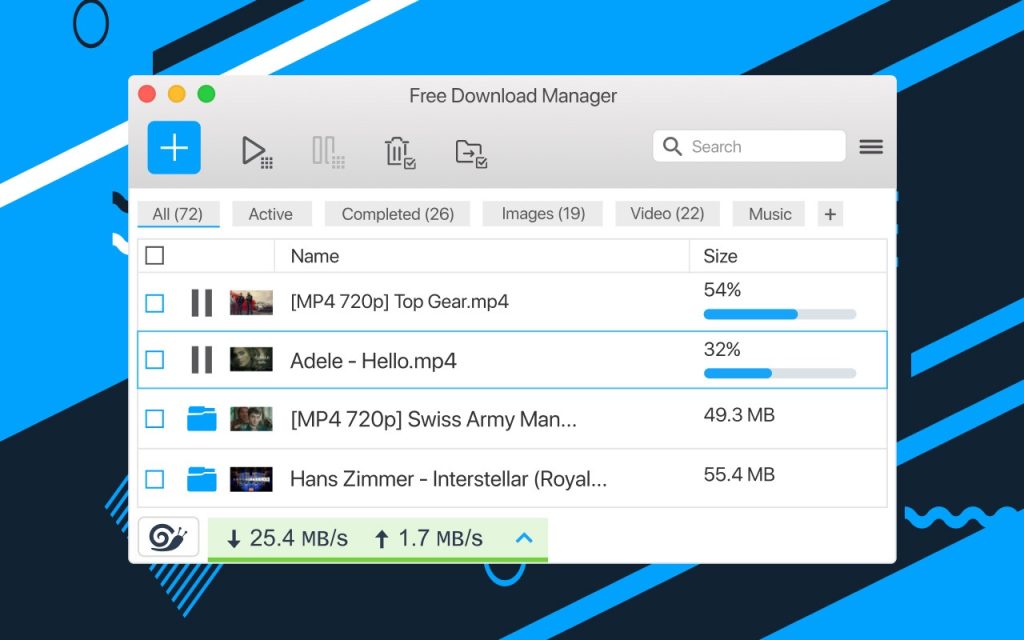
If you frequently download large files, a download manager could solve your problems. These programs break the file into smaller parts and download them simultaneously, making the process faster and more efficient. Some of the popular download managers include JDownloader 2, Free Download Manager, and Motrix.
Frequently Asked Questions (FAQs)
You can use websites like speedtest.net to check your download speed quickly.
Some of the best DNS servers are OpenDNS, CloudFlare, and Google.
To improve download speeds over Wi-Fi, try moving closer to your router, reducing interference from other devices, or switching to a 5GHz network if your router supports it.
Conclusion
There you have it—the best ways to improve your download speeds in Windows 11. Whether you’re downloading a large game or file, there’s a method here for everyone. Be sure to try all the solutions to see which works best for you.