How To Play PS1 Games Using Gamma Emulator On iPhones?
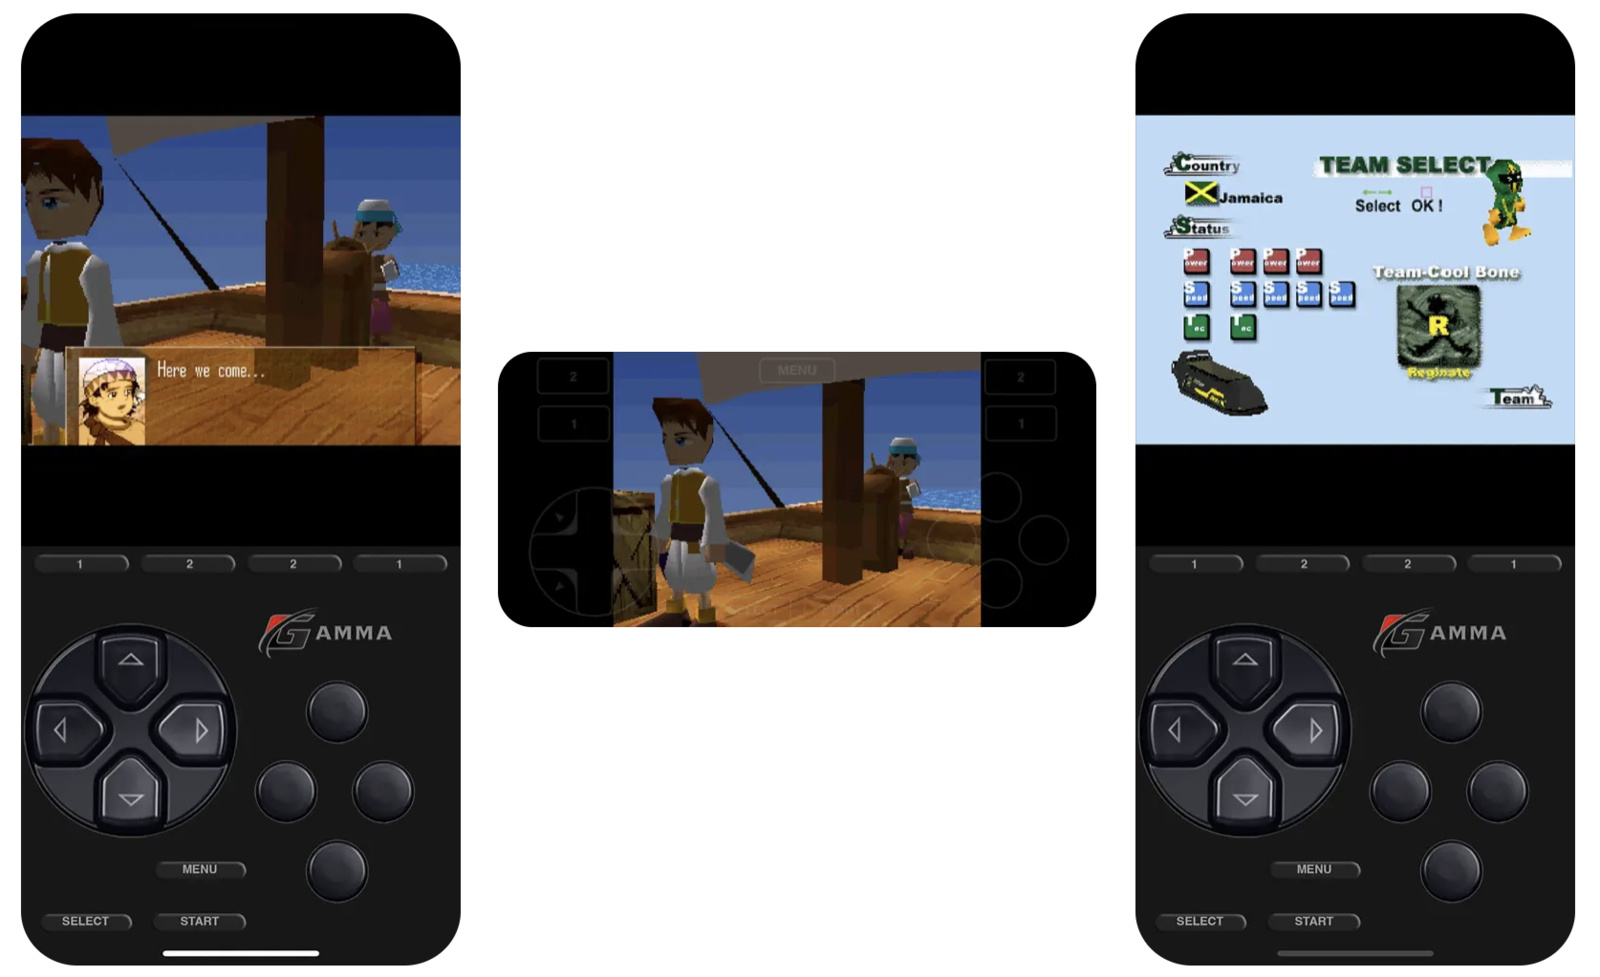
It’s safe to assume that emulation has taken the world by storm following Apple’s recent decision to allow emulators on the App Store. While millions have enjoyed playing GBA, NES, and GBC games on the Delta iOS emulator, it lacks support for one of the most major consoles: the PS1.
Now, addressing this gap, the Gamma emulator has just launched on the iOS App Store, offering support for the PS1 console. We’ll get into what Gamma is and how you can install games on it.
What is the Gamma emulator?
Similar to Delta, the Gamma emulator is emulation software designed to replicate the functionality of a specific console, in this case, the PS1, enabling users to play game ROMs. This allows gamers to revisit their favorite titles without the need to purchase the original console.
Now that we have the explanation out of the way, you may be wondering how to get game ROMs. There are currently two methods to obtain them. Firstly, if you have your old PS1 discs, you can use computer software like ImageBurn to extract the ROMs. Alternatively, you can download game ROMs from the internet. Here’s how:
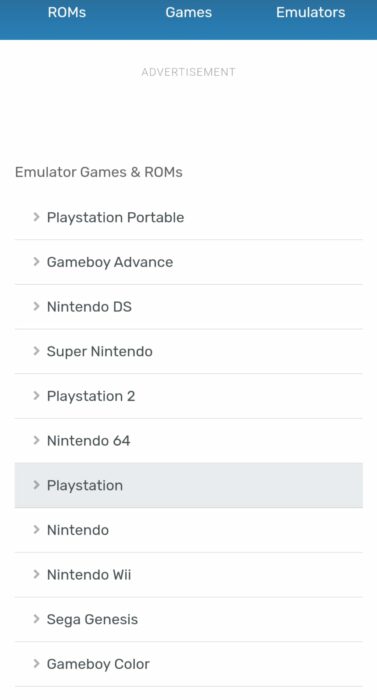
- Visit the emulatorgames.net website.
- Click on the “ROMs” button on the top left.
- Navigate to the “PlayStation” section.
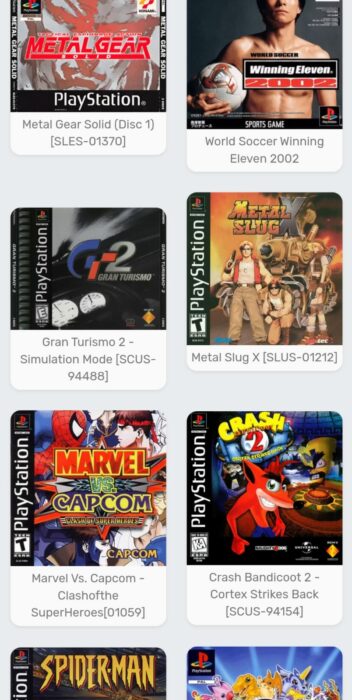
- Select your preferred game.
- Download the ROM.
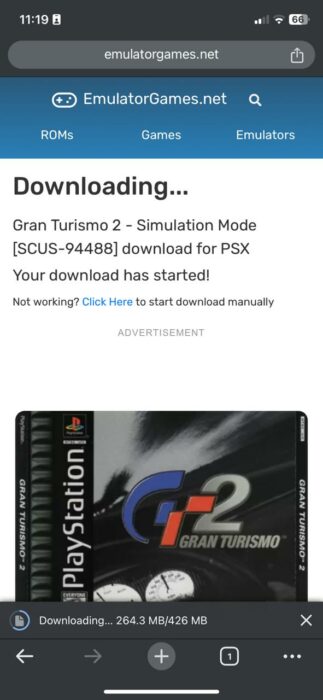
Import games
Once you’ve downloaded your game ROMs, the next step is to import them into the Gamma emulator. Follow these steps:
- Open the Gamma emulator app.
- Click on the “+” icon situated on the top right.
- Choose “Files on Device” from the subsequent drop-down menu.
- Locate your downloaded ROM file.
- Click “Open” to import the game.


Customization options in the Gamma Emulator
Given that Gamma shares its codebase with Delta, the app’s user interface and customization options are very similar. These include:
1. Change Controller Skins
By default, the emulator comes with two control styles, i.e., landscape and portrait. Users can switch between them depending on the game. However, for those who prefer a layout resembling the original PS1 controller or want a fun skin, Gamma allows customization. Here’s how:
- After installing a desired game skin, open the Gamma app.
- Head over to Settings.
- Click on the “Controller Skin” button.
- Select the orientation for which you want to change the skin.
- Tap the “+” button on the top right to select the skin.
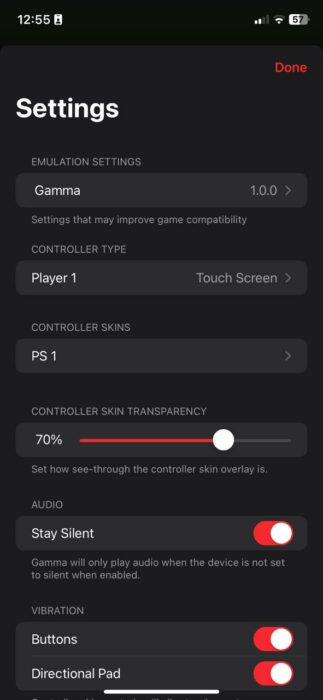
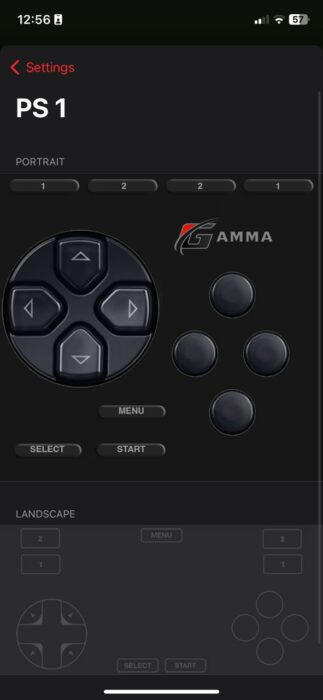
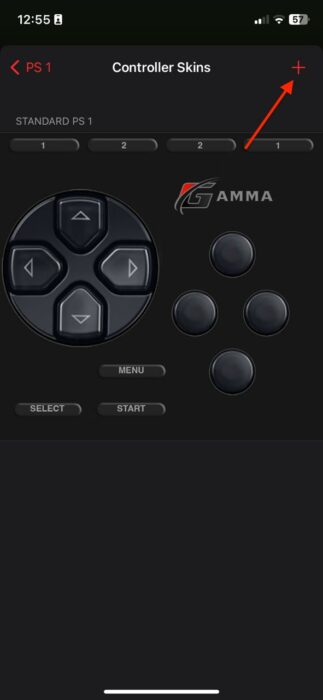
2. Add Artwork
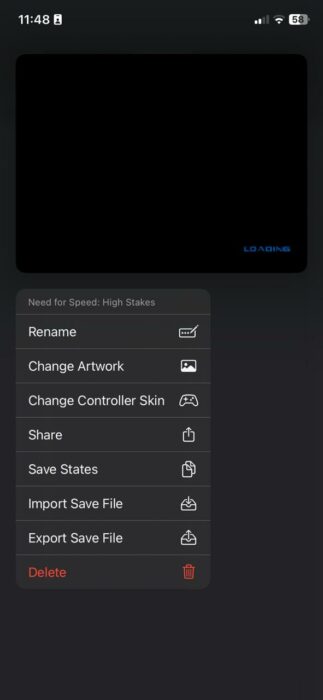
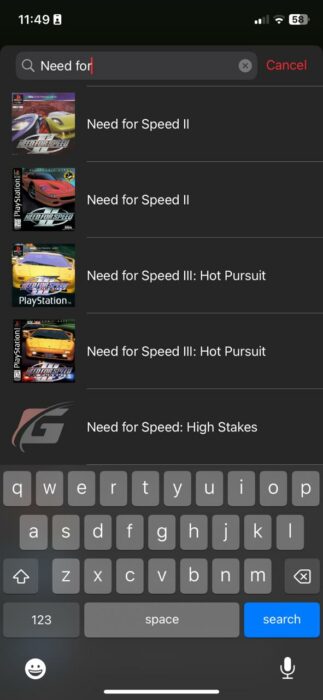
While most ROMs downloaded from the internet include their respective artworks, those extracted from PS1 CDs may not. In such cases, Gamma offers the option to add artwork:
- Open the Gamma app.
- Long press on the specific game.
- Select the “Change Artwork” option.
- Click on “Games Database.”
- Search for your game and select it.
3. Save Game States
Given that PS1 supports games like GTA, saving game states becomes crucial since you probably wouldn’t want to start the game from the beginning every time. Gamma allows users to upload their saved states to their Google Drive account for convenience across devices:
- Open your preferred game.
- Click on the “Menu” button at the bottom.
- Select “Save State.”


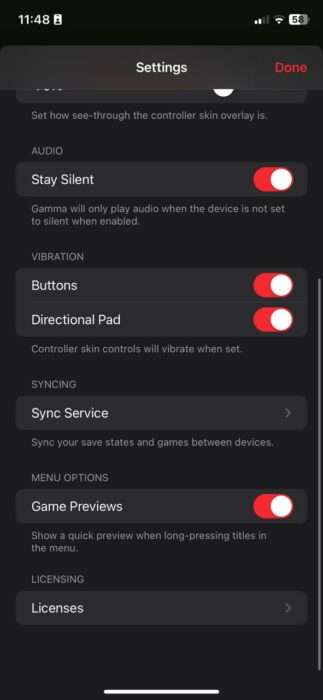
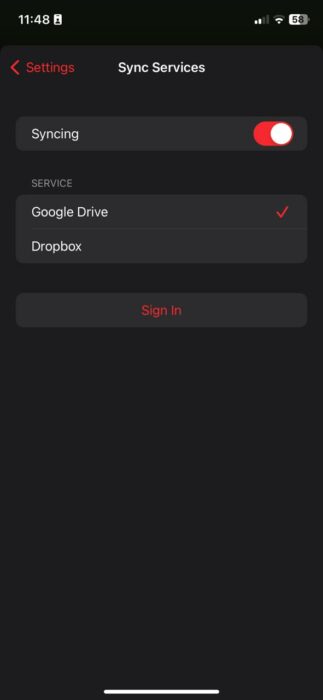
Furthermore, Gamma allows you to upload these save states to a Google Drive/Dropbox account, meaning you can also continue your favorite games to different devices. To do this:
- Open the Gamma app.
- Navigate to “Settings” on the top left.
- Scroll down to “Sync Devices.”
- Enable it and select your preferred cloud storage platform.
- Sign in to your account.
4. Fast Forward
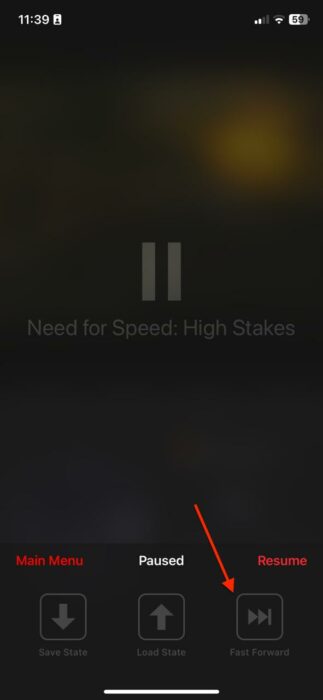
It’s no secret that sitting through long monologues between gaming sessions is boring. Therefore, to skip through non-action sequences and speed up gameplay, the Gamma emulator includes a fast-forward button:
- Launch the game.
- Click on the “Menu” button at the bottom.
- Select “Fast Forward.”

