How To Delete A Netflix Profile?

Let’s be honest here; we all love to stream content on Netflix from time to time. Be it popular movies or amazing shows, Netflix’s content takes a big place in our lives. Also, arguably one of the top features of the streaming giant is its ability to create multiple profiles.
You can create up to five profiles on Netflix and give them custom names as per your needs. This feature comes in handy when you are sharing an account with your friends or family. Each profile on Netflix has its viewing history and recommendations. On that note, you can check out our guide on how to check Netflix viewing history right here.
Anyway, that is not our point of focus today. Let’s assume you have created multiple profiles on Netflix. Currently, a few of your friends have bought their subscriptions (highly unlikely, but it still happens). So you do not have any use for the multiple profiles created.
Wondering how to delete a Netflix profile? Then you have come to the right place. We will help you get rid of the extra profiles on your Netflix account on a web browser and mobile.
How To Delete A Netflix Profile In A Web Browser?
Most users usually like to consume Netflix content on their desktops or laptops. To do that, you need a Netflix web account. If you are using such an account and want to delete a profile, then follow the below-mentioned steps:
1. Log in to your Netflix account
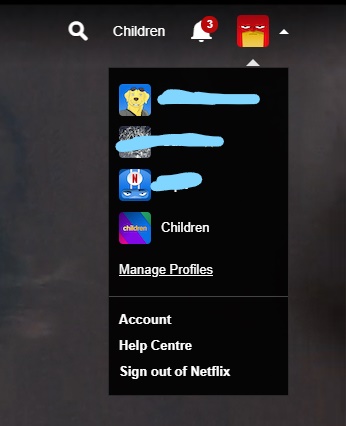
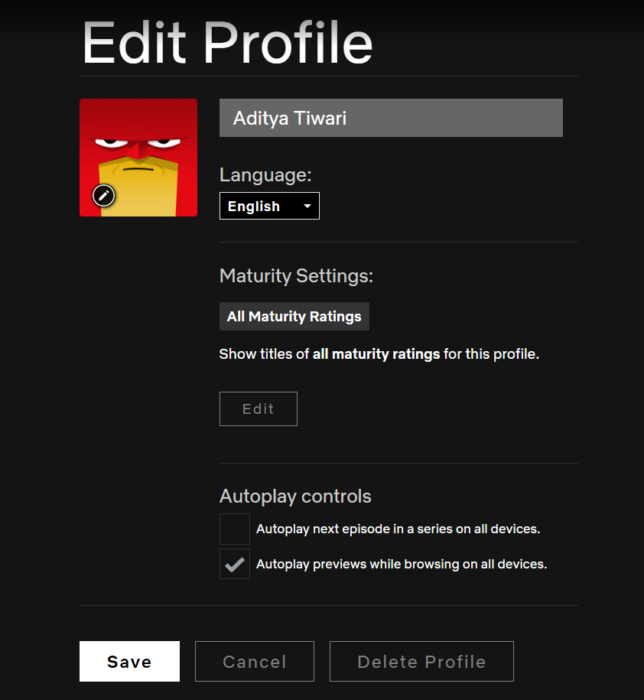
2. Head over to your profile icon in the top right corner and select “Manage Profiles.”
3. Select the profile you want to delete
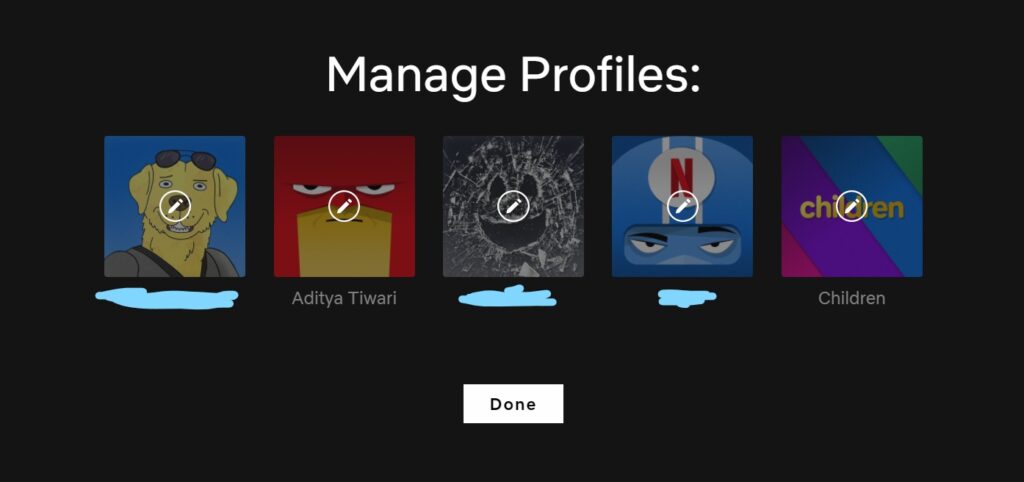
4. Click “Delete Profile” and confirm if you want to delete the profile by once again selecting the “Delete Profile” option
How To Delete A Netflix Profile On A Mobile?
If you are like me, who is too lazy to watch sh\ows/movies on a laptop and instead stream them on my mobile, then you can still delete an extra profile from your mobile device.
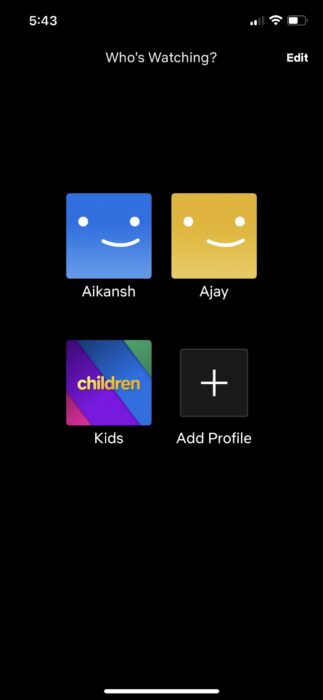
1. Launch the Netflix application on your device
2. Select the “Edit” option in the top right corner
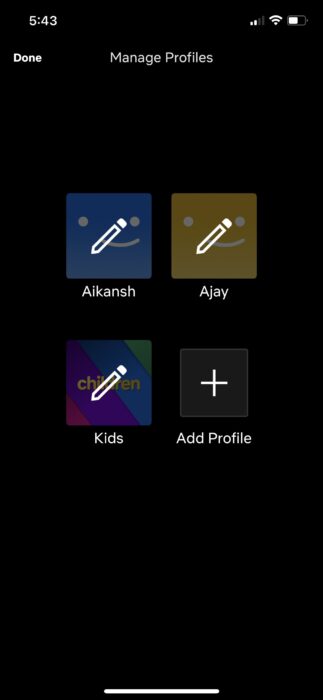
3. Select the profile you wish to delete
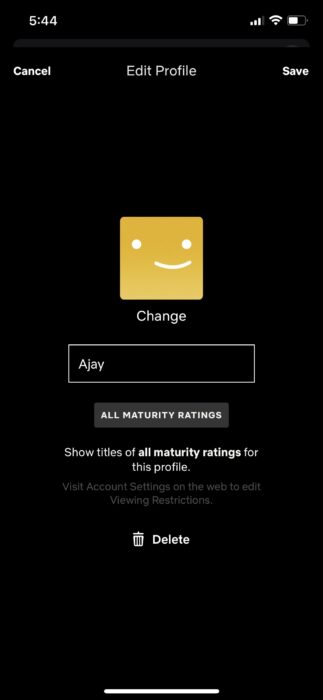
4. Tap on the “Delete” option and confirm it by tapping on the “Yes” option
That’s it for this article; we hope this guide was helpful for you. Feel free to share your honest opinions in the comments section below.


