How To Upgrade Ubuntu Using Command Line?

The next long-term support version of Ubuntu is just about to be released in a few weeks; I guess you must have planned to switch from Ubuntu 18.04 to 20.04 LTS. The upcoming Ubuntu 20.04 is definitely an exciting release with various enhancements and new features, especially GNOME 3.36.
But, you may be wondering how do I upgrade Ubuntu to a newer version? Well, in this guide, I am going to answer exactly the same question. So, get along with me to update and upgrade the old Ubuntu to the latest Ubuntu 20.04 LTS.
There are two methods to upgrade Ubuntu to a newer version or next LTS release — Command L ine and Graphical User Interface (GUI). Here, I want to clarify that this article is specifically for upgrading Ubuntu from the command line. However, you can also upgrade your system using GUI.
Hence, if you’re a terminal geek, you can upgrade the Ubuntu system by writing a single command from a terminal. Using the terminal also allows upgrading the remote system with no graphic environment. Subsequently, sysadmins can log in to their remote Ubuntu system using SSH and follow the same instructions given below to upgrade through a command line.
Note: You cannot upgrade to Ubuntu 20.04 directly from Ubuntu 16, 17, 18.10, 19.04. Your Ubuntu version must be either 18.04 LTS or 19.10. This article is focussed on upgrading to Ubuntu 20.04 LTS (beta) from Ubuntu 18.04 LTS or 19.10.
How Do I Upgrade Ubuntu Using Command-Line?
Follow these step-by-step instructions to upgrade Ubuntu from the terminal:
- Setting up a stable internet connection and backing up data
- Updating all packages to their latest versions
- Checking the new version release
- Running ‘do-release-upgrade’
1. Stable Internet Connection And Backup Data
Before starting upgradations, connect your system to a stable internet network to avoid any disruption during the package download. You can check your internet connection by transmitting packets using a ping command.
ping google.com -c 2
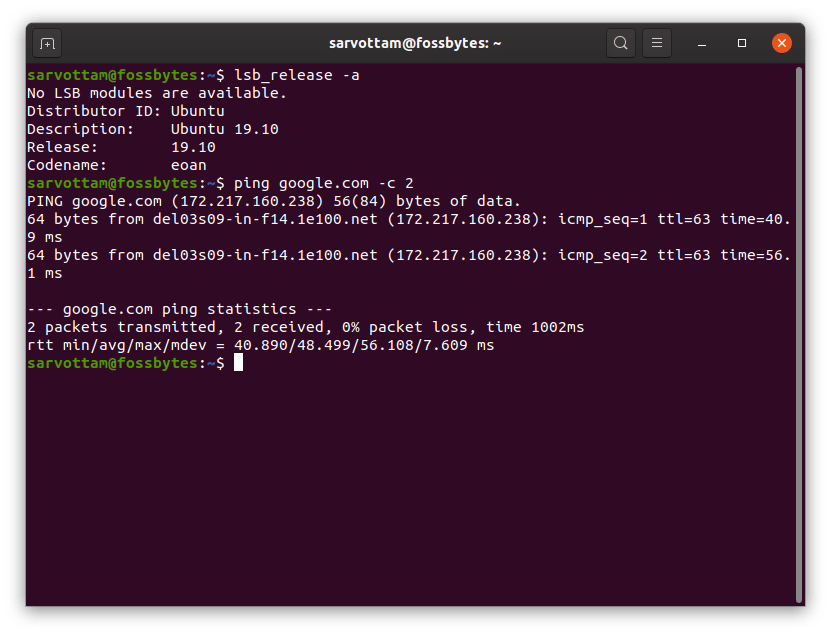
If you have successfully received the two transmitted packets, you are ready to proceed further. But before this, if you want to check your Ubuntu version, run the command:
lsb_release -a
Next, backup all your data to the cloud or another system. Though this is an optional step, precautions must be taken to avoid any data loss in case of failure.
2. Update Ubuntu From Terminal
The newer release of Ubuntu always includes the latest version of packages. Hence, you should update your current list of packages to their latest version. This helps to restrict any package version collision during installations.
Even if you don’t wish to update your system, you have to do so for initiating the upgrade process. Run the single line command given below to update Ubuntu along with package upgrade:
sudo apt update && sudo apt upgrade
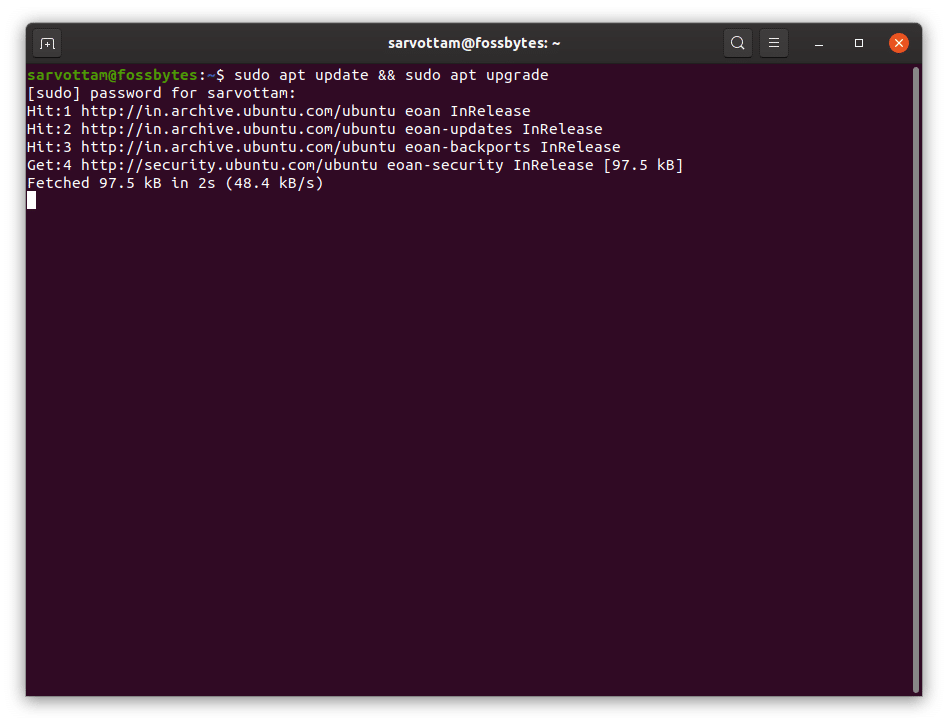
The above command consists of two commands separated by ‘&&.’ ‘apt update’ only updates the list of available packages and their versions and ‘apt upgrade’ installs newer versions of the packages from the updated list. Hence, you can also run both commands individually that lead to the same result:
sudo apt update
sudo apt upgrade
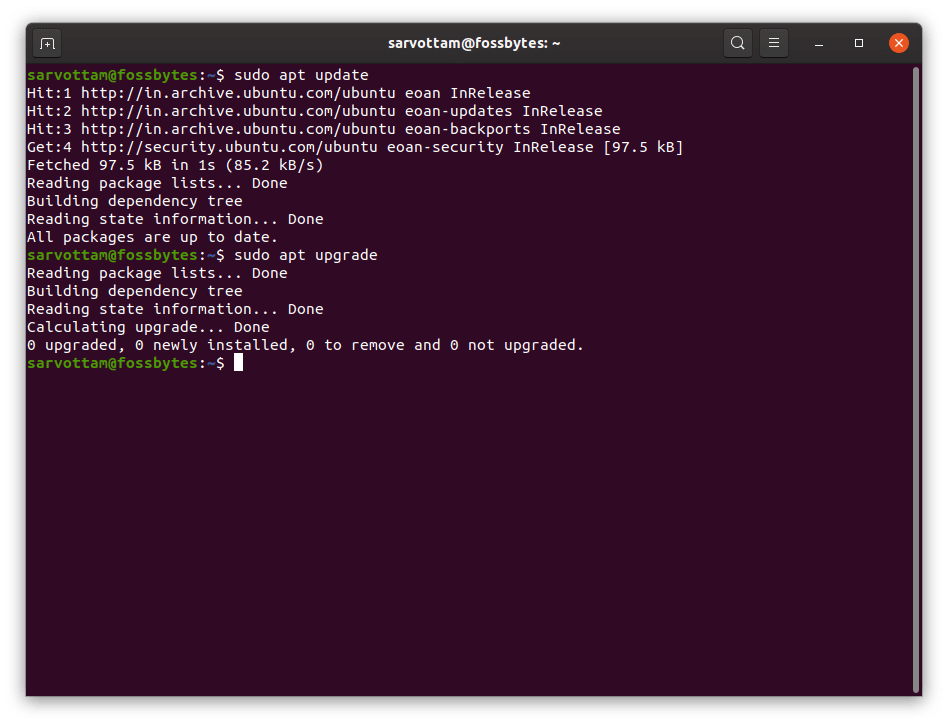
Once the update is finished, reboot your system by running the command:
sudo reboot
3. Check Out The New Release
In this step, we will check whether the new version is available or not. In order to do so, we will use a command-line tool ‘do-release-upgrade.’ You can read the full details of this command from the manual.
man do-release-upgrade
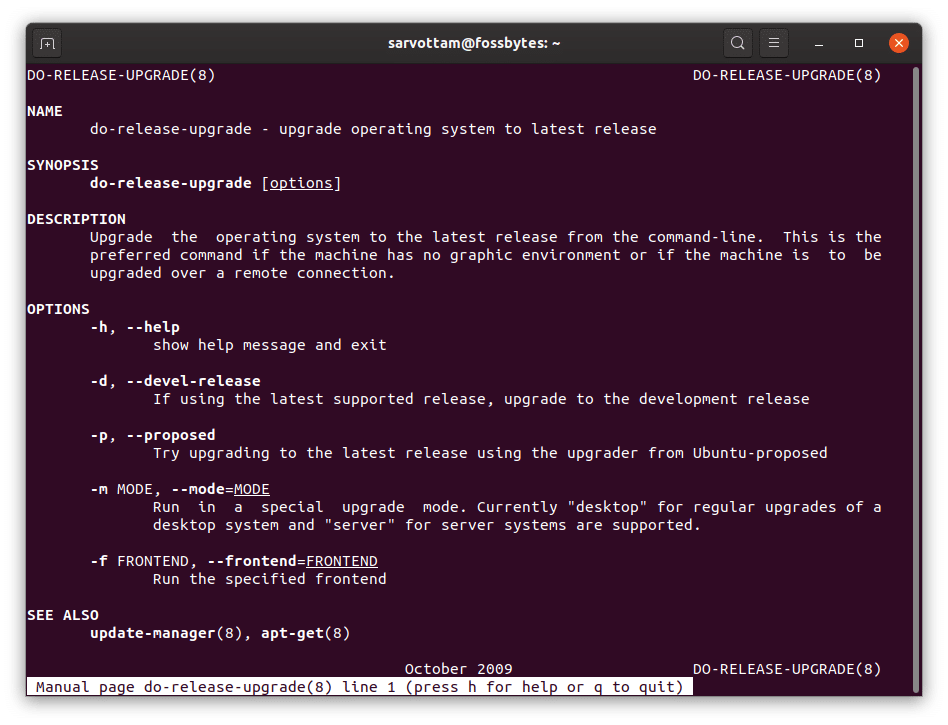
Now, run the following command to check the availability of the latest version:
sudo do-release-upgrade
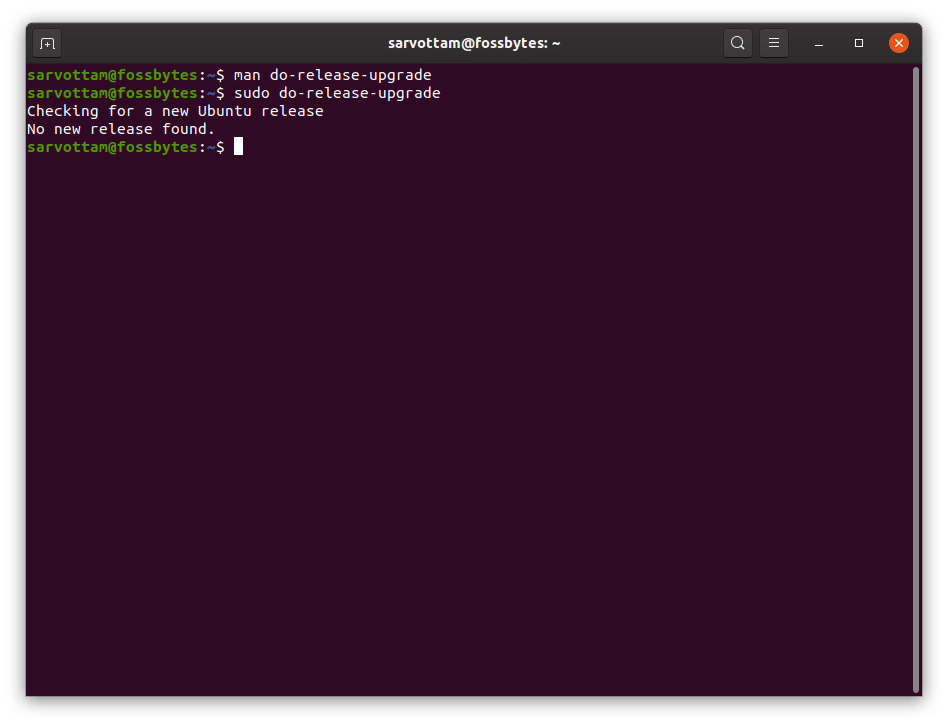
Since I’m using Ubuntu 19.10, the result displays “no new releases.” It’s because at the time of writing this article, Ubuntu 20.04 is under the beta (testing) phase. It means there is no new release available.
But if you’re using Ubuntu 18.04, your results may differ showing a newer version. This is because, by default, the command has a default config value to searches for any new release, i.e., 18.10. You can check your default settings from the ‘/etc/update-manager/release-upgrades’ file.
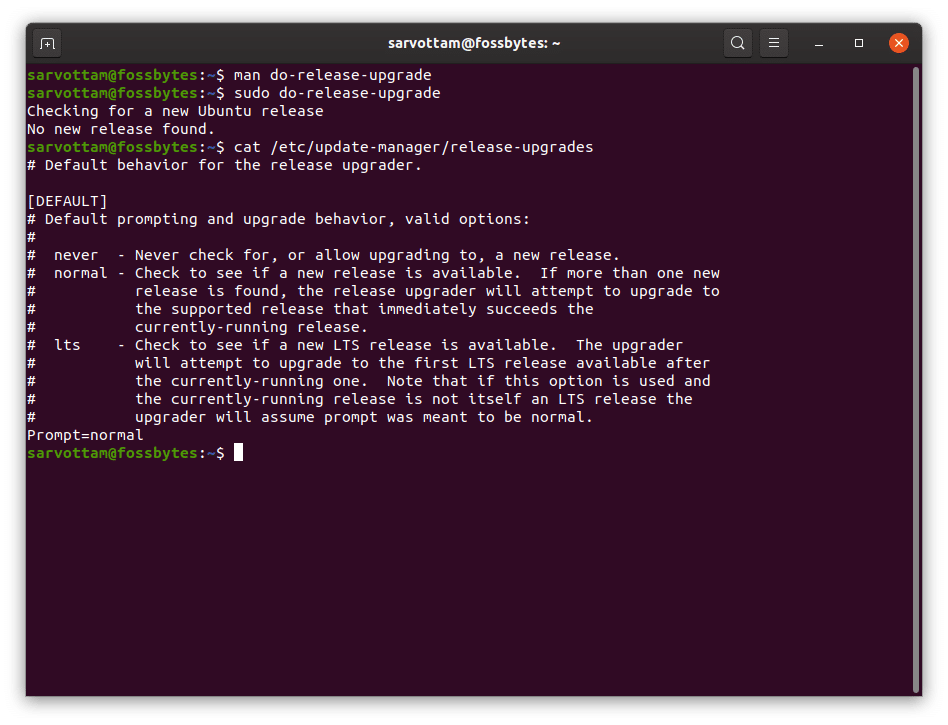
If you want to upgrade to 18.10, type y when you’re prompted to choose. Or, type N and edit the settings to replace normal with LTS to check only for the new LTS release.
sudo vim /etc/update-manager/release-upgrades
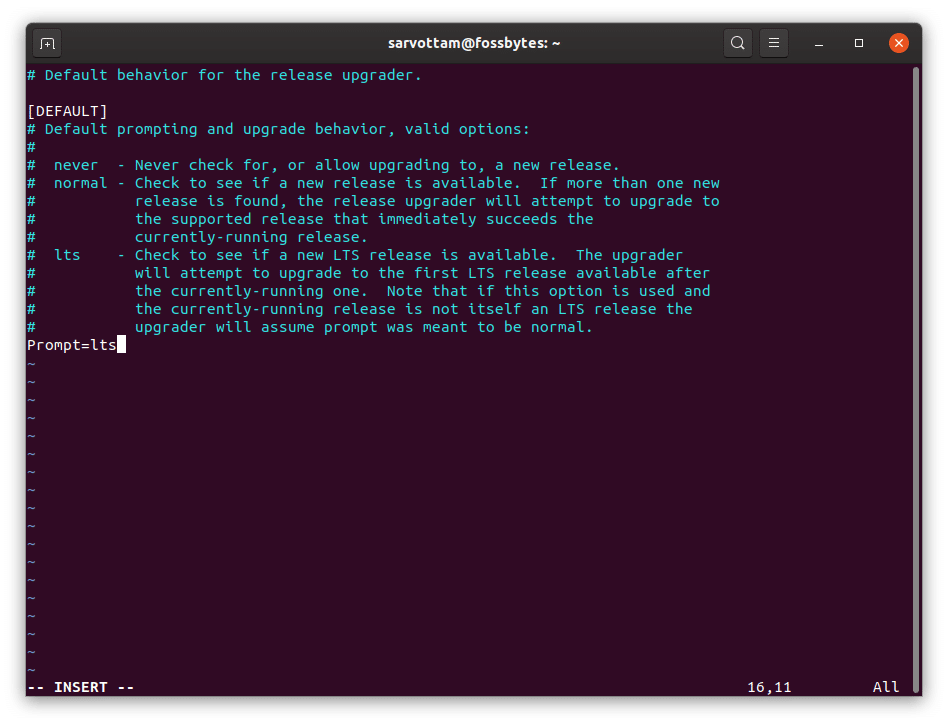
However, you will also now get a “no new release” as the stable release of Ubuntu 20.04 has not yet been released. Therefore, we will use the ‘-d’ flag to install the latest development version of Ubuntu 20.04.
4. Start Upgrading Ubuntu Using Single Command ‘do-release-upgrade’
To install the beta version of Ubuntu 20.04, run the command:
sudo do-release-upgrade -d -m desktop
Note: ‘-m’ flag denotes the mode of the operating system to either Ubuntu server or desktop.
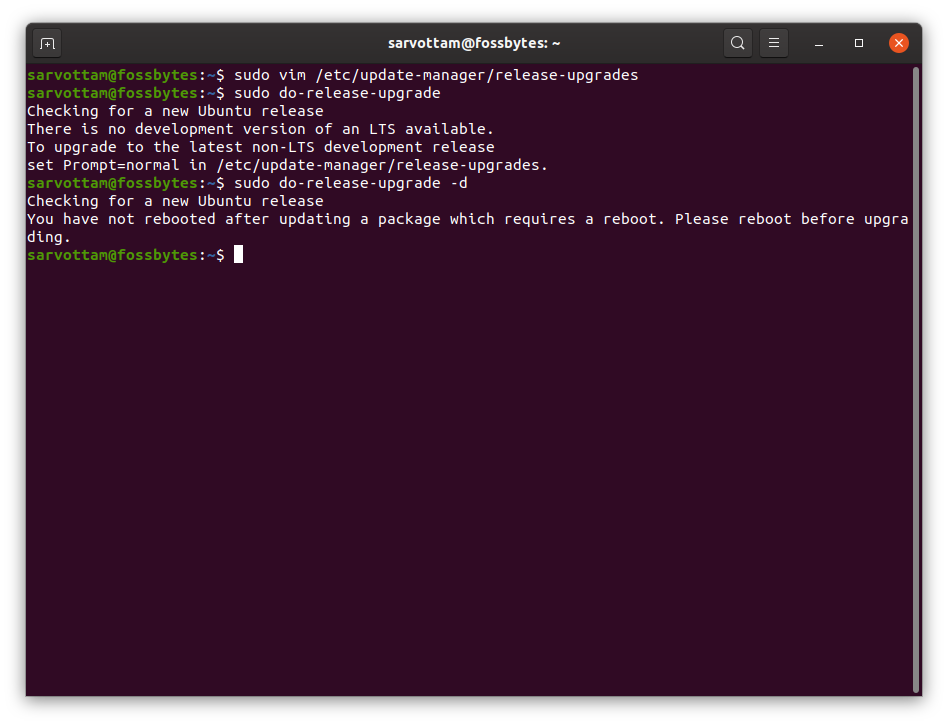
if you have not rebooted the system after updating Ubuntu, you now have to reboot. Then run the same command again and start Ubuntu upgrade:
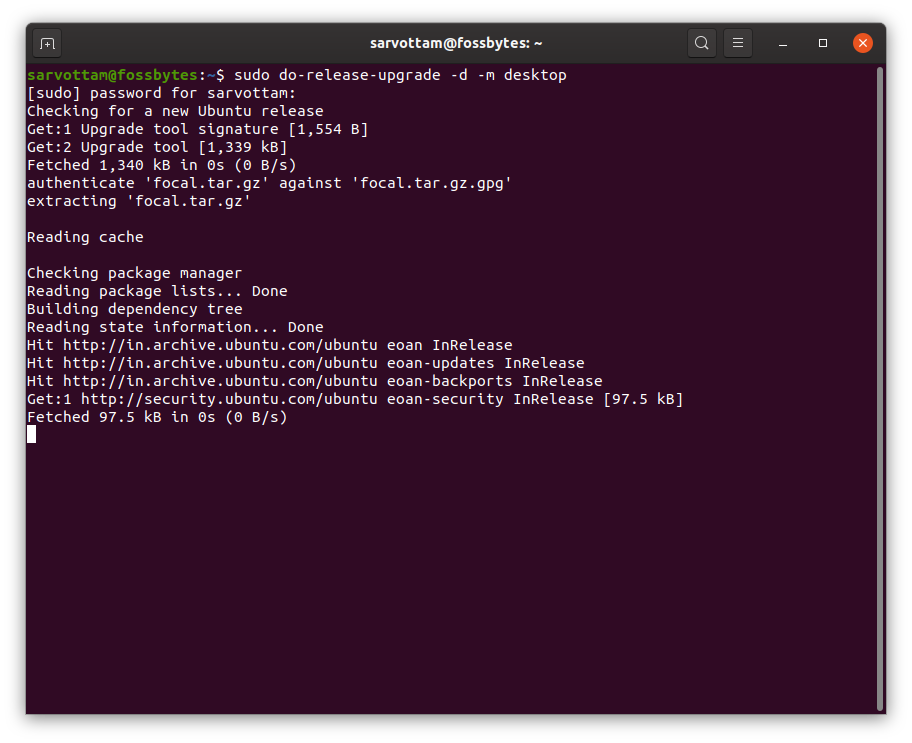
Amid this, it will prompt you to choose whether you want to start the upgrade or not. Type y for yes or N for no.
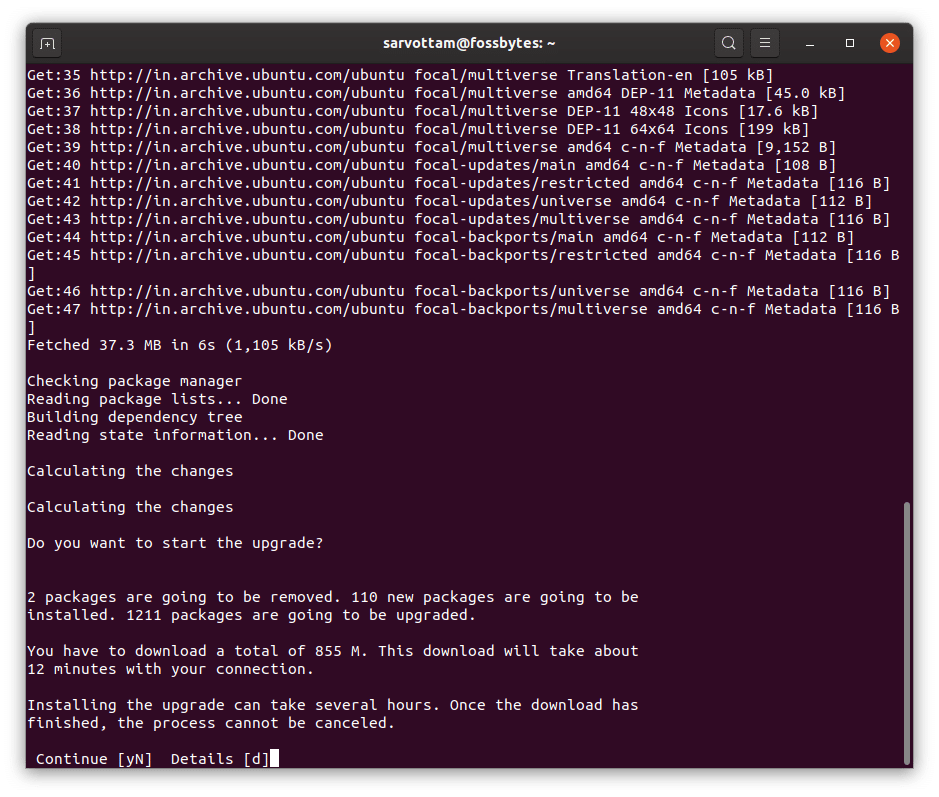
Once the download of packages is finished, it will start upgrading and then removing old packages. This process will take time and ultimately prompt you to restart your system.
Reboot your system and enjoy the new Ubuntu 20.04 !!!


