Here’s How Android 12 Allows You To Switch Between Mobile Data And Wi-Fi In A Jiffy
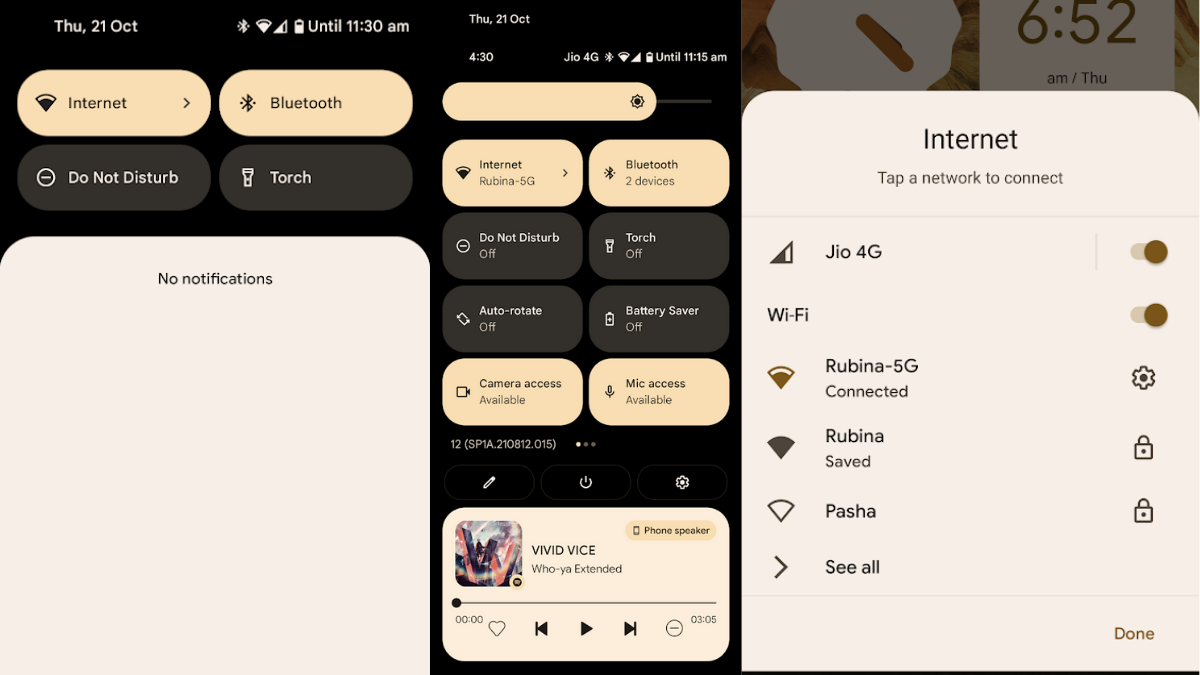
Before Android 12, Wi-Fi and Mobile Data were two separate tiles in Quick Actions. Android 12 changes that by integrating both of them into one tile called ‘Internet.’ This decreases UI redundancy and makes it easier to switch between mobile data and Wi-Fi. In this article, let’s look at how to use the Internet tile to get the most out of Android 12.
How to Use the Internet Panel in Android 12?
Using the new Internet Panel is fairly straightforward. All you need to do is.
1. Swipe down to bring up the Quick Settings menu.
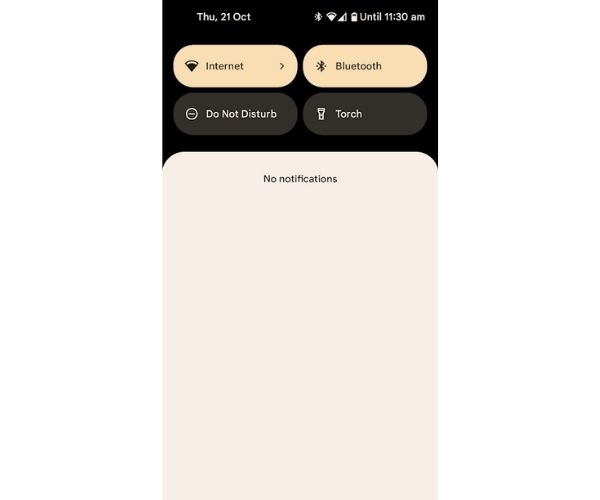
2. Tap on the ‘Internet’ tile. Doing so should bring up a new menu from the bottom, which looks like this.
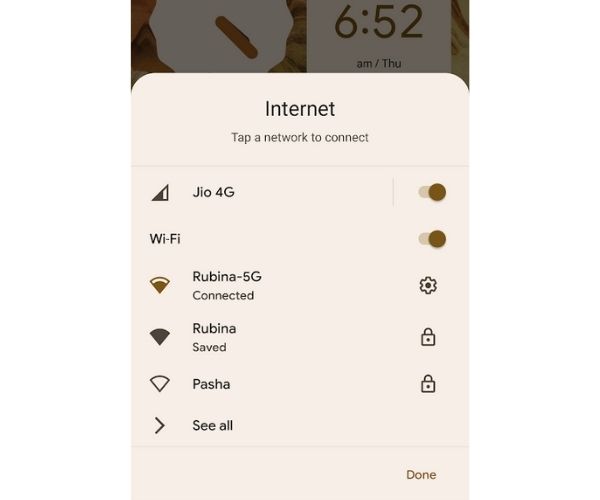
3. You can then toggle on/off and switch between mobile data and Wi-Fi on the fly.
4. Long pressing on the Internet tile will take you to the same in the settings app.
5. Once you’re done switching, tap on the ‘Done’ button.
6. Another neat UI feature of the Internet tile is, when using Mobile data, the tile shows the Mobile Data strength bars, whereas when connected to Wi-Fi, it shows Wi-Fi signal strength bars.
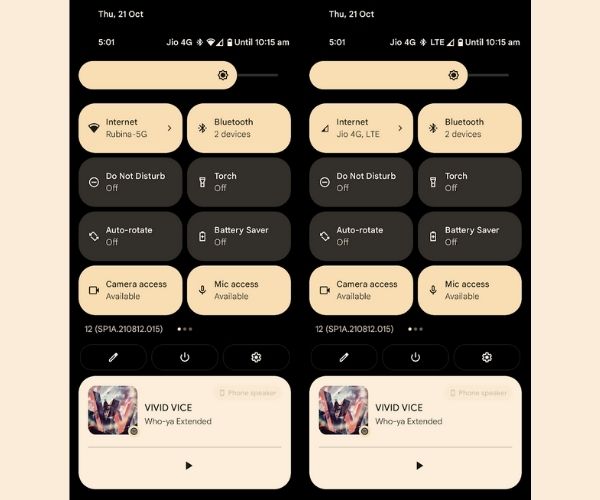
If you’re unable to find the internet tile, chances are, you might have removed it when editing the display tiles. To bring it back to the first few sets of Quick Settings tiles, here’s what you need to do.
1. Swipe down twice to expand Quick Settings.
2. Tap on the “Pencil” icon in the bottom-left corner.
3. Scroll down to find the tile. Drag and drop it into the section of active tiles.
4. Voila! Now you can easily access the “Internet” panel from Quick Settings.
Google has added a similar feature to the audio side of things. Now, one can easily switch between different audio devices/sources without going to the settings, making the name “Quick Settings” more justifiable.
Have you tried Android 12 yet? Let us know your thoughts and opinions about the same in the comments section below.


