How to Take Screenshots on Lenovo Laptops?
Taking a screenshot on a Lenovo laptop is a simple process that can be handy for saving images of your screen, sharing what you’re working on, or troubleshooting a problem. Whether you’re capturing a full screen or just a part of it, you can use a few easy methods. This guide will walk you through each step so you can quickly and efficiently take screenshots on your Lenovo laptop.
1. Taking a Screenshot of a Specific Window
Sometimes, you might only want to capture a particular window on your screen instead of the entire display. This can be useful when you’re focusing on a specific task or application. Here are the steps to take a screenshot of just the active window on your Lenovo laptop.
- Step 1: Open the window you want to capture and select on your screen.
- Step 2: Press’ Alt’ and ‘Print Screen’ together to capture only the active window to your clipboard.
- Step 3: Press’ Ctrl + V’ to paste the screenshot into a program like Paint, then save it by selecting ‘File’ and ‘Save As.’
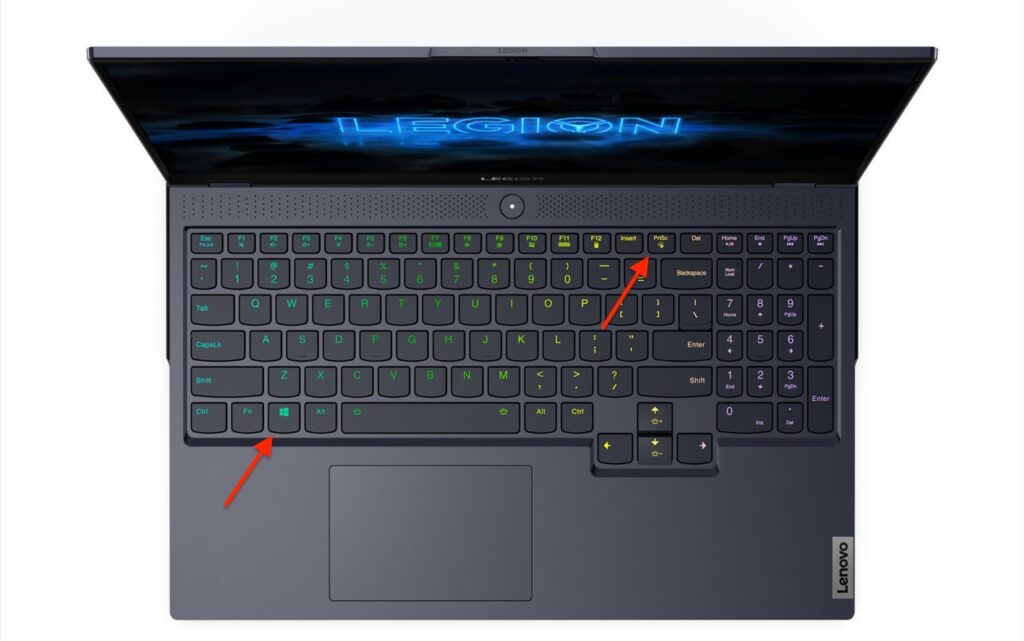
2. Using ‘Windows + Shift + S’ Shortcut
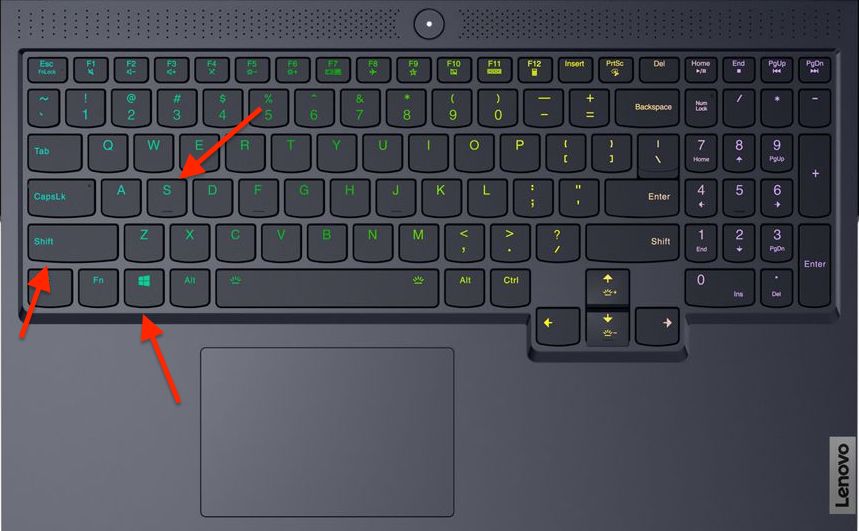
The ‘Windows + Shift + S’ shortcut is a quick and easy way to capture a portion of your screen on a Lenovo laptop. Follow these simple steps to save your screenshot.
- Step 1: Press’ Windows + Shift + S.’ This key combination opens a small menu at the top of your screen with capture options.
- Step 2: Choose your capture option. Click on your preferred choice from Rectangular, Free-form, Window, or Full-screen.
- Step 3: Press’ Ctrl + V’ to insert the screenshot into a program like Paint, then go to ‘File’ and choose ‘Save As’ to save the image.
3. Using the ‘Snipping Tool’
The Snipping Tool is a handy built-in feature on Lenovo laptops that allows you to easily capture specific parts of your screen.
- Step 1: Search for ‘Snipping Tool’ or ‘Snip & Sketch’ in the Start menu, and click to open it.
- Step 2: Based on your needs, choose the type of snip from options like Free-form, Rectangular, Window, or Full-screen Snip.
- Step 3: Take the screenshot by dragging your cursor to select the specific area or window you want to capture.
- Step 4: Click ‘File’ and ‘Save As’ to save the snip as an image file on your computer.