How to Take Screenshots on Dell Laptops?

Taking a screenshot on a Dell laptop is straightforward and can be done using the Print Screen key and other Windows features. Whether you need to save important information or share something with others, this guide will help you follow the steps to take screenshots on Dell laptops.
1. Using the Print Screen Key

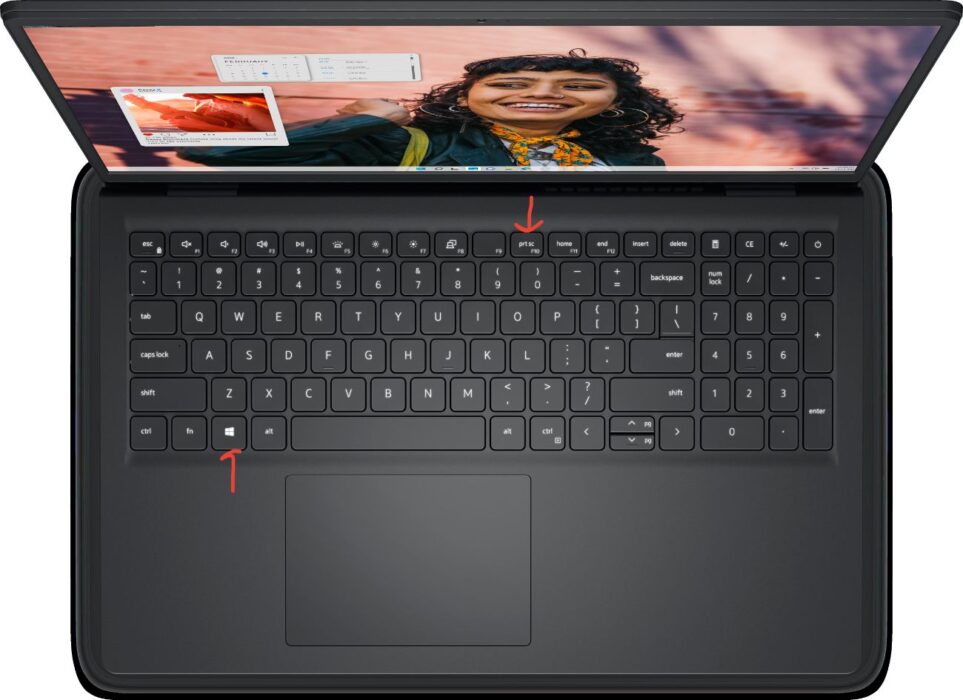
- Step 1: Find the PrtScn key on your keyboard. It’s usually located on the top row, often close to the F10 key.
- Step 2: Press the PrtScn key to capture the entire screen. This will copy the screenshot to your clipboard.
- Step 3: Open any image editor or document (e.g., Paint or Word).
- Step 4: Paste the screenshot by pressing Ctrl + V.
- Step 5: Finally, save the image by clicking File > Save As and choose your preferred file format and location.
2. Using Windows Key + Print Screen
- Step 1: Press the Windows key and the PrtScn key at the same time.
- Step 2: Your screen will briefly darken to show that the screenshot has been taken.
- Step 3: Afterwards, the screenshot will be automatically saved in the Screenshot folder inside your Pictures library.
3. Using Snip & Sketch
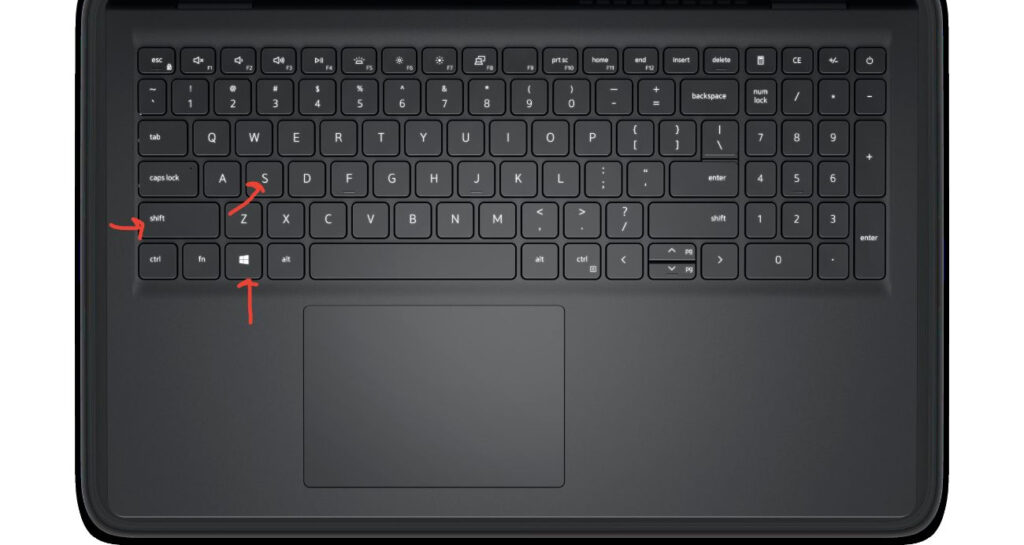
- Step 1: Press the Windows key + Shift + S to open the Snip & Sketch tool.
- Step 2: Now, select the type of screenshot you want: rectangular, freeform, window, or full screen.
- Step 3: The system copies the screenshot to your clipboard and shows a notification.
- Step 4: Finally, click on the notification to open and edit the screenshot, then save it by clicking the disk icon.
No matter which method you choose, capturing a screenshot on your Dell laptop is quick and easy.