How To Run Windows 10 on Mac for Free With Parallels Desktop 15
There are several methods to install Windows 10 on a Macbook. Popular ones include the macOS built-in Boot Camp that is similar to installing a dual OS on a Windows PC.
Another one is using a virtual machine, which creates a software-based virtual computer with CPU, RAM, storage, etc. on the current OS. Users can install multiple OS on a single system with the help of a virtual machine.
One significant advantage of using a virtual machine over Boot camp is that the users don’t need to reboot the system to use the new OS. The virtual machine also doesn’t ask users to create a separate partition for the OS, as is the case with Apple’s Boot Camp.
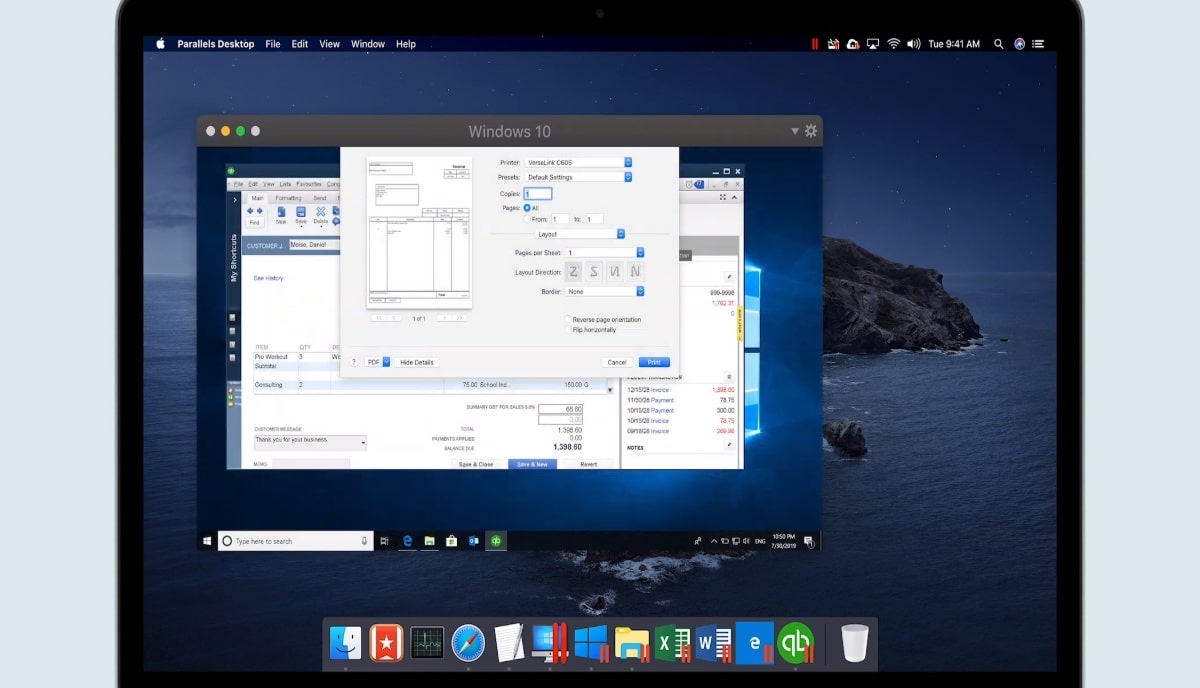
Parallels Desktop is one such popular virtual machine that allows users to run Windows 10 and its apps on a macOS machine. By creating a virtual machine on the Mac, Apple users can try out all the new Windows 10 features.
Parallels Desktop 15 for Mac costs $80 for a single license. Users can also start with their two-week free trial.
How to install Windows 10 on macOS with Parallels Desktop 15?
- Download the latest Parallels Desktop 15 built to run Windows 10 on Mac.
- Open the downloaded file and start the installation.
- Grant the permission asked by the virtual machine.
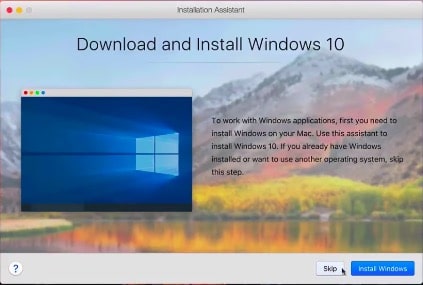
Once Parallels Desktop is installed on your macOS, it will redirect you to the Windows 10 installation page. You can here either click on “Install Windows” or click “Skip” if you have a Windows 10 ISO file.
Now go to File — New — Install Windows or another OS from a DVD or image file. The software will automatically scan for the file. You can also manually locate your file if it doesn’t show up in the scan. Once the Windows 10 installation is complete, you will need to sign in to start running Windows 10 on your Macbook.