How To Install macOS Sequoia On Your MacBook?

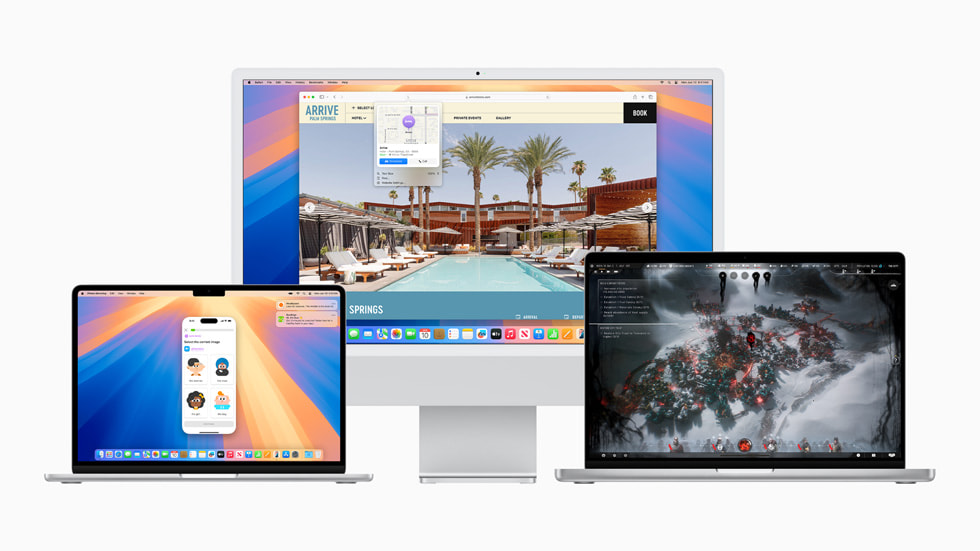
WWDC wrapped up yesterday, and Apple has announced the new version of all its software, including macOS. While expectations were mixed, macOS 15 Sequoia has introduced some great features, including iPhone screen mirroring, AI-powered Siri, and a password app. Considering these features, you might want to install and test the update before anyone else. If you are one of those individuals, we will help you install macOS 15 Sequoia on your MacBook.
Things to Consider: Supported Macs
Before we get started, you should keep a few things in mind. Firstly, since this is a developer beta update, there are bound to be bugs and issues. Some functions might not work as expected, and your MacBook’s battery life may drain faster. Although Apple will iron out the bugs over time, we recommend installing the update on your secondary device for now.
In terms of support, macOS 15 is compatible with any:
- 2019 iMac or later
- 2020 MacBook Air or later
- 2020 MacBook Pro or later
- 2022 Mac Studio or later
- 2020 Mac Mini or later
Moreover, we highly recommend backing up all your data using Time Machine before installing the update. We also encountered a few hiccups while installing the update, so this step is crucial.
How to Install macOS Sequoia Beta?
While the installation process is straightforward, users must be members of Apple’s Developer Program to install the macOS Sequoia beta. While some of you might be aware that the developer program typically costs a yearly membership fee of $99, you don’t have to pay anything to install macOS Sequoia. Users just need to enroll in the program. To get started:
Step 1: Enroll in Apple’s Beta Program
Thankfully, the enrollment process is simple and easy to follow. Here is how:
- Head over to Apple’s beta support page [here].
- Click on “Sign Up.”Enter your Apple ID and password.
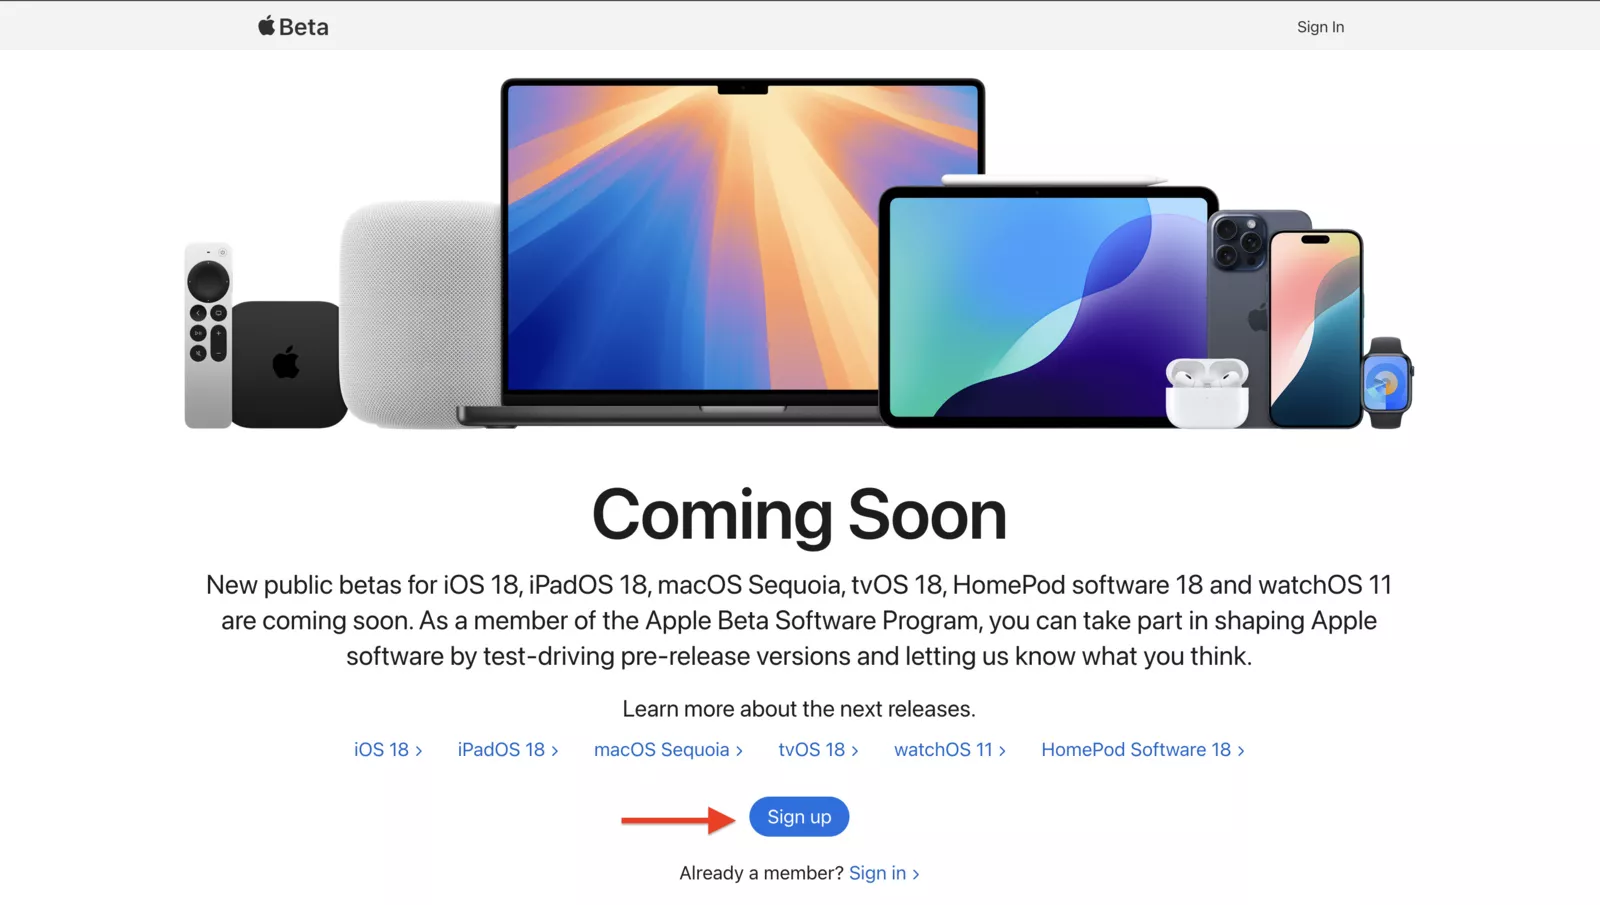
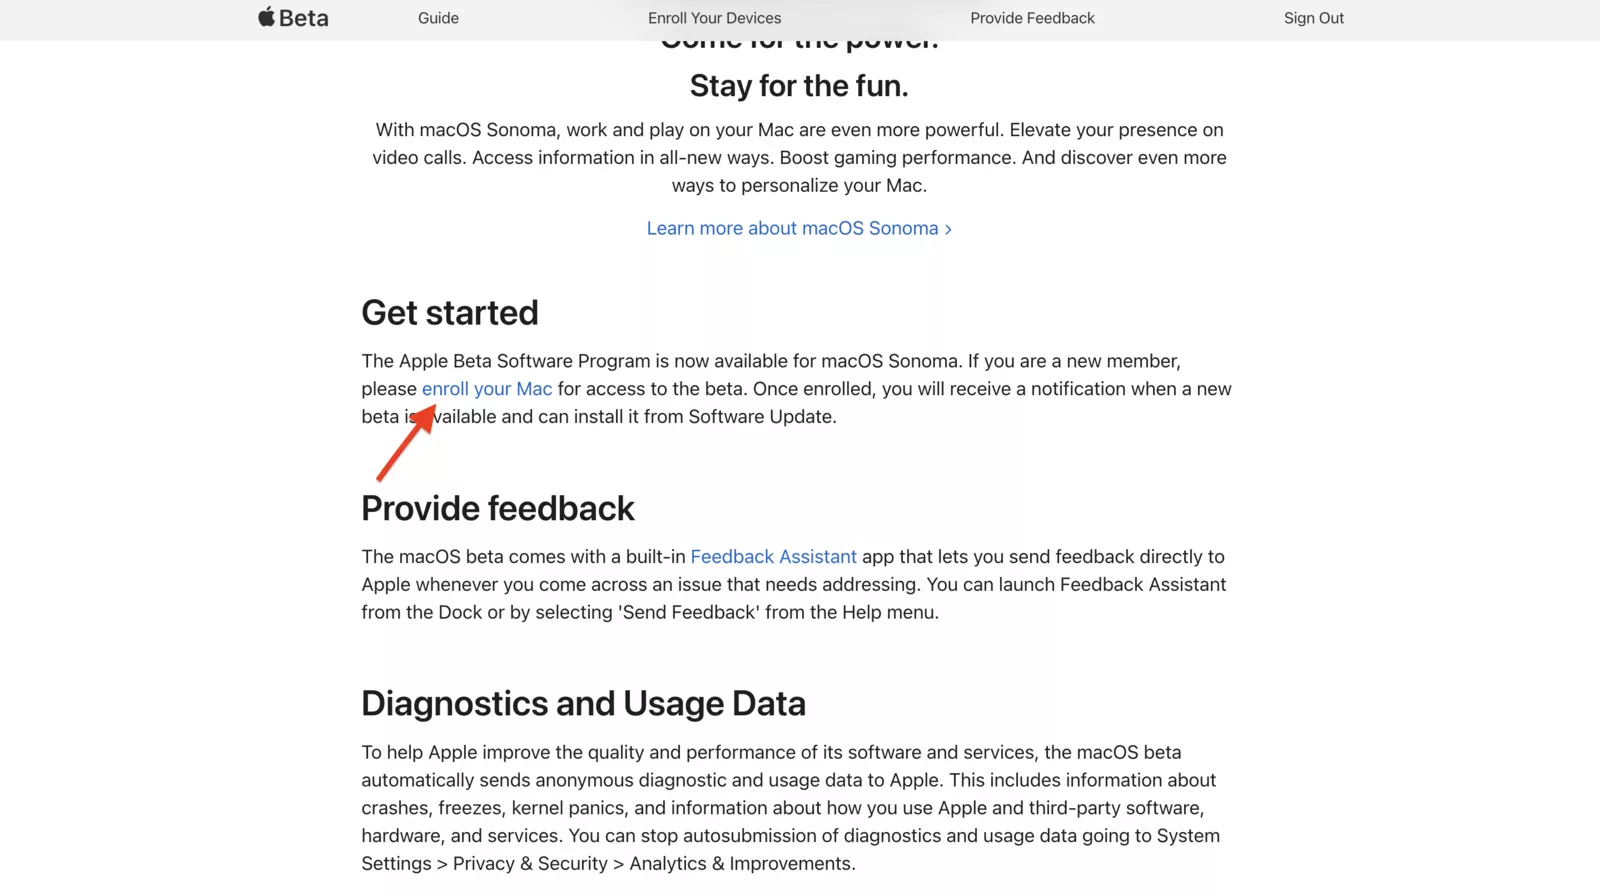
- On the subsequent page, click on “Enroll your Mac” under the “Get Started” heading.
Step 2: Install macOS Sequoia
After successfully enrolling in the beta program:
- Open the Settings app on your MacBook.
- Navigate to General > Software Update.
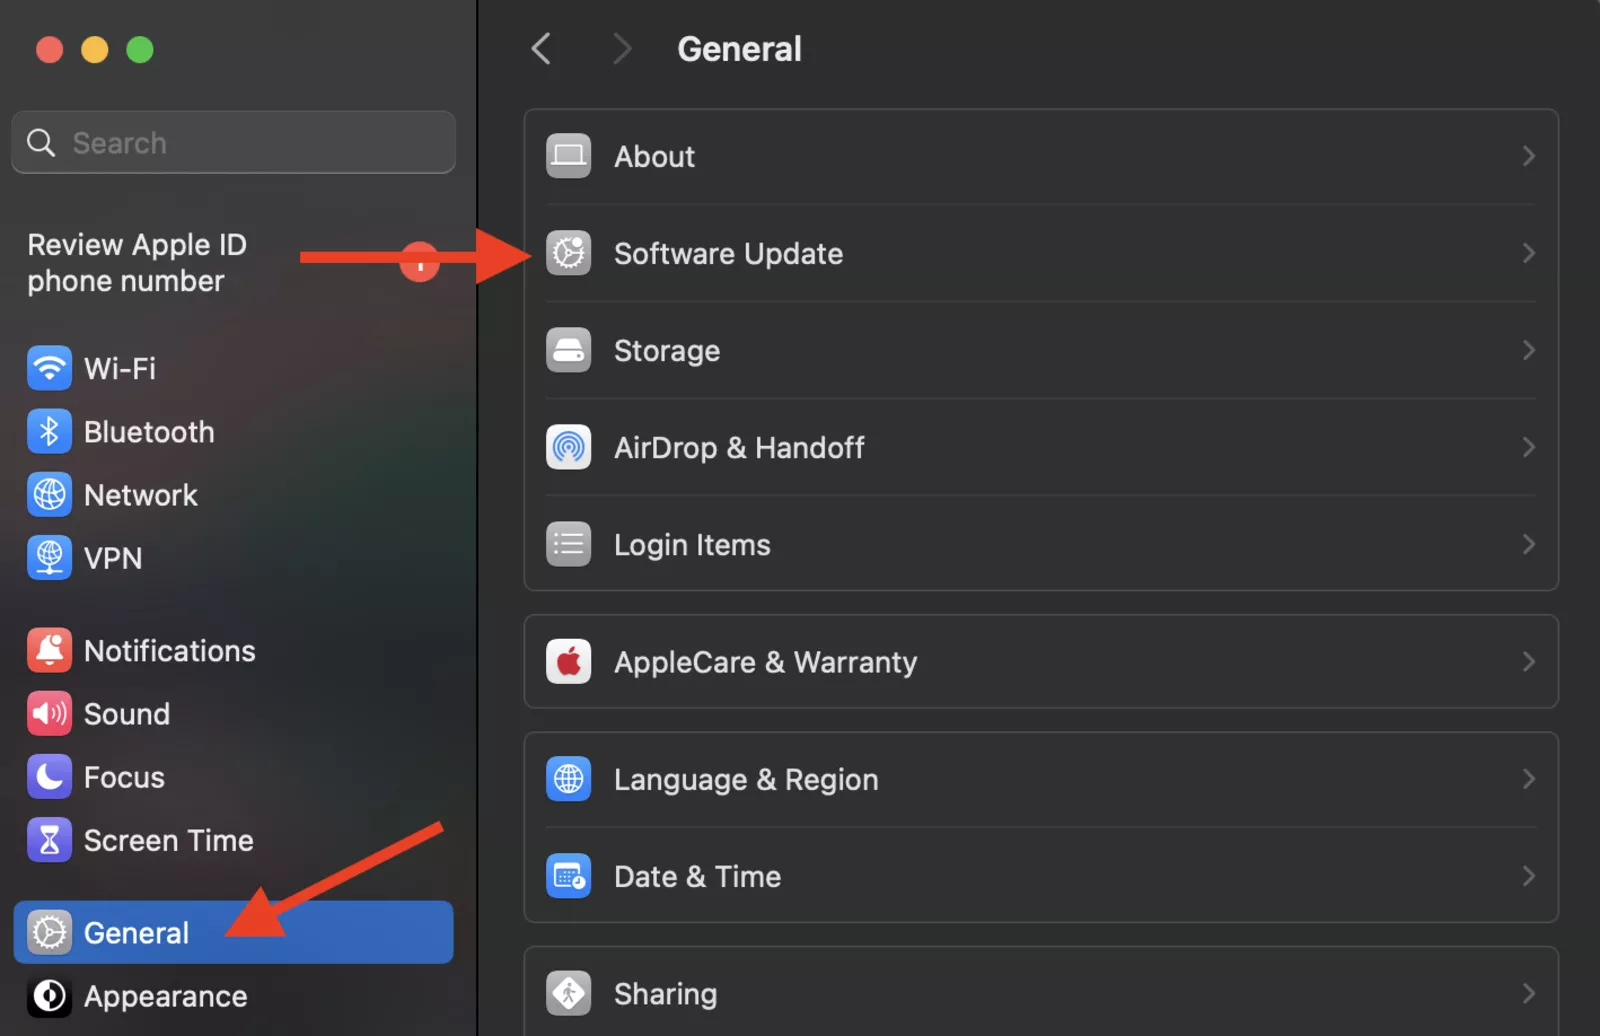
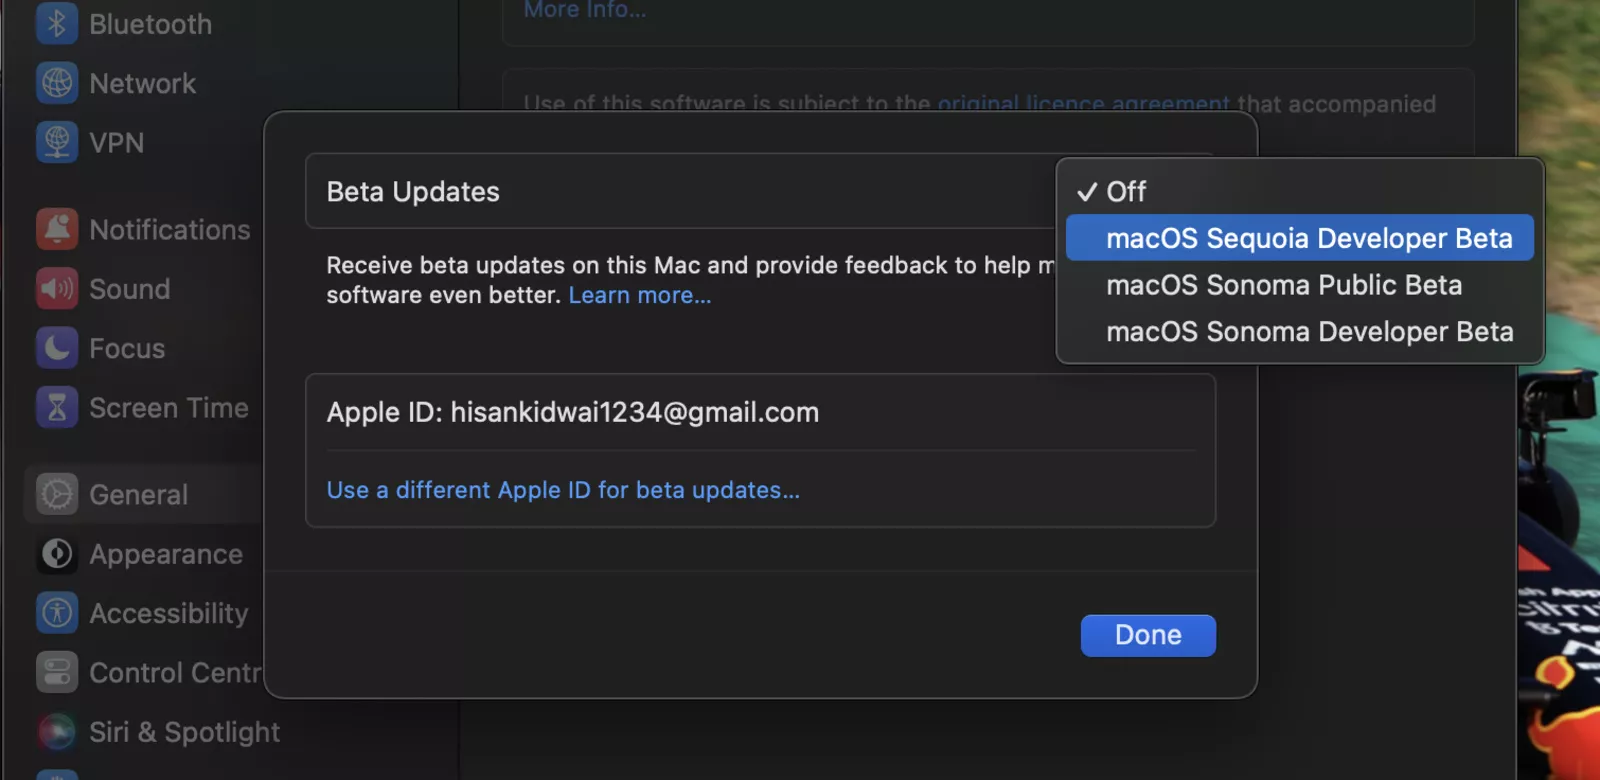
- Click on the “Beta Updates” section.
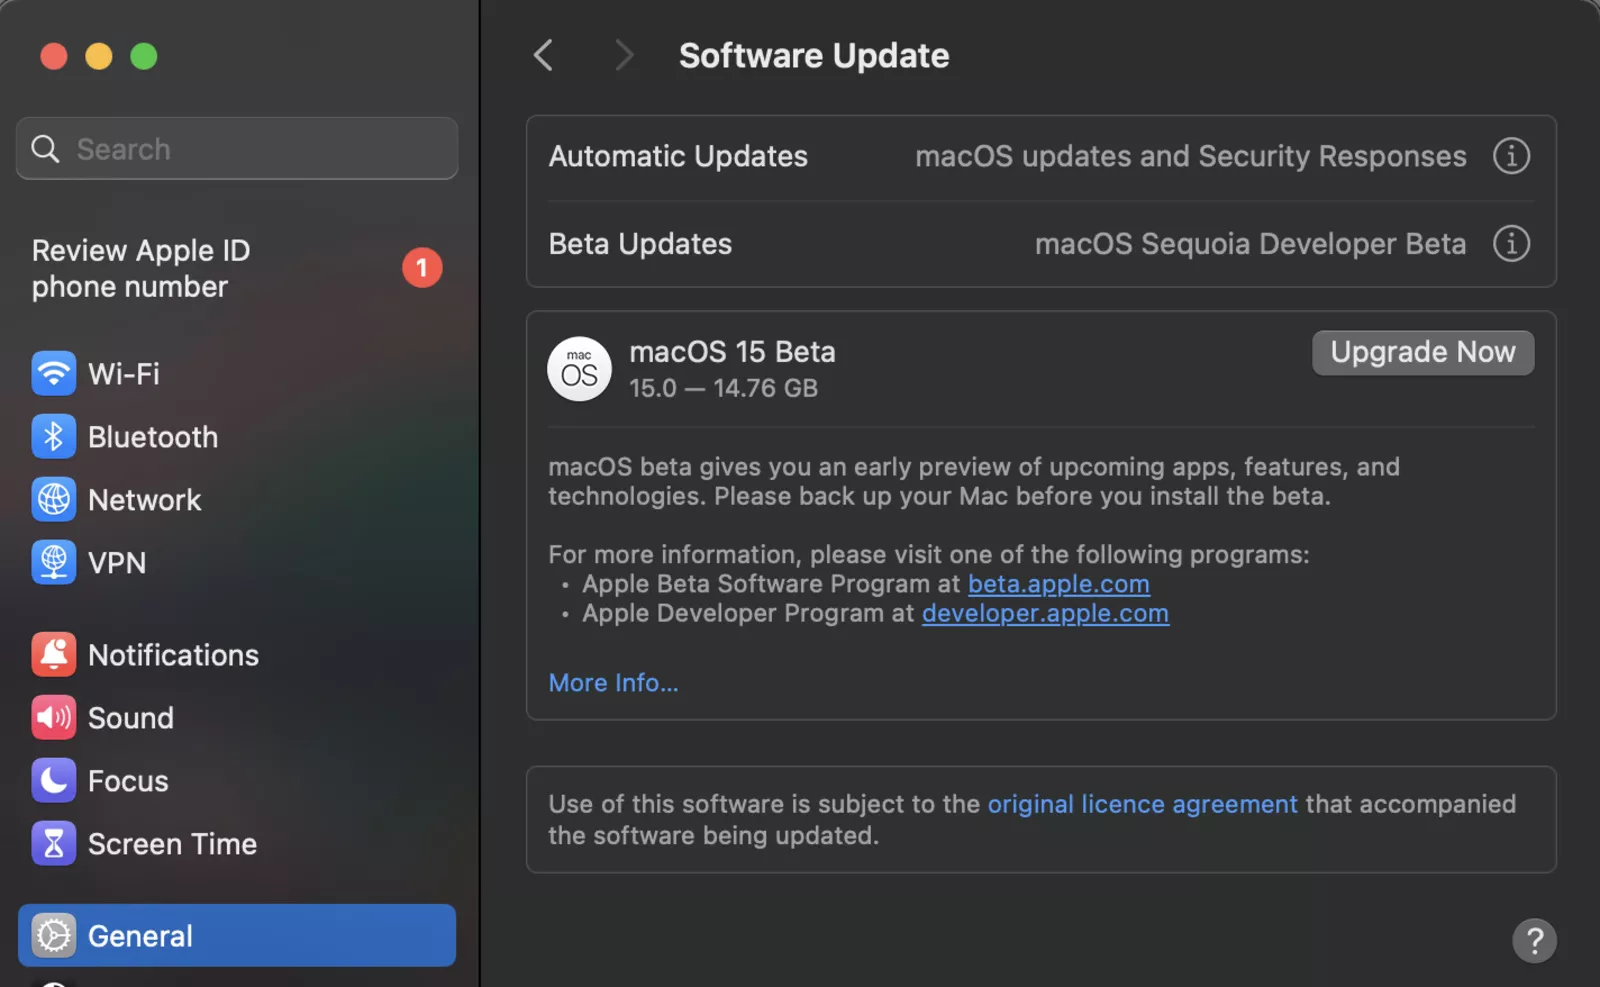
- Select the “macOS Sequoia Developer Beta” setting and click “Done.”
- Once the update is visible, click “Upgrade Now.”
Fix: The Update is not Showing
If the update isn’t showing even after completing all the above steps, there are a few fixes you can try. First, make sure you are running the latest macOS version. Additionally, you should also try restarting your MacBook. However, if none of these methods work, try enrolling in the program again.