How To Create Chrome OS Recovery Media For Chromebooks?
So something went wrong with your Chromebook and now you’re unable to boot into Chrome OS? We’re here to help! In this article, let’s look at how you can create a fresh Chrome OS recovery media to clean install Chrome OS on your Chromebook.
Before we go ahead, here are the things you’ll need.
- Chromebook (Of course)
- A Windows or Mac machine
- USB storage device (8GB or higher)
How to create Chrome OS recovery media for Chromebook?
1. The first step involves installing the Chrome extension “Chromebook Recovery Utility” from the Chrome Web Store.
2. Once done, click on the extension icon from the extensions list to open the app.
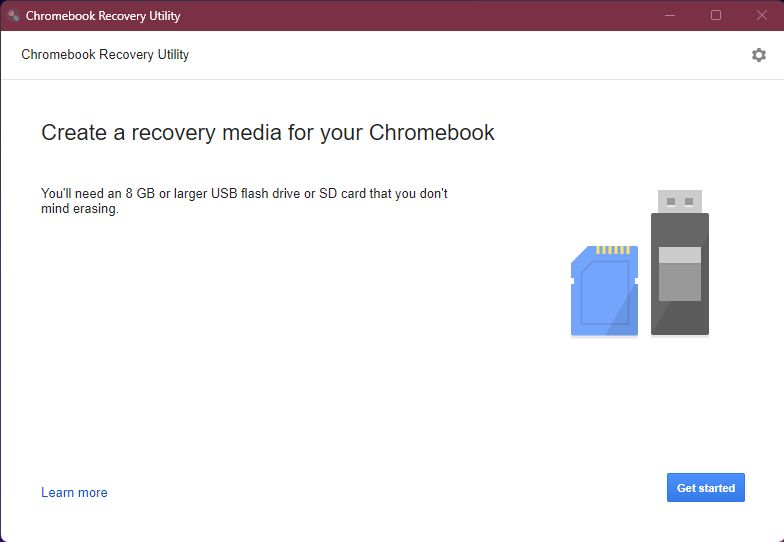
3. Grab your USB storage drive and plug it into another PC.
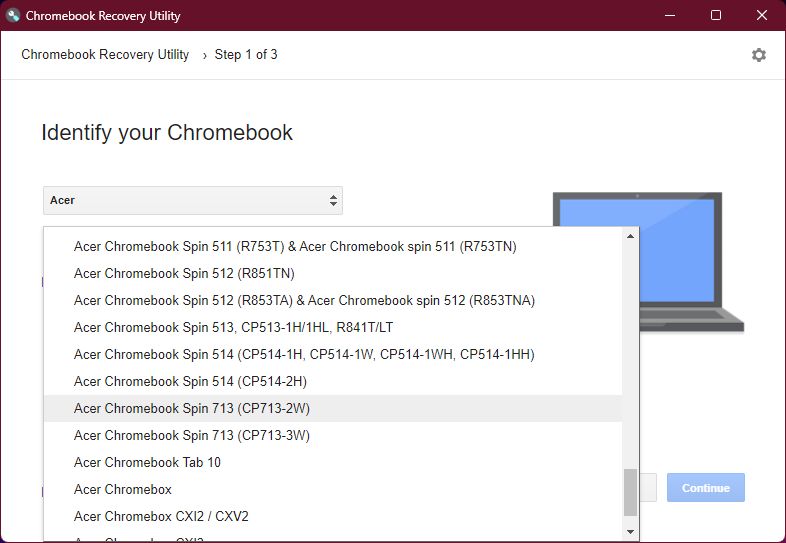
4. Select your Chromebook model from the list. Ours is the Acer Chromebook Spin 713-2W.
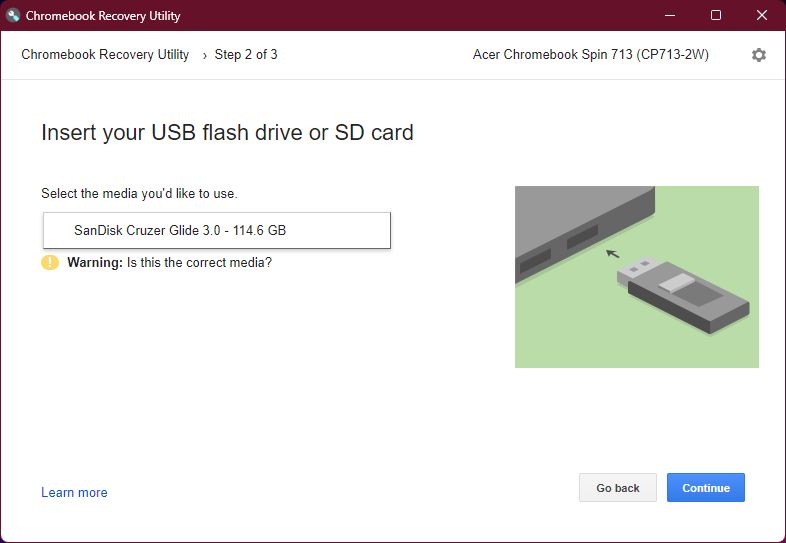
5. Select the inserted USB storage device. Do note that any data on the drive will be erased during the process.
6. Finally, click on ‘Create now’ to start the process.
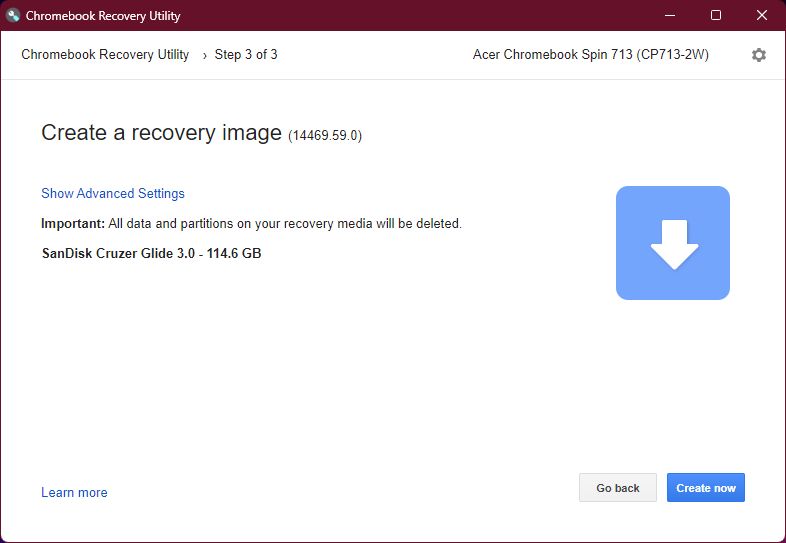
7. Once done, here’s what you’ll see.
I had trouble flashing the image on the USB drive by choosing my Chromebook’s model number. The recovery utility was stuck at “Please don’t remove the drive” for hours, so I had to manually download the image for my Chromebook model and flash it using the “Use local image” option, which could be found by clicking on the gear icon.
How to solve the ‘Chromebook Recovery Utility not working’ problem?
If you find yourself stuck in the same situation as me, here are the options you can try to solve the Chromebook Recovery Utility not working problem.
Use Google Chrome
Trying the Chromebook Recovery Utility on Google Chrome fixed this problem for me. Hence, if you’re using any other browser (I was using Edge Chromium), you might want to try installing and using the tool on Chrome. If that doesn’t work, you can try the methods mentioned below.
Format your USB drive
In most cases, formatting the USB drive solves the ‘Chromebook Recovery Utility not working’ problem. All you need to do is head over to “Create and Format Disk Partitions” > Find and right-click on the removable USB drive > Click on “Format” > Format in FAT32. Insert your drive again and follow the same process from step one.
Restart your PC
The IT joke is a little too old at this point, so we’re going to sideline the same for now. I can’t stress enough how important it is to restart your PC before troubleshooting any problem at the software or hardware level. Restart your PC and start the process from step one again.
Download the recovery Chrome OS image
This will be your final resort, as it was for me. Head over to the official Chrome OS releases/Updates service page > Search for your Chromebook model > Download the recovery image.
Extract the recovery image, open the Chromebook Recovery Utility app, click on the gear icon, select “Local image,” select the image, and click start.
Got any doubts? Let us know in the comments section below. Also, let us know if you’d like us to write more about such Chrome OS topics.




![Here's How You Can Cancel Twitch Subscription [2022]](https://fossbytes.com/wp-content/uploads/2022/04/Heres-How-You-Can-Cancel-Twitch-Subscription-2022-768x432.jpg)