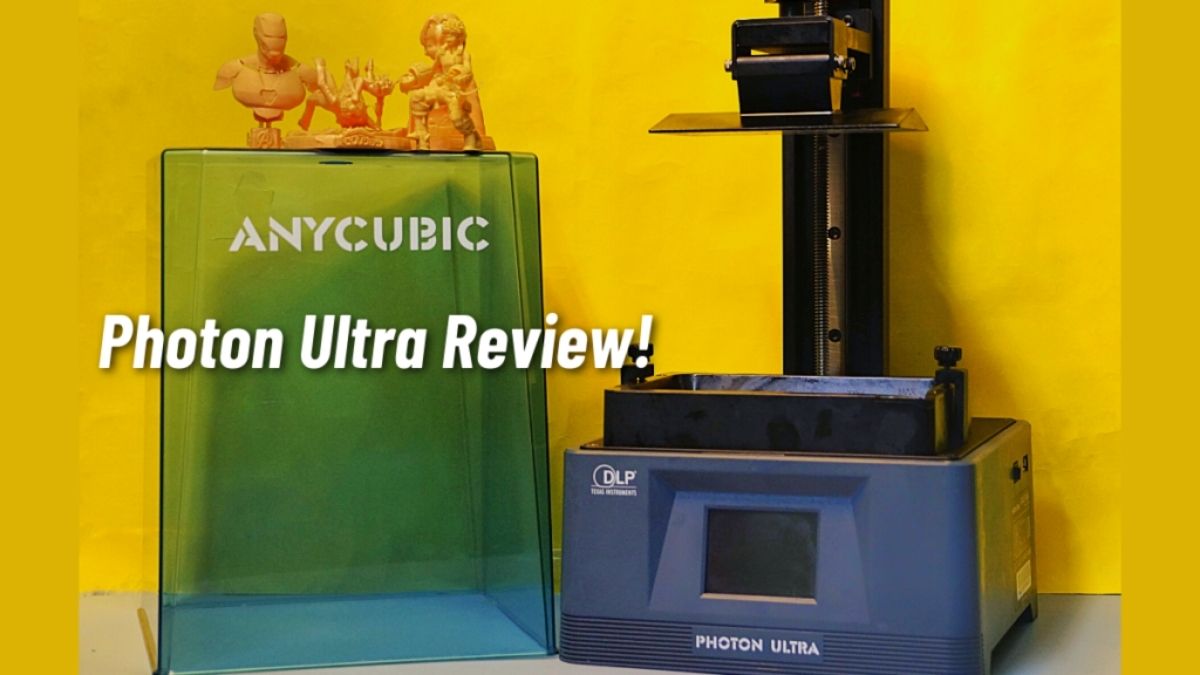
Anycubic Photon Ultra Review: Easy, Efficient, And Precise Printing On A Budget!
I’m a fan of 3D Printers. The first time I used one was in my college. It was an Ultimaker 3, built around Material Extrusion Technology, where the printer would heat the filament, which would then come out of the nozzle. The printer was cool, but then the result was equally bad. It had worse accuracy and took a lot of time to finalize the prints.
Fast forward two years, and I’m amazed by how good 3D printers have gotten. I would’ve drifted away from the 3D printer topic if Anycubic had not sent us the Photon Ultra. Here’s the Anycubic Photon Ultra review from a beginner’s point of view. It’s a DLP printer that demonstrates how easy, fast, and efficient 3D printing has become these days.
Anycubic Photon Ultra Review: Box Contents, Build, and Design
Opening the box and finding many items was frightening and made me feel like a rocket scientist. The unboxing experience, for the most part, was excellent. At the top were the toolkit zip bag and a smaller box. Then there was the top blue-colored lid, and then there were the brains of the printer, the base. The resin packages arrived separately and well packed. Here’s everything I got in the box.
- Photon Ultra
- Power Adapter
- Flash Drive
- Tool Kit
- Funnel (5pcs)
- Print Platform
- Resin Vat
- Surgical Mask
- Gloves (5 pairs)
- Scrapper
- Levelling paper
- User Manual
- 2 x Anycubic Craftsman Resin 1KG (Apricot color)
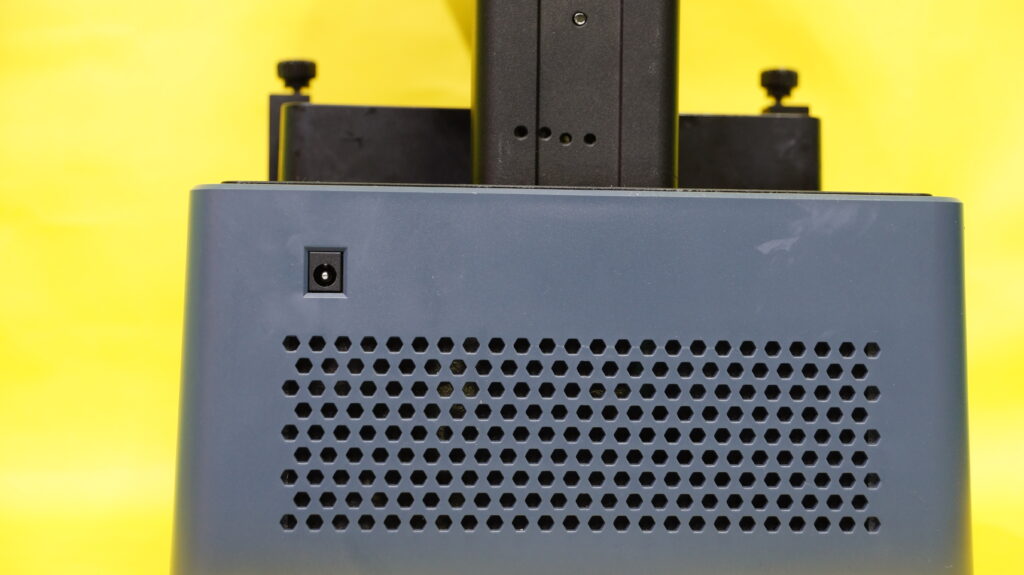
Right out of the box, the printer is built incredibly well. It’s almost the size of a regular, medium Amazon box which makes it very compact. Both the base and the lid are made of hard plastic. The bottom has rubber feet to prevent slipping. The upper lid is also very well built and slots right into the grooves on the base.
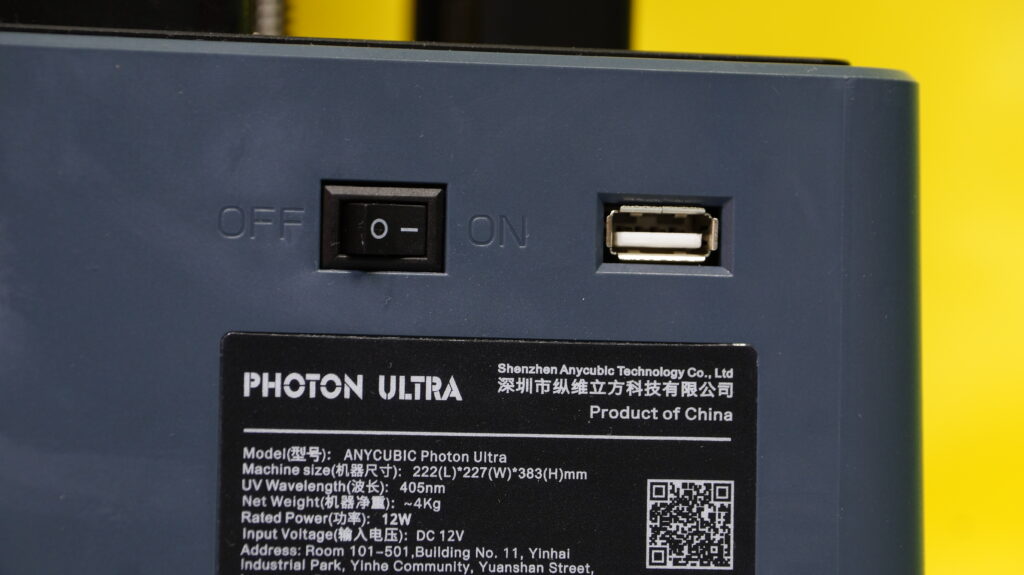
Speaking of which, you’ll find a USB port and an on-off button to the right, and a power input port at the back of the printer. Overall, I have no complaints about the build quality.
Anycubic Photon Ultra Review: The Printing Process
The Pre-requisites
As soon as I started arranging things to begin printing, I found the manual, and I did what anyone would do. I read i… *cough *cough threw it away. And clearly, I was too overconfident like my colleague was in the Photon S review.
After an hour of figuring out how to set it up, I finally let go of my ego and grabbed the manual, which had all the steps explained in detail.
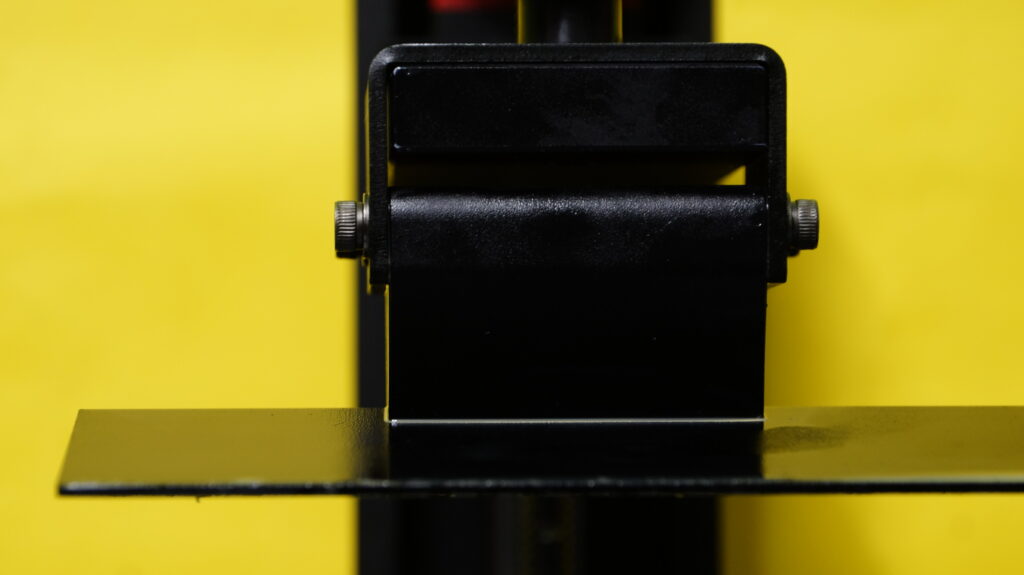
To set it up, take the leveling paper, loosen the screws of the print platform, press the “Home” button, and set the Z-axis to 0 (letting the machine know that the print platform is surfaced and is ready to go. I then set up the UV light exposure time). The printer was then ready to go.
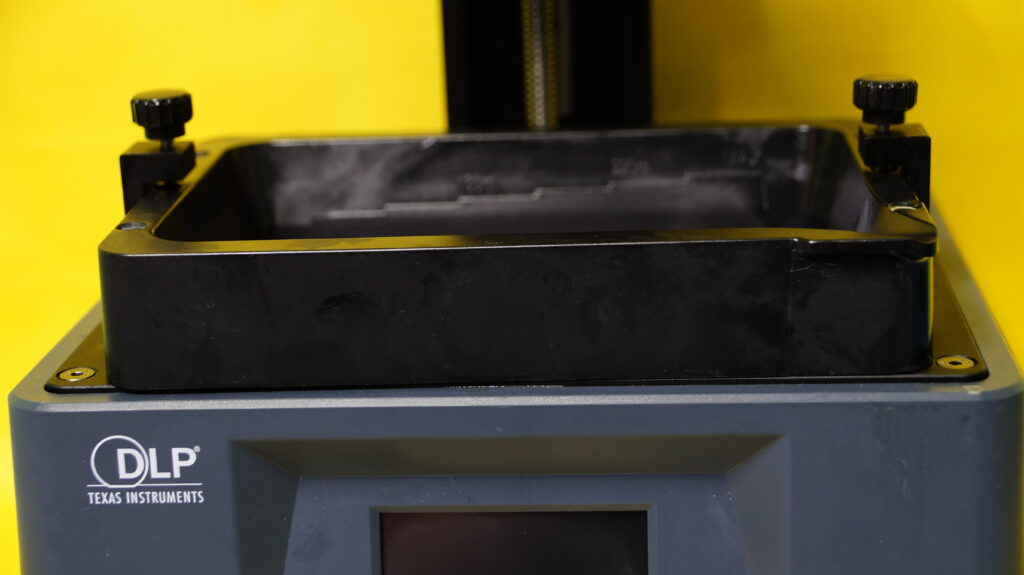
A quick note. For those who don’t know the difference between an SLA printer and a DLP printer. SLA uses UV lasers to cure the resin, whereas DLP uses a UV projector to spread the light across and cure the resin. As for which one’s better and faster, SLA printers are quicker if you want to print smaller objects. However, for denser and large objects, DLP is better.
Then I placed the Resin Vat and tightened up the screws to secure it in place, poured the resin into it, and connected the included USB flash drive to my computer. I then installed the included Photon Workshop software.
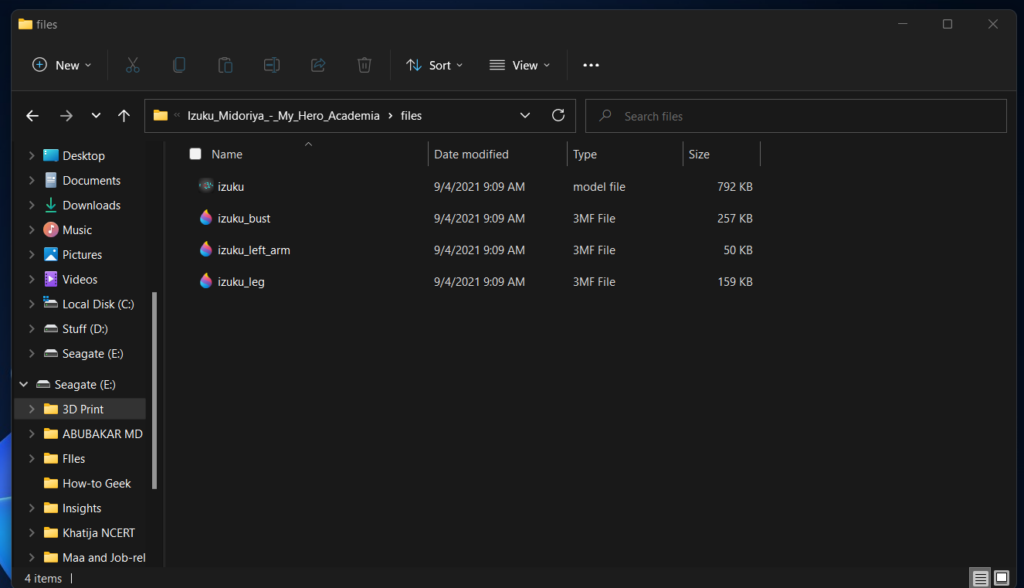
For 3D Models, I headed over to Thingiverse.com, where I found lots of free models. After downloading a couple of them, all I needed to do was unzip them, double-click on them .stl files to open them up in the Photon Workshop.
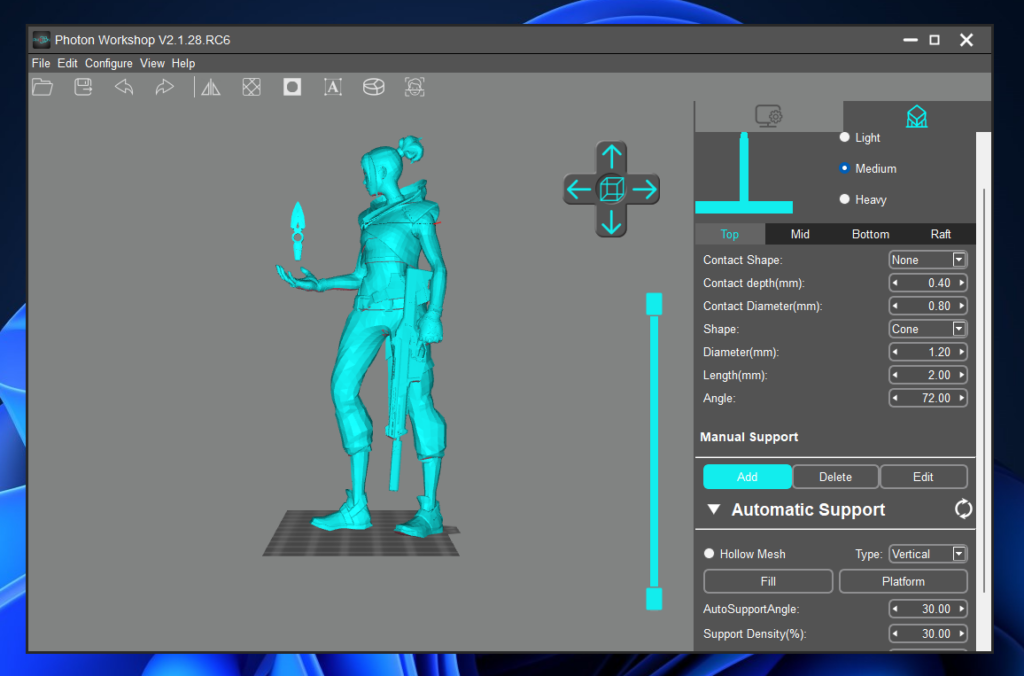
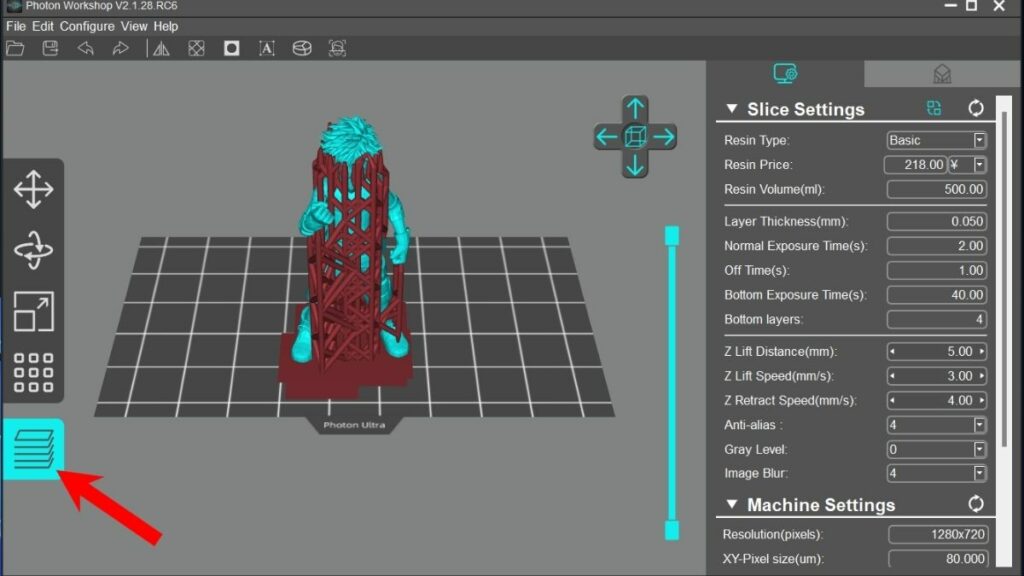
The first look at the software was very overwhelming as there were many components for my brain to digest. Thanks to the PDF that Anycubic included with the software that taught me the basics, I was ready to start my first 3D printing adventure in less than 20 minutes.
After adding supports, it was time to get the sliced file (.dlp), which, as the name suggests, is a file format used by DLP printers. As the model is first divided into parts (slices), the process is called slicing.
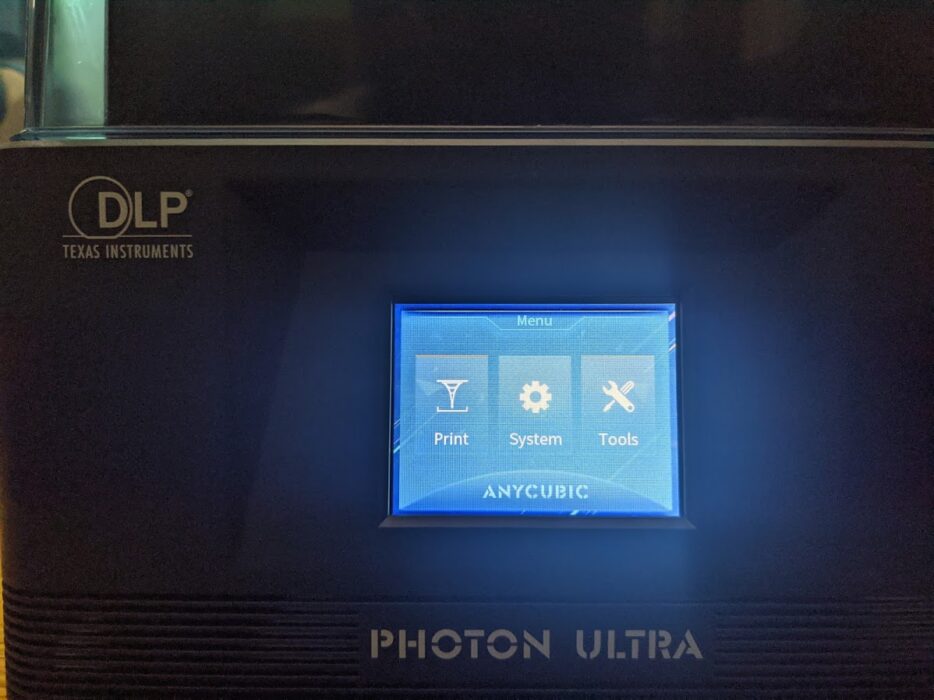
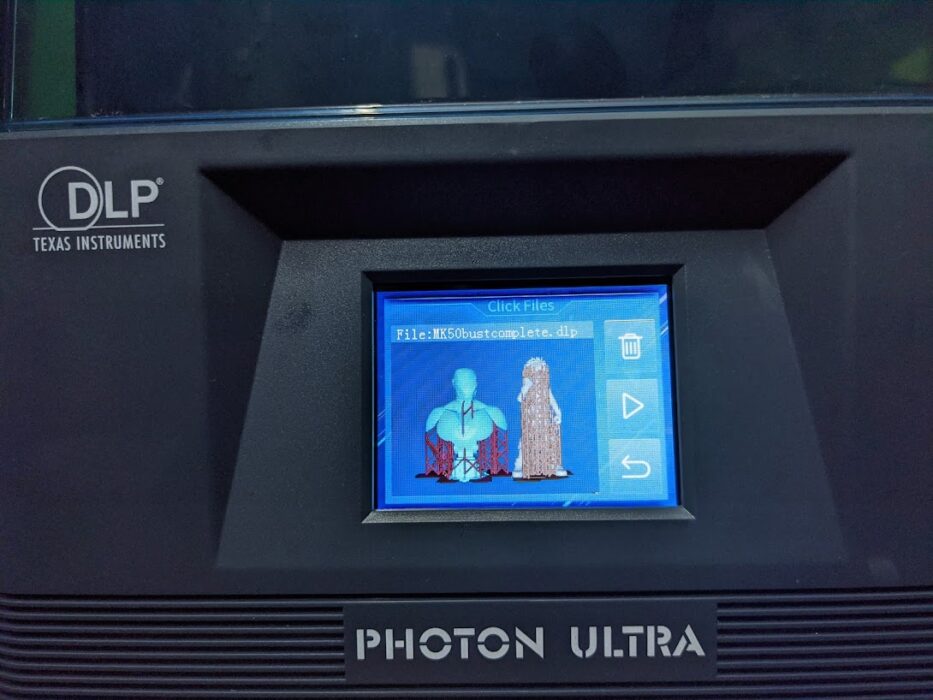
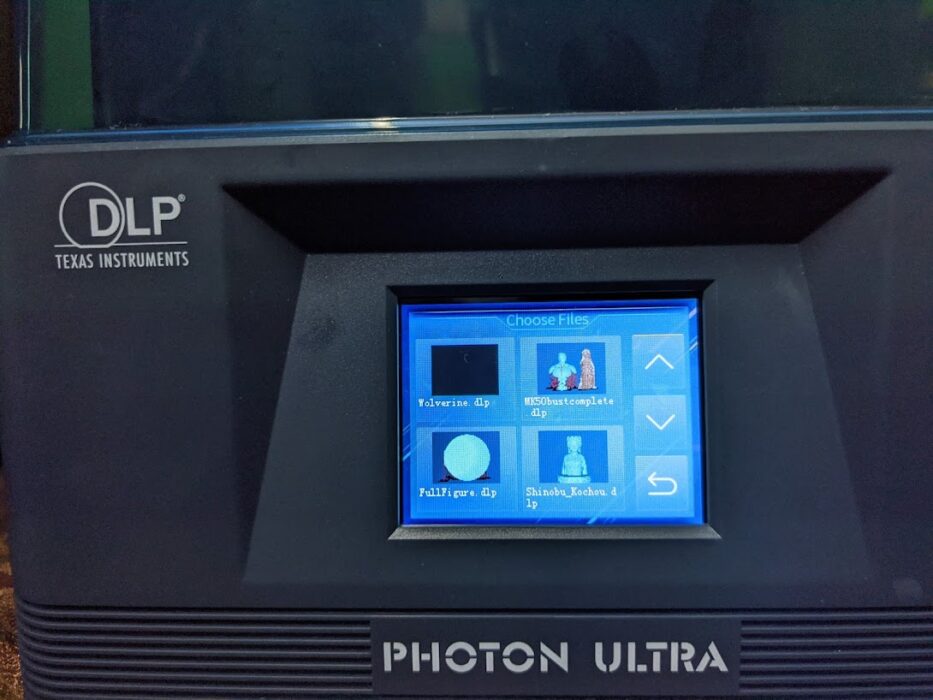
After transferring the .dlp files to the flash drive and inserting it into the USB port on the printer, the prints appeared on the screen. All I had to do was tap on the print and tap on the start button.
The Barriers
After initiating the printing process of one of my favorite characters and waiting for around an hour, I sensed something wrong. A typical resin printer works by dipping the build plate inside the resin, then the UV light is projected at the plate to cure the resin, and the platform keeps rising and descending until the print’s complete.
In my case, I noticed that even after an hour, there was nothing on the build plate, which was strange. Soon enough, I realized that I had forgotten to tighten the screws of the build plate hence the platform moving freely inside the resin.
I aligned the plate again, tightened the screws, and initiated the printing process again. This time, after an hour, I could see the build plate with the model’s legs. The estimated printing time was three hours so, I got back to work. And what do I notice after three hours? Only one leg of the model had been printed.
After lots of Googling and watching YouTube videos, I figured out that it was apparently due to the lack of “supports.” So, I added them using the Photon Workshop (which was very easy) and started printing. And I was finally able to print a 3D model. The moment I took the print out of the plate, this is how I felt.

Of course, the struggle didn’t end there. Sometimes, no matter what I did, the printer wouldn’t print objects that start smaller from the base (Like a minuscule amount of print at the bottom. Like a dot). Eventually, after a day, I tried fiddling with the exposure settings and UV light strength. I set the first exposure to six and increased the UV light strength from 80 to 90. I noticed that the printer was printing thin layers of resin. In the end, with a lot of experimenting, I found the sweet spot, i.e., 84%. After that, the prints came out nice and clean.
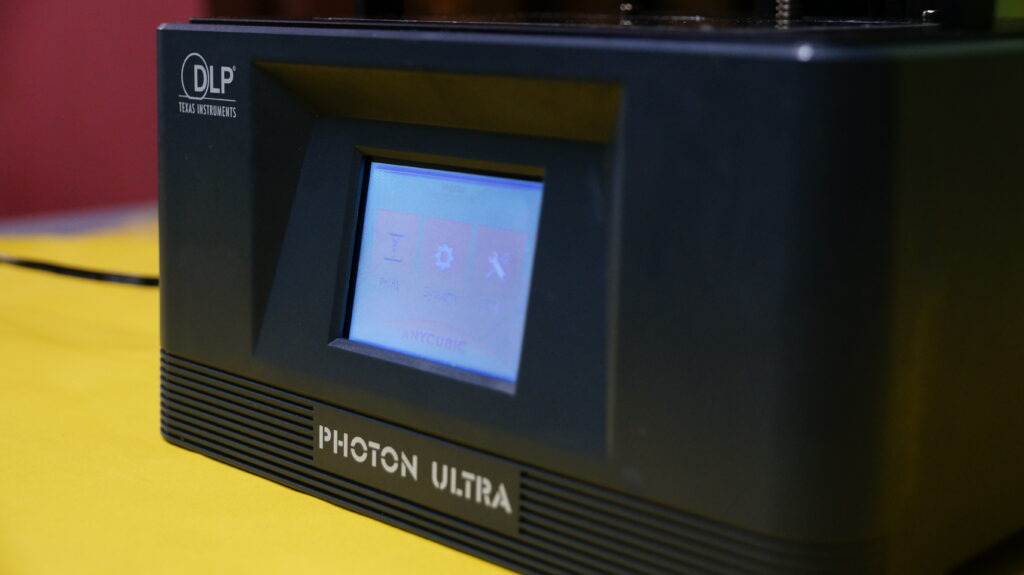
The touch screen isn’t great but gets the job done. It has poor viewing angles, and accuracy was also an issue. There were times when I would pause printing to glance at whether the printer was printing correctly, and I would accidentally tap on the cancel button.
The Prints
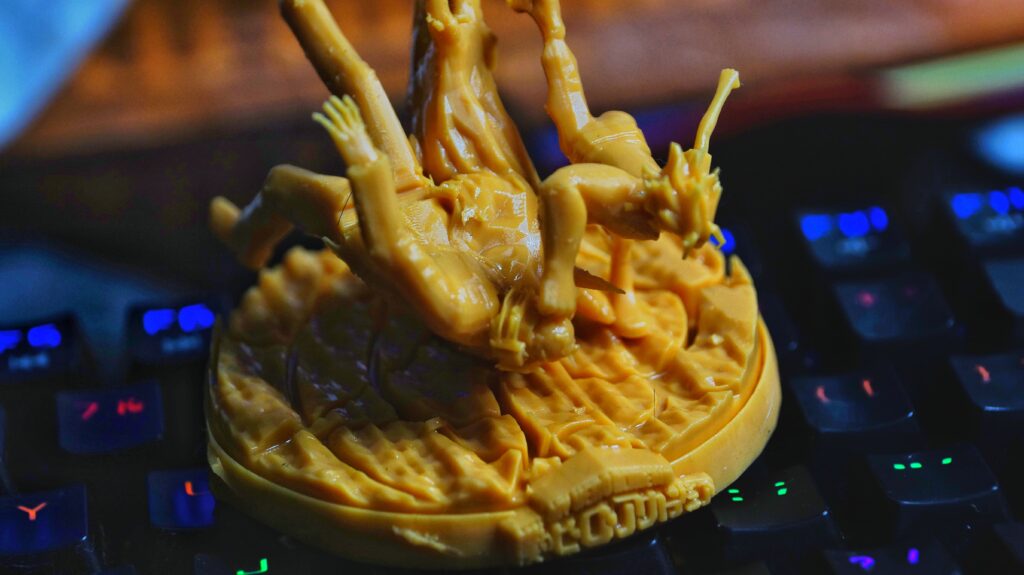
I was completely blown away by the print quality. The models were details, and there were next to no inaccuracies like the Material Extrusion Technology printers.
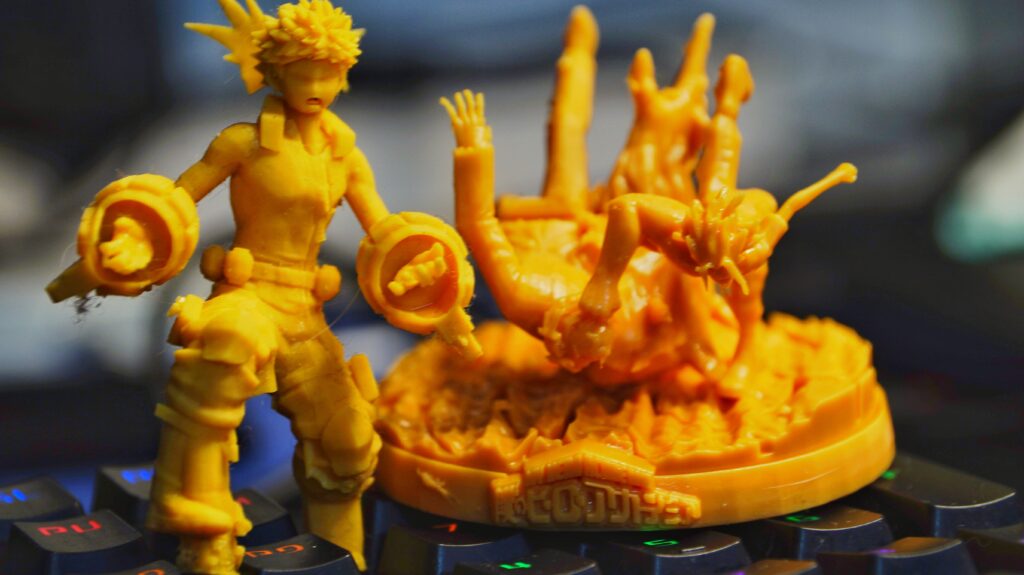
The models came out smaller than I had expected, but I believe the printer itself is pretty small compared to the Photon S and Mono. Either way, it should be suitable for printing figurines.

While researching for things that I could do with the printer, I also found out older printers with LCD technology (where the UV light would be projected from an LCD) tend to last lesser compared to the DLP counterparts. The LCD lasts for around 200 hours, after which you would need to change the same to start printing again.
Anycubic also claims that the printer consumes less power and produces less heat than a typical LCD printer. There’s no concrete way to test this out, but if it does, it’s a good thing. The printer did feel warmer at times, but it did not become concerningly hot.
Anycubic Photon Ultra Review: Should You Buy it?
Yes. Without a doubt. If you want to get into 3D printing or if you want to print figurines, you cannot go wrong with the Photon Ultra. However, if you need a more significant build volume, you might want to look elsewhere. That said, 3D printing has gotten beginner-friendly over the years. If you’re worried about if you will be able to operate it or not, then don’t fret. 3D printing is way easier than it looks.
The other option you have is the Mono X from Anycubic priced at $550. It has a significantly larger build volume. If you want to print larger objects, you might want to settle with the same, but do keep in mind that it’s an LCD printer, and might involve a higher maintenance cost.
For an asking price of $499 on Kickstarter (970/2000 units left at the time of writing), the Anycubic Photon Ultra punches above its value for clean, efficient, and long-lasting 3D printing.
Anycubic Photon Ultra
Summary
For an asking price of $499, the Anycubic Photon Ultra is an excellent offering for high-quality and highly detailed prints. Although the build volume is very less, we recommend buying it if you want to get into resin printing.