How To Delete File Permanently Without Sending It To Recycle Bin In Windows 10?
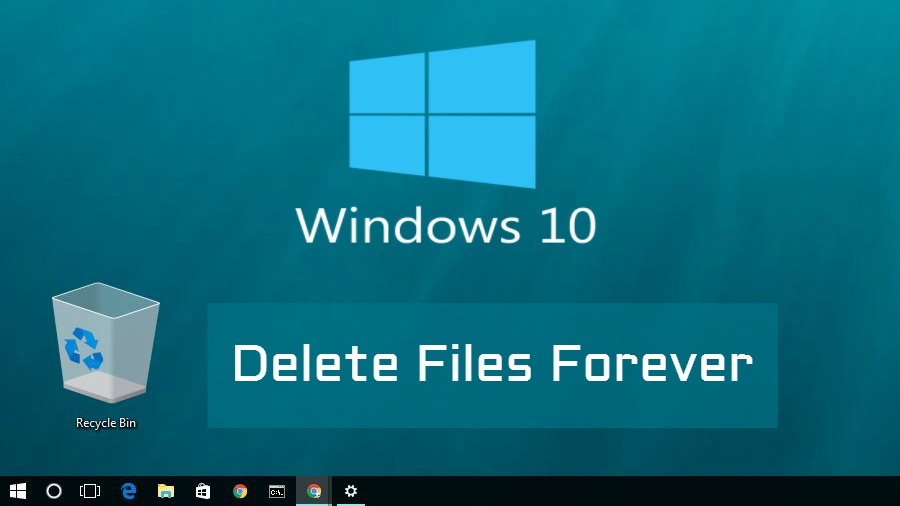
Short Bytes: You can set Windows to delete your files forever without sending them to the Recycle Bin. This helps saving valuable space on your machine. You can also set Windows to ask before deleting any file.
When you delete a file or folder in Microsoft Windows, it goes to a special folder called Recycle Bin. Recycle Bin allows you to restore your deleted files, in case, you change your mind at a later stage. The file continues to stay there along with other deleted files, still consuming space on your hard drive, until you clear them using the Empty Recycle Bin option.But if you’re too lazy to clear the Recycle Bin at regular intervals, it will start taking up valuable space on your hard drive. Windows allows you delete the permanently, without sending them to Recycle Bin.
Now, one possible way to do this is by using the Shift+Delete key combination. But if you don’t want to keep the deleted files in the Recycle Bin, you can enable Windows to automatically delete the files permanently.
Read More: How To Turn On Flash Desktop Notifications In Windows 10/8/7
How to delete files permanently in Windows 10?
This method has been tried in Windows 10. Hopefully, it will work in previous Windows versions also.
- Go to the Desktop on your Windows 10 OS.
- Right Click the Recycle Bin folder.
- Click the Properties option.
- In the Properties, select the drive for which you want to delete the files permanently.
- Now, under Settings for selected location, click the radio button for Don’t move files to the Recycle Bin. Remove files immediately when deleted.
 Note: You need to do the above steps for all individual drives for which you don’t want the files to go to the Recycle Bin. For instance, in my case I have only one drive, C. You might be having more than one.
 - Click Apply to save the settings. Click Ok to save and exit Recycle Bin properties.
You have set Windows to delete your files permanently. Keep in mind, it won’t be easy to recover these files after deleting them. So, use this feature wisely, else, you’ll end up losing something important.
If you ended up removing some files permanently, you can try these free data recovery software to recover your deleted files.
To revert what you’ve done, follow the steps mentioned above, select the radio button for Custom size (for every drive you made changes) and click Ok.
You might have noticed that later versions of Windows including 8 and 10 don’t ask before sending to files to the Recycle Bin. Now, that you’re aren’t allowing Windows to send files to the Recycle Bin, it won’t ask you before deleting the files permanently also. When you press the delete button, your file will be gone forever without any prompt.
How to display Delete Confirmation Dialog in Windows 10?
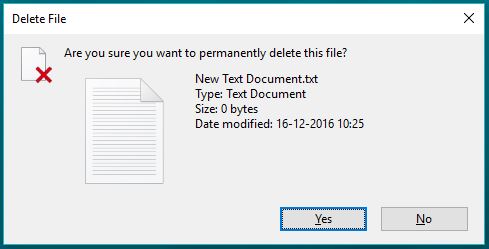
You can get back the delete prompt in Windows 10 using the following steps:
- Go to your Desktop.
- Open Recycle Bin properties.
- Tick the checkbox for Display delete confirmation dialog.

Note: You don’t have to do this for every drive. - Click Apply to save the settings. Click Ok to save and exit the Recycle Bin properties.
Now, Windows will ask you before deleting any file, as it did in Windows 7. This options also works if you set the files to go to the Recycle Bin.
If you have something to add, tell us in the comments below.
Also Read: What If I Find A Random USB Drive? Should I Pick It And Use?