How To Take Screenshot In Windows 10 Using Snip And Sketch?
Although Windows 10 October Update (version 1809) is surrounded by turmoil of issues and bugs, some of its stunning features have quickly empowered the negatives. One of them is a Windows 10 screenshot capturing tool known as “Snip and Sketch.”
So, let’s tell you about this new tool and how to use it to increase your productivity —
What is Snip & Sketch Screenshot Tool in Windows 10?
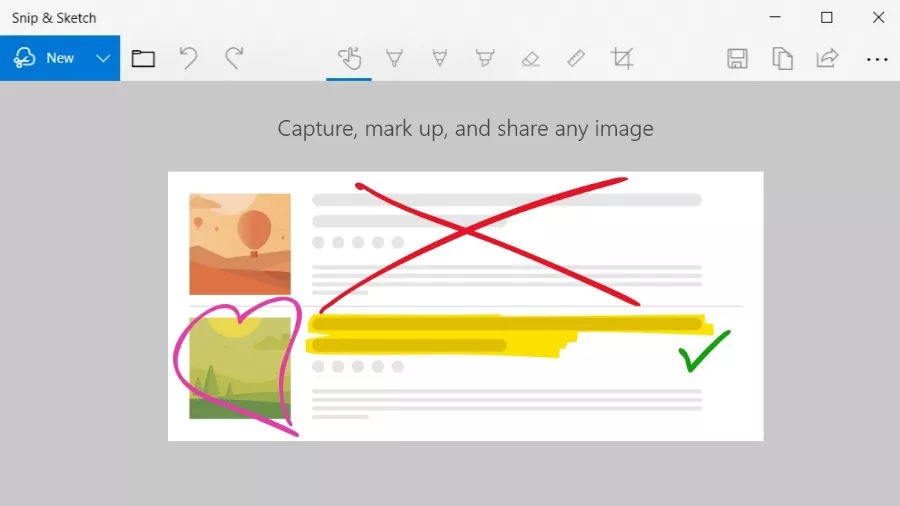
As the name conveys, the snipping tool for Windows 10 has combined the “Snipping Tool” and “Screen Sketch” that were presented separately in previous versions of Windows. Although the Snipping Tool still exists in the latest Windows version, Microsoft plans to remove the tool altogether in future updates.
While the primary attribute of Snip and Sketch is to capture screenshots, it also allows you to annotate the screenshots. You can touch-write on it, highlight content, make straight lines, crop and much more.
This way you can skip the lifeless Windows Paint or any 3rd-party apps that keep running in the background and use up the memory.
Snipping Tool vs. Snip & Sketch
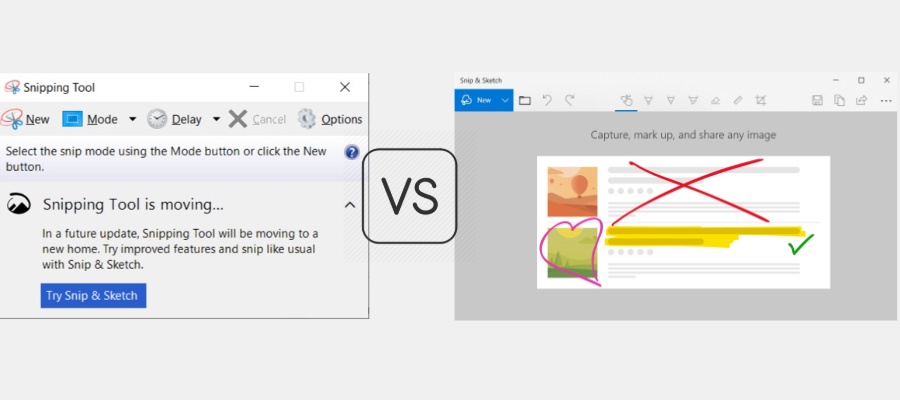
Both tools are used for capturing screenshots in Windows 10. The main difference between the Snipping Tool in Windows 10 and the new Snip and Sketch is that the former one focuses on taking snips while the latter focuses on what happens after the screenshot is captured.
However, there are a few features of Snipping Tool that are not available in the new one. For instance, the “show selection ink after being captured”; one that allows you to retain the selection box.
Also Read: How To Take Scrolling Screenshot On iOS And Android?
How to capture screenshots in Windows 10 via Snip & Sketch?
There are many different ways to take screenshots with the help of Snip and Sketch.
[NOTE: You’ll require Windows 10 October Update (version 1809) or later to use Snip and Sketch]1. Take Screenshots Using the Snip and Sketch App
- Go to Start and Type “Snip and Sketch.” Click on the Windows Store app.

- Click on the “New” button at the top left bottom
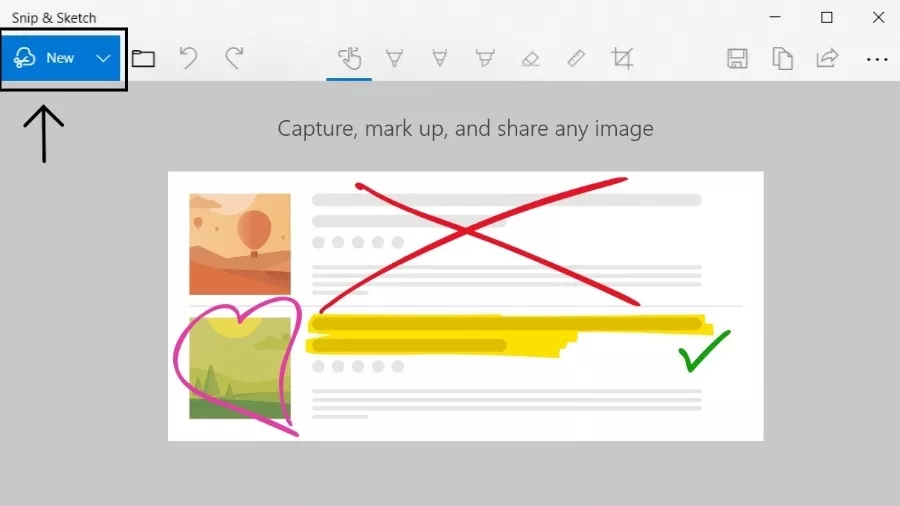
- Choose the type of crop mode – Rectangular Clip (first icon), Freeform Clip (second icon), Fullscreen Clip (third icon).
- Click and Drag the Plus-Mouse icon.
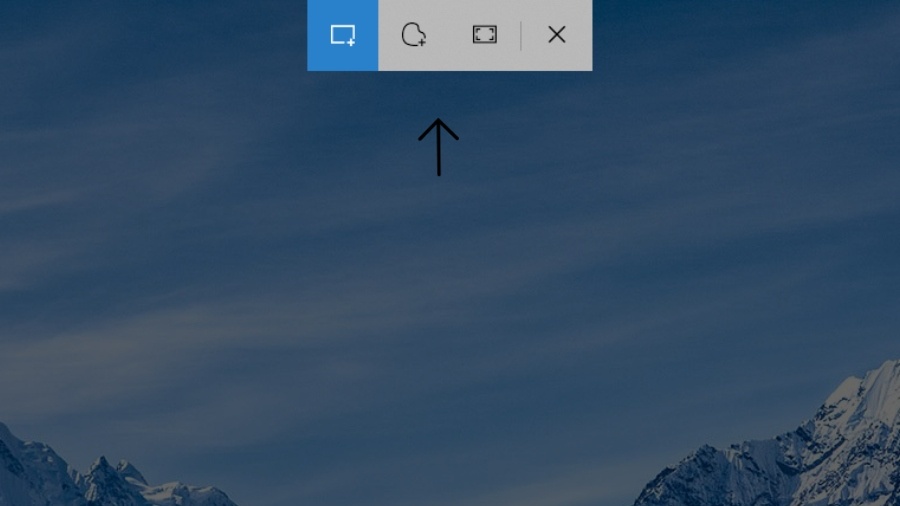
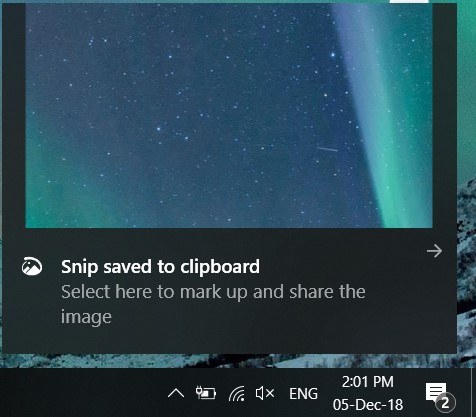
- Click on the pop-up at the bottom right of the screen.

2. Take Screenshots using Windows 10 keyboard shortcuts
Now there are two ways to instantly take screenshots in Windows 10 using the Snip and Sketch app –
- [Windows Icon + Shift + S] Shortcut
Just press the above keyboard shortcut to directly come to the crop selection mode of the screen snipping tool for Windows 10.
- Print Screen Shortcut
Print Screen button has always been used for taking screenshots in Windows 10. Before Windows 10 October Update, one could copy the screen using the Print key and paste the screen content in the Windows Paint app.
Now, you can set up the “Prt Sc” keyboard key to take Windows 10 screenshots using the Snip and Sketch app.
To set up the “Prt Sc” keyboard key shortcut –
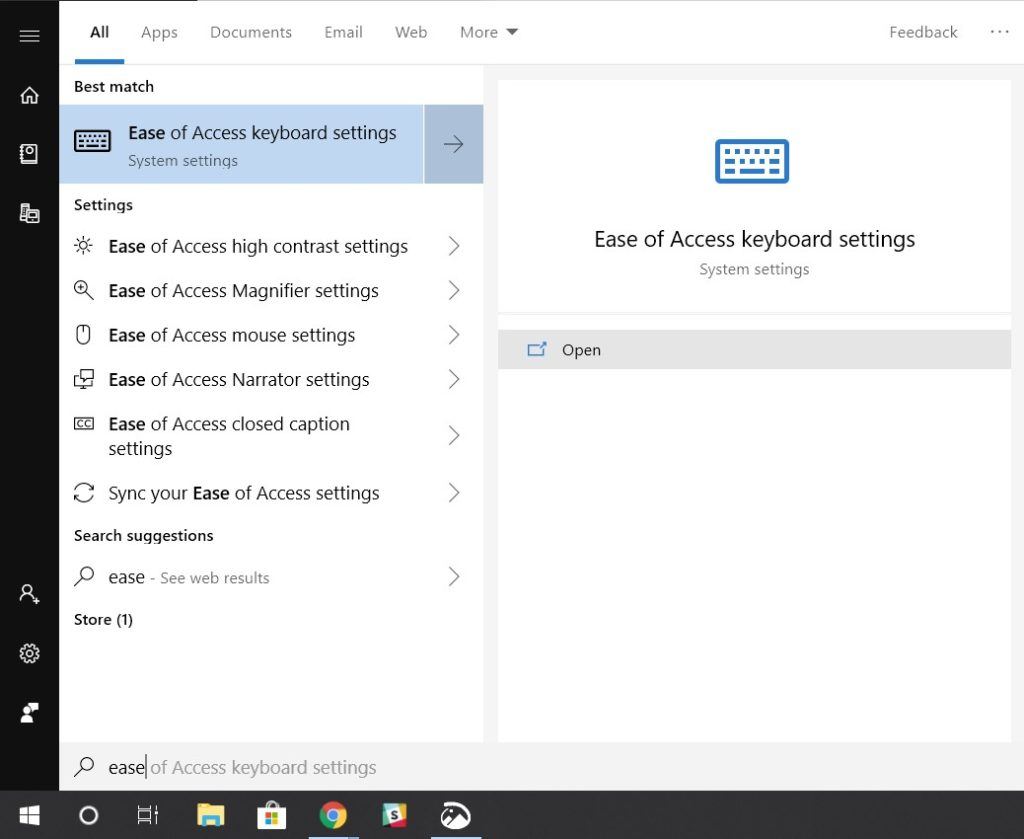
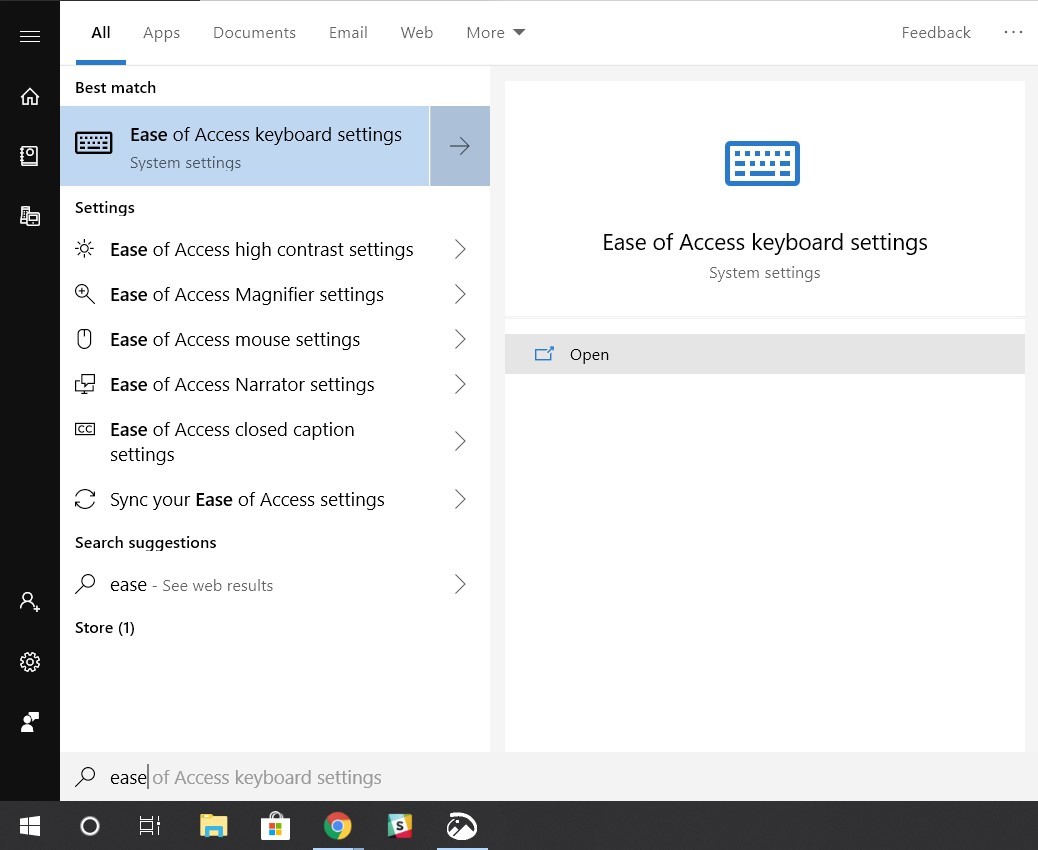
- Type “Ease of Access Keyboard Settings” in Start and click to open it.
- Head over to Print screen shortcut settings.
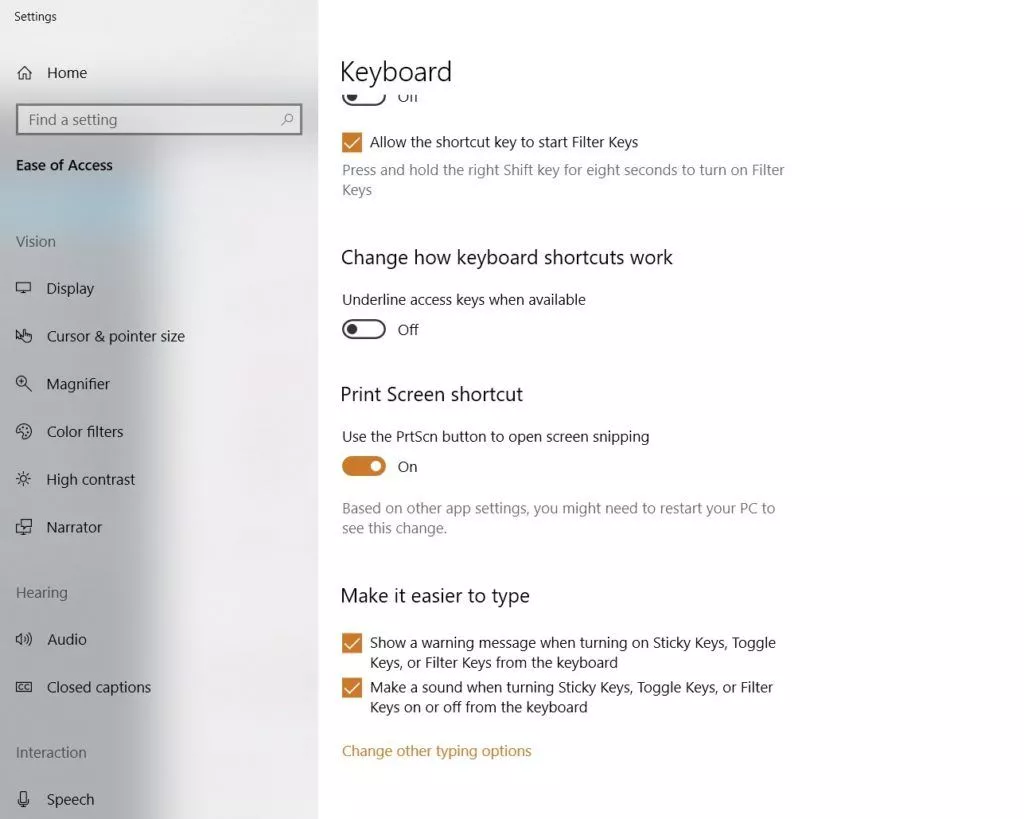
- Toggle on “Use the PrtScn Button to open snipping.”
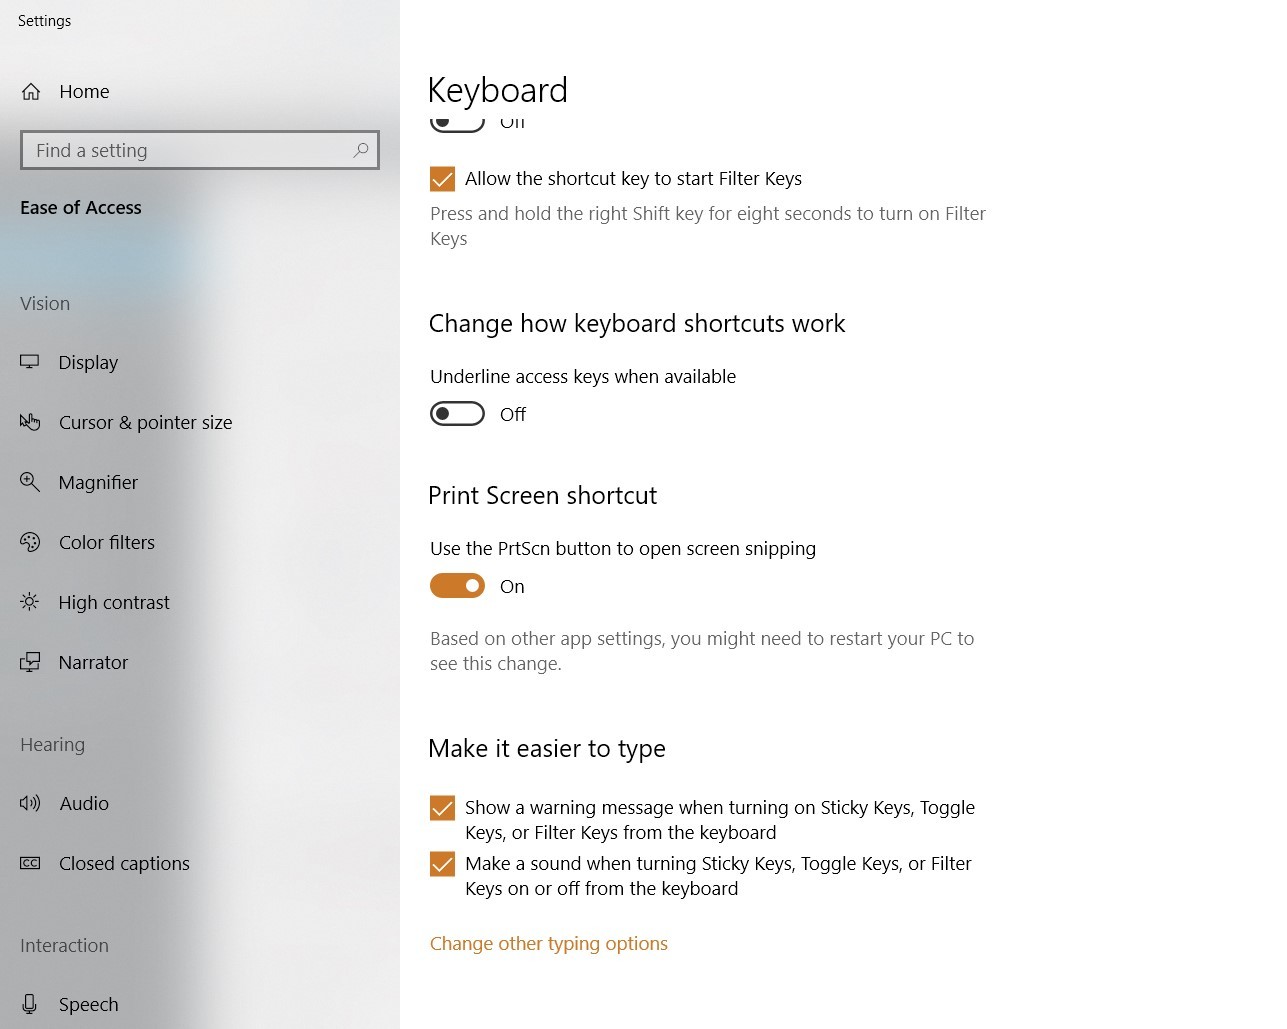
Now, pressing the PrtScn Button would allow you to take screenshots in Windows 10.
- Windows Ink Workspace
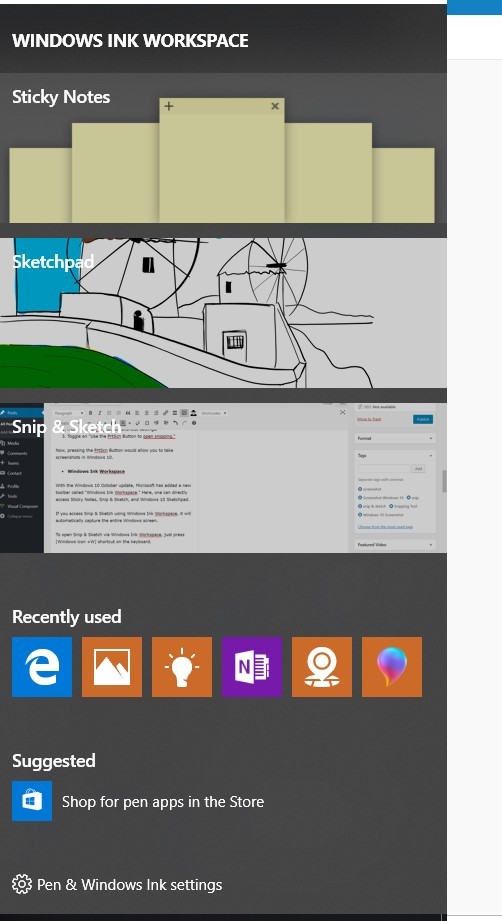
With the Windows 10 October update, Microsoft has added a new toolbar called “Windows Ink Workspace.” Here, one can directly access Sticky Notes, Snip & Sketch, and Windows 10 Sketchpad.
If you access Snip & Sketch using Windows Ink Workspace, it will automatically capture the entire Windows screen.
To open Snip & Sketch via Windows Ink Workspace, just press [Windows icon +W] shortcut on the keyboard.
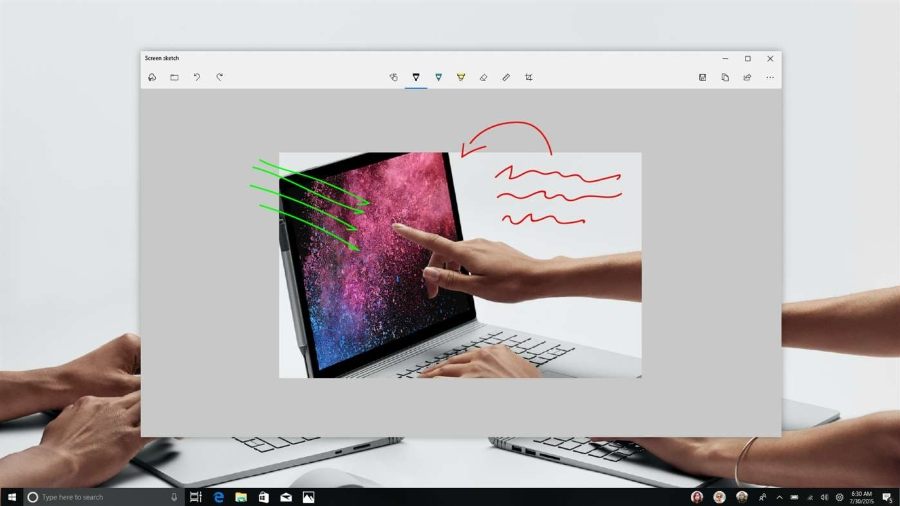
How to annotate screenshots with Snip & Sketch?
Apart from the primary snipping tool, Snip & Sketch lets you annotate Windows 10 screenshots with a bunch of exciting tools.
- Touch Writing
Touch writing can come very handy if you have a hybrid PC or a Microsoft Surface that supports Surface Pen.
This Snip & Sketch feature lets you annotate the screenshot via the touchscreen.
- Ballpoint Pen, Pencil, and the Highlighter
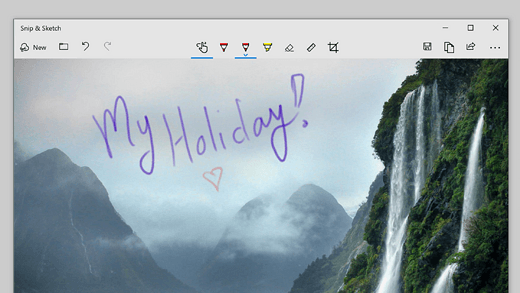
There are a few stationary tools that let you add ink on the screenshot. You can draw, write, highlight and much more.
With the help of an eraser, you can omit the additions as well.
- Ruler
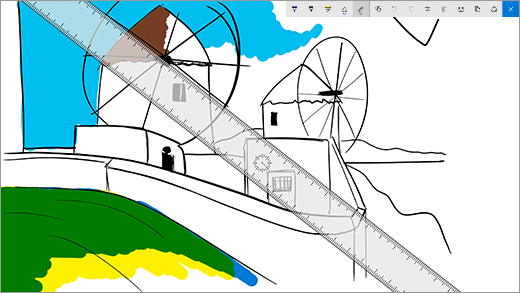
Ruler in Snip & Sketch lets you make a straight line on the screenshots. Scrolling the mouse-scroll rotates the scale to different angles. You can also use a protractor to make arcs on the Windows 10 screenshot.
- Image Crop
Another general snipping tool element that lets you crop images to remove unnecessary content from the captured screenshot.
How to Save/Share the Screenshot?
Once you have made the necessary changes to the Windows 10 screenshot, click on the “save as icon” located in the top-right area. Then save the file as JPEG, PNG or GIF.
You can also share the snip via email, nearby sharing or another supported application.
Also Read: Try Out These Free & Latest Windows 10 Themes From Microsoft