Snapmaker 2.0: 3D-Printed Household Manufacturing In A Box 2.0
The Snapmaker 2.0 was already a successful crowdfunding campaign when I reviewed the Snapmaker Original. Despite the pandemic stirring up, the product was brought to market, albeit with a few delays. After spending some time with Snapmaker 2.0, I’m happy to share my experience with this magnificent machine.
I received the review A350 unit in late December. But, unfortunately, with the current lockdowns, some materials were difficult to obtain in my city. Because of that, some of our example projects are rather contrived. But hopefully, they demonstrate the vast potential of the software and tooling available for Snapmaker 2.0.
Snapmaker 2.0 Specifications
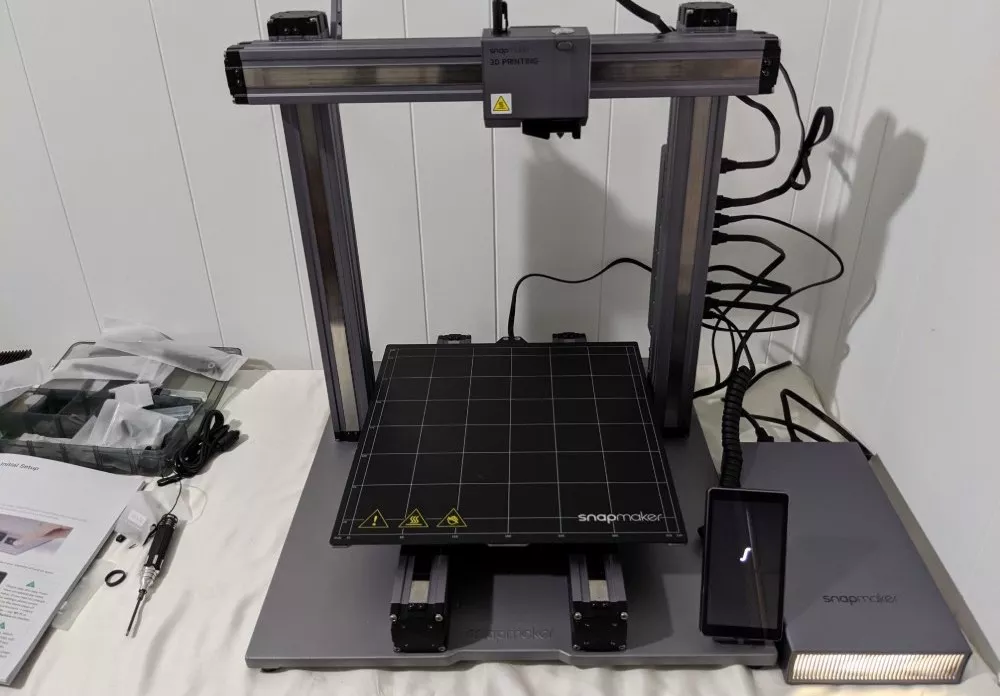
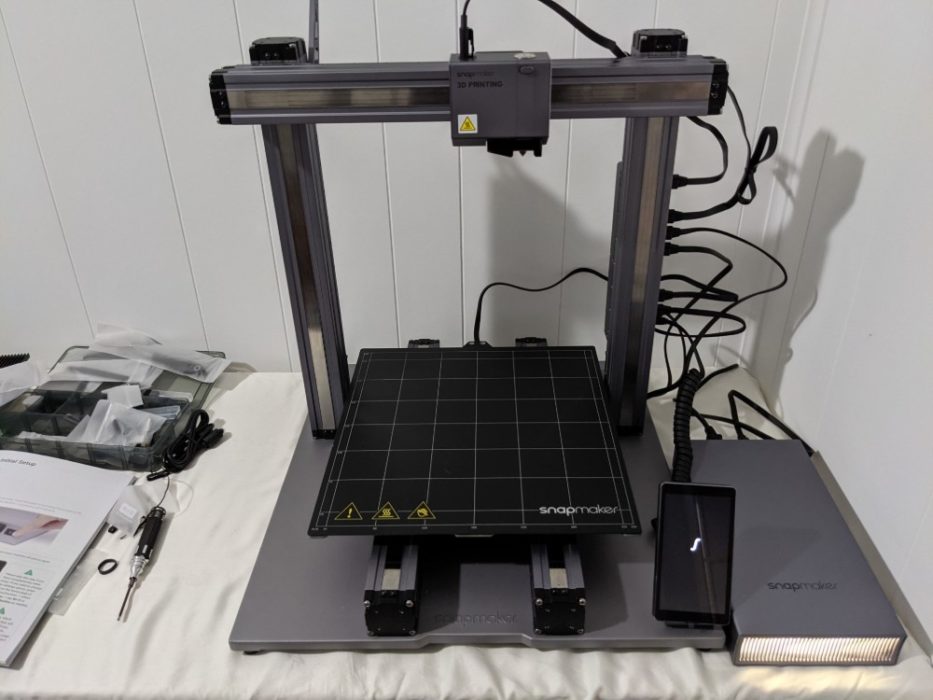
The Snapmaker 2.0, like Snapmaker Original, is a three-in-one crafting and DIY product. It includes a 3D printing tool head, a CNC carving tool head, and a laser cutting tool head. Rather than needing one of each machine, you simply need to switch the tool head and platform for the task. The Snapmaker 2.0 is ideal for small workshops, desktops, and other space-restricted applications.
The Snapmaker comes in three different models, the A150, A250, and A350, all referencing the size of the model. The larger the model, the fewer limitations there are. Even if you’re making something small, you can make many at once with a larger machine.
Starting with the 3D printing tool head, it’s fairly standard. The unit accommodates a filament spool and has a heated bed. However, a notable feature is the bed leveling sensor.
This results in only requiring a leveling of a single spot on the bed rather than a manual mesh leveling process which can require anywhere from four to twenty-five, or even thirty-six, leveling steps. This is a huge convenience that reduces time investment as well as the potential for error, which is very welcome for hobbyists, enthusiasts, and professionals alike.
The CNC spindle tool head doesn’t have a whole lot going on, but that’s just CNC for you. The Snapmaker 2.0 includes a couple of end mills for cutting and carving. The CNC can be used to cut out shapes or carving reliefs. While this sounds limited, it really isn’t. You can create three-dimensional artistic carvings, cut out digitally designed shapes like logos, or even do things like mill copper clad sheets for custom circuit boards.
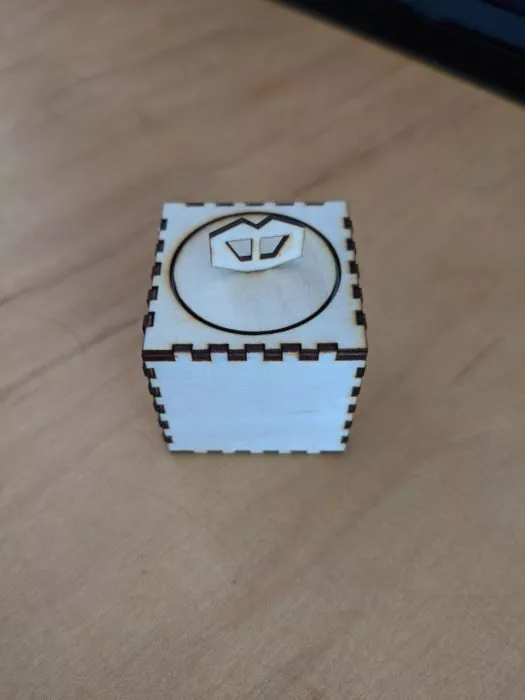
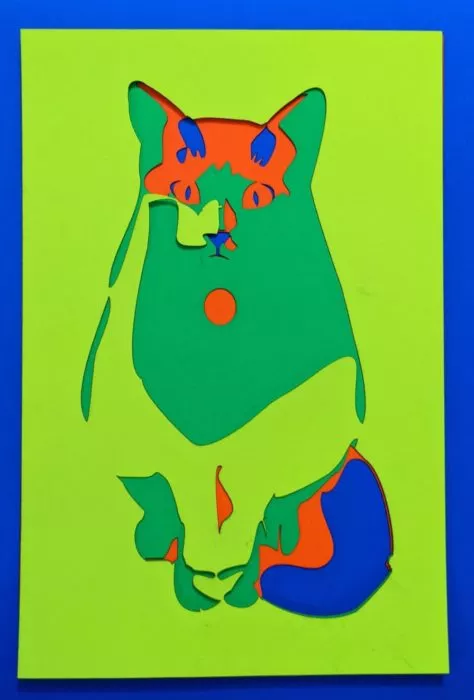
The laser cutter and engraver are strictly two-dimensional but can do some very interesting things. The cutter is capable of cutting through various materials, such as wood, acrylic, and many other crafting materials like felt and EVA foam. The engraver is capable of etching photographs into materials as well.
Everything is controlled via a touchscreen. Android-powered smart controller is wifi-connected, which allows remote control and monitors, as well as over-the-air updates, which is a welcome feature. Especially so when you’ve experienced the pain of updating some other printers. Taking things further, the Android operating system only interfaces with a Marlin-based controller for machine control. This means that it is using a well-known and well-documented flavor of G-code.
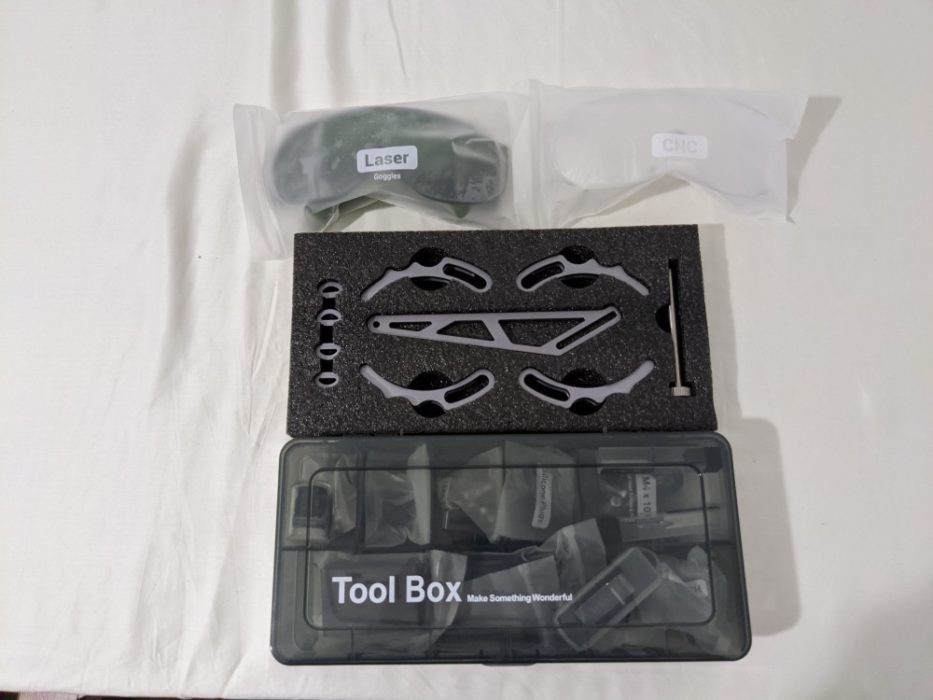
Beyond the major features, Snapmaker 2.0 includes various tools, clamps, and retention plugs to hold all sorts of project stock.
Snapmaker 2.0 Packaging
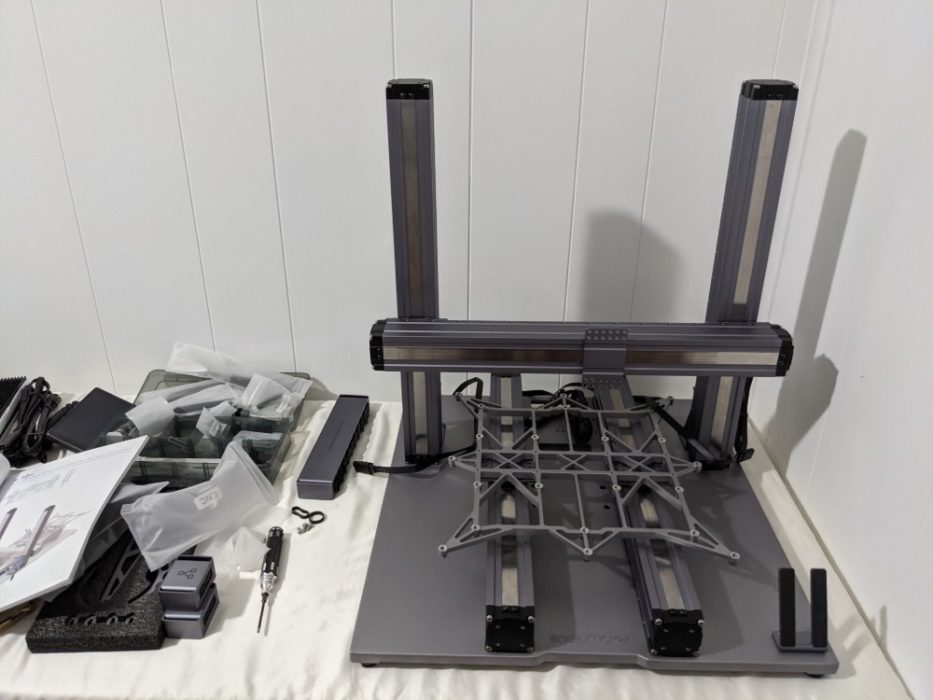
Before the review unit was delivered, I wasn’t sure which one I was going to get. I was surprised when the courier came to my door to see if I was home before lifting the box. Considering the unit comes in a large box that weighs 28.5KG, it was easy to understand why. Both the outer box and inner box were of thick and solid cardboard material, which is to be expected. However, the level of nesting and perfectly formed foam was very impressive. The contents are packaged with such care and attention to detail that it’s not surprising the box weighed as much as it did.
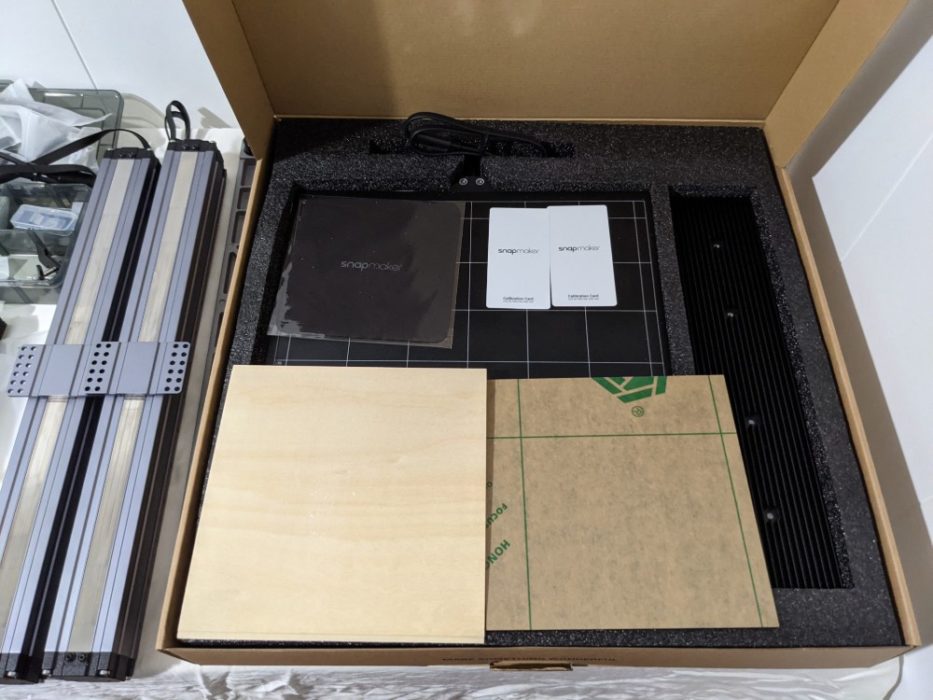
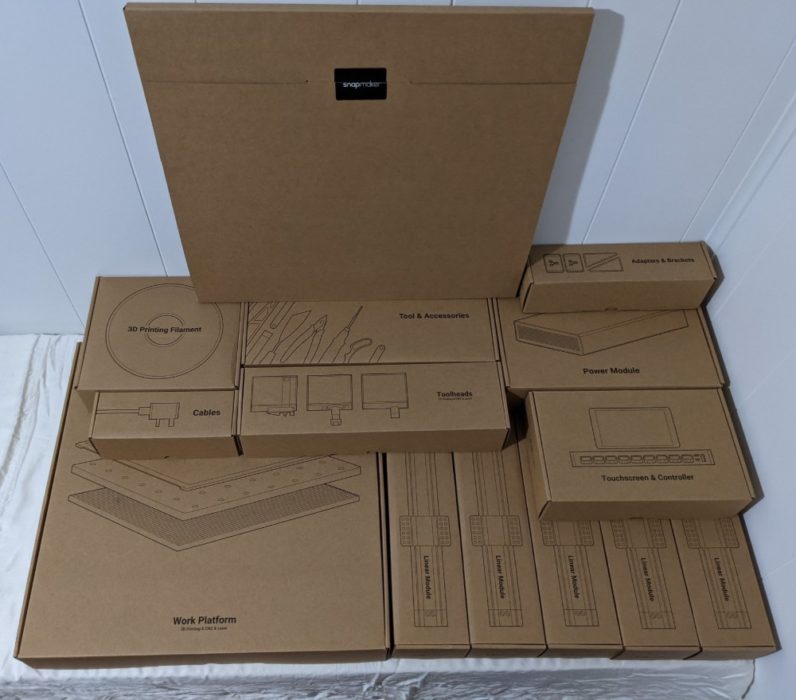
One note of tedium would be that the contents do not come out in the order you need them. And certainly adding to that are the sheer number of parts. Despite this, I enjoyed the unboxing experience. Each subsequent box is printed with text and a graphic for easy navigation of the contents. I found this particularly useful during the assembly. As I unpacked the parts it was clear that the many layers of component packaging and foam kept the contents tight, leaving very little room for movement.
Overall, I was very impressed with the packaging. It imparts an impression of quality and pride.
Snapmaker 2.0 Assembly
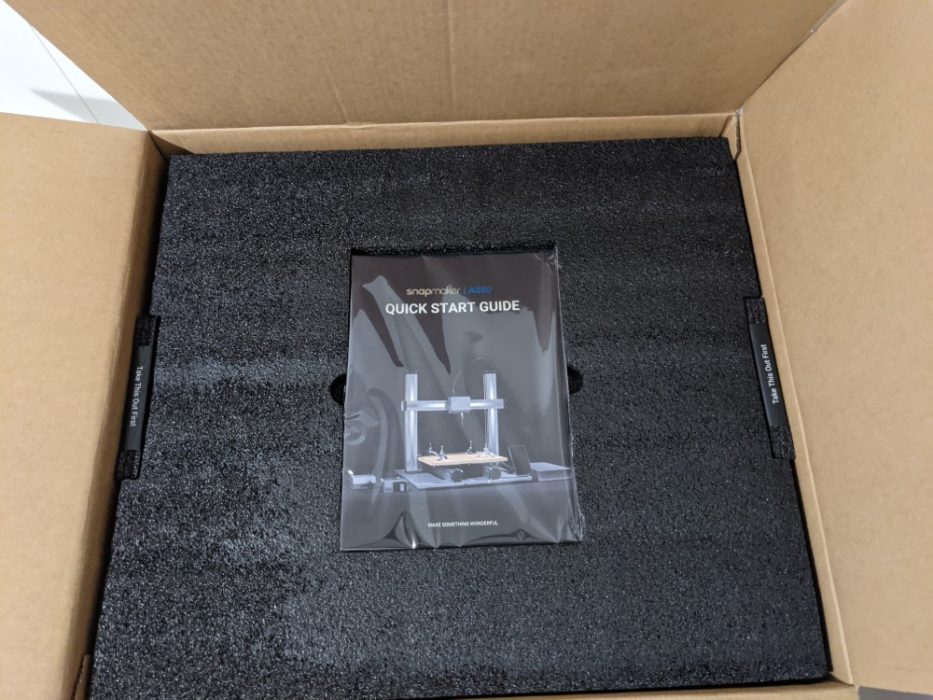
The manual provided with the Snapmaker 2.0 is incredible. The print quality combined with the photographs and pictographic assembly instructions make the assembly process very easy, although it does take some time. The components boxes are not packed in the order that you require them, so it’s best to unpack everything and proceed from there. The labeling of the boxes I mentioned really does come in handy. Even for someone that is less familiar, the graphics on the boxes correspond to the manual enough for quick recognition of the needed parts.
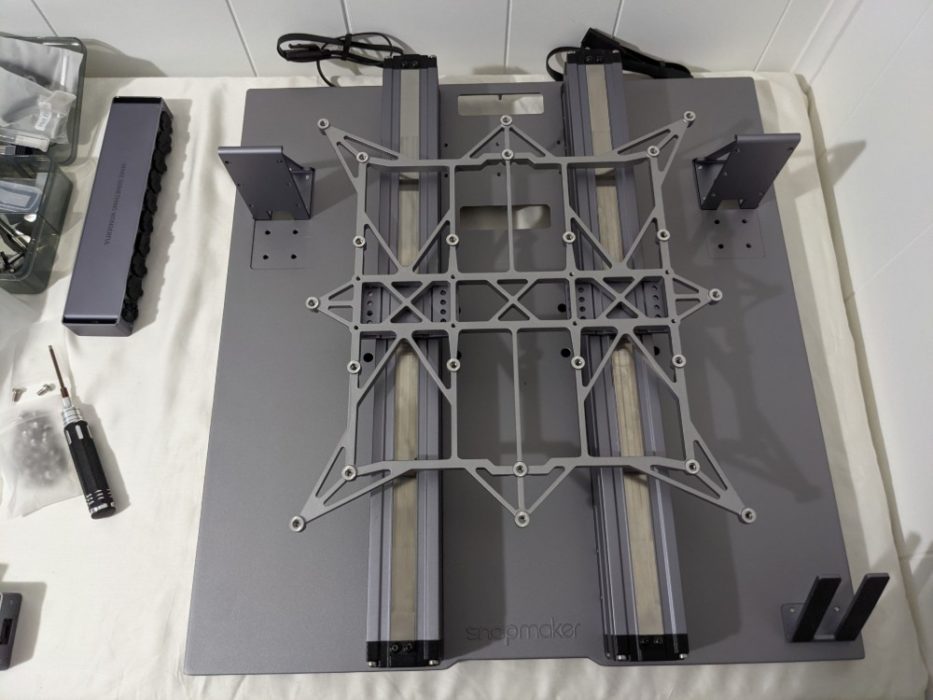
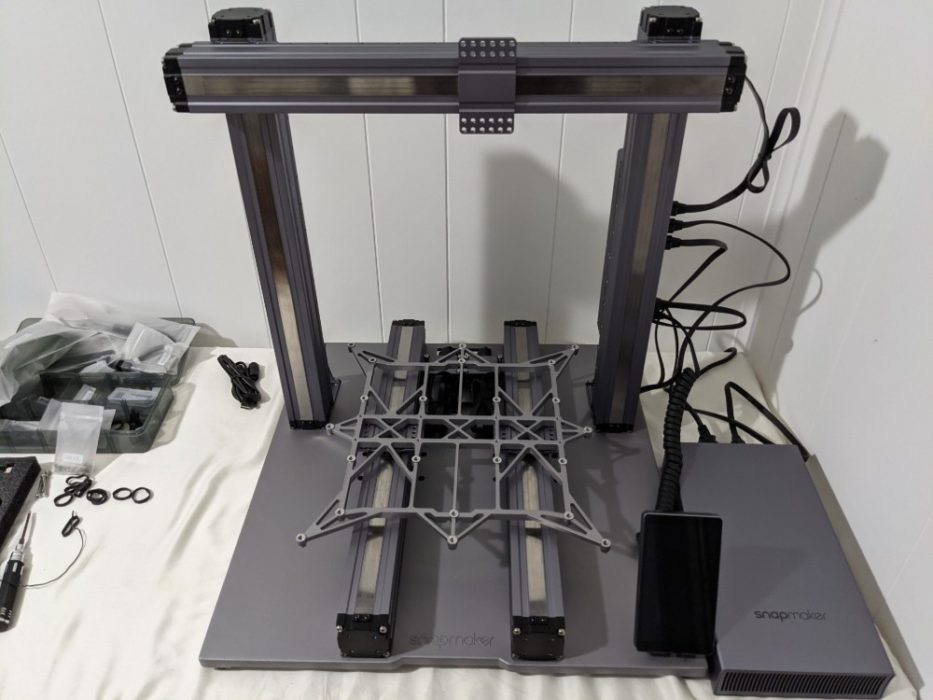
A large sole-plate is the component that ties everything together and makes it extraordinarily sturdy. The Z-axes bear considerable rigidity, even before the X-axis is assembled, joining them. As you continue to assemble the Snapmaker 2.0, it becomes rather large and can be difficult to maneuver alone. I recommend that you assemble it on a table that provides access from all sides. It’s also beneficial to have someone help you with the assembly because there are some steps that are a bit difficult alone. That said, it is absolutely doable alone and is mostly frustration-free.
3D Printing
The Snapmaker 2.0’s 3D printing experience was phenomenal. The bed leveling sensor significantly reduces the effort, involvement, and frustration in dialing-in your settings. Normally, manually stepping through a mesh leveling process is painstakingly tedious. But the Snapmaker 2.0 makes it a breeze. It took very little time to get started printing. For the first print, I decided to print the Rocinante from The Expanse. The first layer came out perfectly. While there was some minor artifacting throughout the model, I think it turned out excellent for a first print.
My only complaint about the 3D printing experience is that the Snapmaker Luban software is limited in comparison to alternatives like Cura. This isn’t a problem, though. Because Snapmaker provides instructions for configuring Cura to generate Snapmaker 2.0 specific G-code, including the necessary start and end G-code.
CNC Cutting
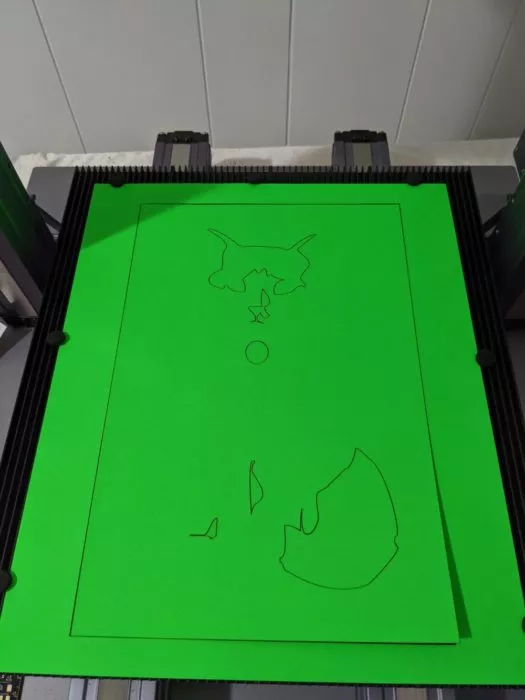
The Snapmaker 2.0’s included CNC is interesting. I didn’t have the opportunity to try it in relief mode, because of a lack of materials. But I was able to find some scrap plywood to try a cutout on. The learning curve here was a bit steeper compared to 3D printing because I was using vector graphics that my wife made for me. I decided to try cutting out a local lake. The preview in the software looked good, so we went ahead with it. Well, as it turns out, we didn’t account for the width of the end mill and we lost some fidelity to it. More than that, some areas were consumed by tool paths that were too close together, leaving a somewhat inaccurate depiction of some of the lake’s shorelines (not that anyone would notice).
CNC cutting has a benefit over laser cutting. It can cut through much thicker material because it can do it in many passes. A laser can do many passes as well, but the focal point of the laser cannot be changed. That is, it is a fixed distance from the lens. The further from the focal point the material is, the wider the laser becomes. This means that cuts through thicker materials could have a slight taper to them that interferes with any required tolerances.
It’s important to know the thickness of your stock material to know how many passes you require to cut all the way through. Not everyone has a pair of Vernier calipers around. Mine were lost somewhere for a while. You might find it difficult to eyeball the measurement with a ruler. As a workaround for a very accurate measurement, I found that you can actually use the Snapmaker 2.0 itself. If you lower the end mill to the bed and use the provided calibration sheet as instructed you can do the same on the top of the material and subtract the short height for the higher height and get the thickness within an accuracy of 0.1cm. If done properly, you should have no difficulty extracting your work from the stock, regardless of what you were cutting.
Anyone looking to cut letters out of stock will need to find stencil fonts, fonts that keep the centre bits of letters and numbers attached. This is a very easy thing to overlook. There are a number of free fonts online from various websites, but it’s important to understand the implications of certain cuts during your planning. Another very important thing to keep in mind is that you should always use completely flat stock. If your stock is not flat on both sides, your en mill might get caught during travel or you might have difficulty fastening your workpiece securely.
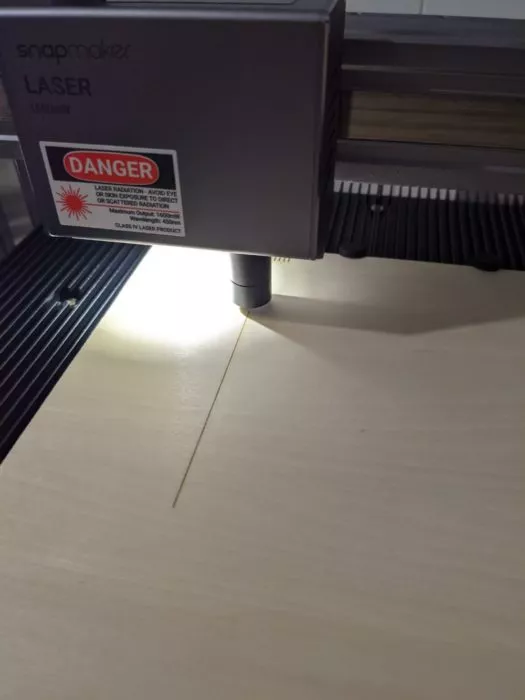
Laser Cutting and Engraving
Laser cutting, as mentioned, has a couple of benefits over CNC cutting. The laser is much finer than the CNC end mill, or at least it is when focused. Because of this, you can cut much finer details, and you can often cut much faster. Additionally, because there is no cutting resistance, you don’t need to forcefully fasten your workpiece, all while providing a much cleaner cut free of splinters or rough surfaces.
The calibration process for the laser is very easy to follow due to the calibration wizard. One thing to note is that the calibration process is triggered every time you use the laser. This is to ensure the laser is properly focused. It’s very easy to complete, but it will use the laser on your material. This can come as a surprise. So, you’ll want to make sure you calibrate with a different piece of material if your workpiece cannot accommodate both the calibration run and your project.
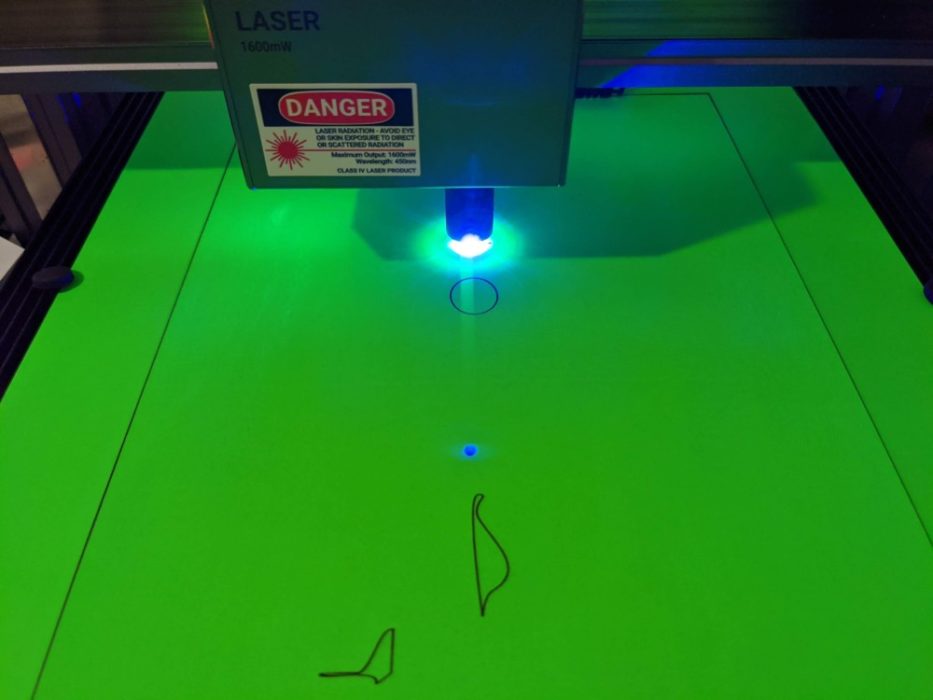
The Snapmaker 2.0 is very easy to use for laser cutting. The 1600mA laser can make quick work of a lot of materials. The Snapmaker Luban software is much better with laser cutting than it is with 3D printing.
Laser engraving/etching is a very different process than laser cutting. Because you are aiming to variably burn your material and not torch right through it, it requires more finesse. I purchased a small server board and attempted to etch an image into it. Unfortunately, it didn’t turn out because it was already treated with a waxy finish of some sort. Despite sanding after the first attempt, the burn was vastly different between each piece of wood in the laminated board. My guess is that the finish was absorbed differently depending on the wood grain and the finish protecting the wood from the heat, interfering with the burn. Due to the current regional lockdown, I wasn’t able to find any other materials to test with.
Conclusion
The Snapmaker 2.0 is not without its learning curves. But it makes three different manufacturing technologies significantly more approachable and considerably more accessible. The versatility of the Snapmaker 2.0 is seemingly unparalleled. The ability to use alternative software also makes it a much more flexible choice and allows the users to grow into more sophisticated workflows. Adherence to open standards will undoubtedly extend the life-span of the device, as well.
However, the price is also fairly steep for anyone that is just entering the space. I imagine it will be difficult to commit to the price tag of the Snapmaker 2.0 for those without experience or sufficient motivation. Further, there are many devices that implement one of 3D-printing, CNC cutting/carving or laser cutting/etching for considerably cheaper. So, the Snapmaker products may not be ideal for those looking for one technology alone given that there are alternatives out there. Despite this, I think that the Snapmaker 2.0’s lower technical barrier to entry will be very attractive for schools, design firms, and small-scale/home-based manufacturers that are hoping to onboard some automation into their manufacturing and DIY processes.
Overall, I’m extremely pleased with the Snapmaker 2.0. It isn’t simply an increment over the Snapmaker Original, it’s a whole leap beyond it. Again, it’s not completely without its learning curves, but it has factored out much of the complexity typically involved with operating these types of equipment and made the whole process very pleasant.