How To Upgrade Linux Kernel In Ubuntu And Linux Mint Easily With Ukuu

Short Bytes: Looking for an easy to install or upgrade Linux kernel in Ubuntu or Mint distributions? With the help of Ukuu utility, you can complete this task easily. Simply run a couple of commands in the command line to install Ukuu and launch the utility. After selecting the desired kernel, hit the install button to complete the task.
Installing or upgrading to a new Linux kernel isn’t an easy task for a Linux newbie. But, one needs to do so on a regular basis to make sure that one’s system is secure from hacking attacks. Very often, updating a kernel also fixes many issues, brings stability improvements, and updates the drivers.If you’re running a Ubuntu-based Linux distro, you’re in for a treat. You don’t have to deal with all the hassle to update your Linux kernel. By using Ukuu (Ubuntu Kernel Update Utility), a simple app with clean GUI, you can install new mainline kernels published by Canonical.
Ukuu is maintained and developed by TeeJee Tech’s Tony George. It’s a Gtk UI and command line tool, so you can use it on Desktop and Server editions.
In the steps mentioned below, I’ll show you how to install or upgrade Linux kernel in Ubuntu. You can follow the same procedure in other Ubuntu derivates like Linux Mint and elementaryOS.
Upgrading Linux kernel in Ubuntu 14.04/16.04/16.10 or Linux Mint 17/18 using Ukuu
1. Add PPA for Ukuu
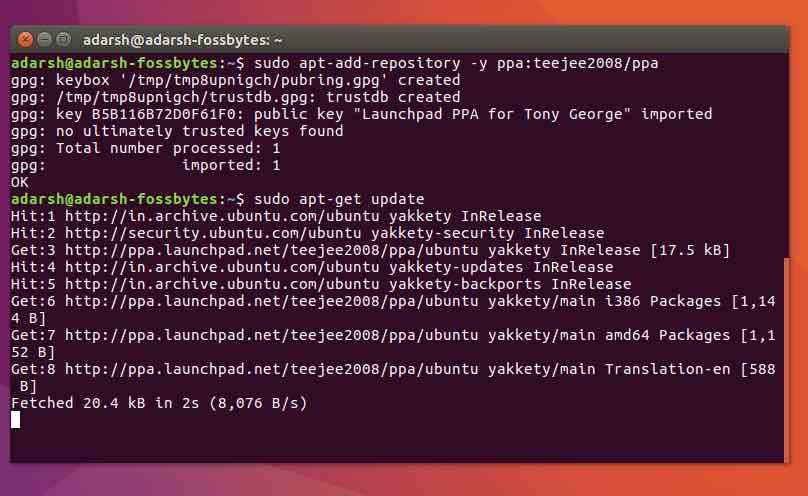
To install Ukuu on your Ubuntu or Linux Mint system, open your Terminal and run the following command. It’ll add the PPA for Ukuu:
sudo apt-add-repository -y ppa:teejee2008/ppa
2. Update the sources list
The step is updating the sources list by running the following command:
sudo apt-get update
 3. Run the command to install Ukuu
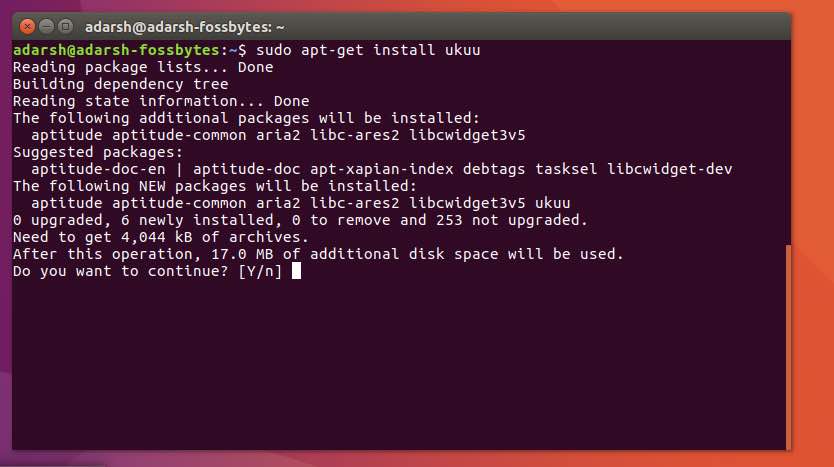
Now install Ukuu utility by running the following command:
sudo apt-get install ukuu
 If you’re running older Ubuntu releases which have reached end-of-life, or you’re facing some issue, you can grab the DEB files and install it manually.
– ukuu-latest-i386.deb (32-bit)
– ukuu-latest-amd64.deb (64-bit)
You also have the option to download the Ukuu installer package directly from Launchpad.
4. Now, launch Ukuu
To launch Ukuu GUI on Ubuntu desktop, you need to run the following command:
sudo ukuu-gtk
For launching the command line interface on Ubuntu server, run this command:
sudo ukuu-gtk
5. Choose the desired Linux kernel
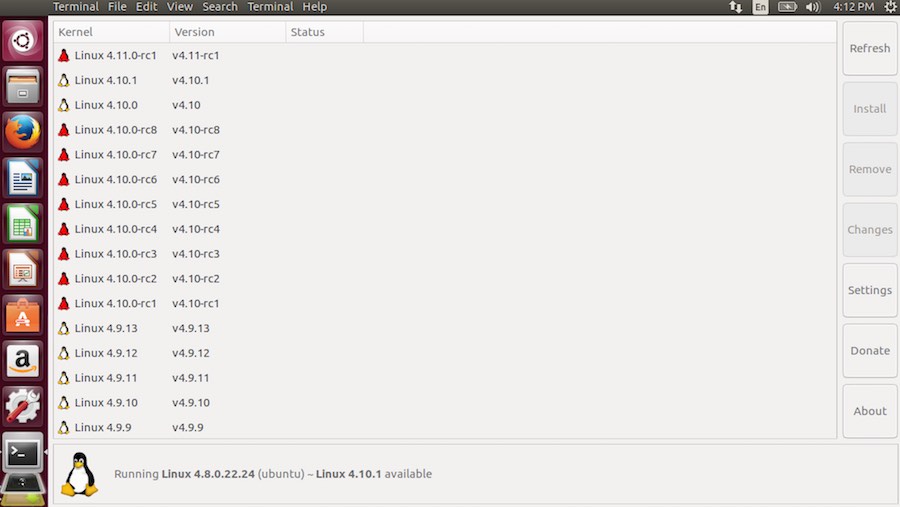 The Ukuu window shows all available kernels for download. You can see the newest kernel at the top, followed by the other kernels. Now, choose the desired kernel that you wish to install.
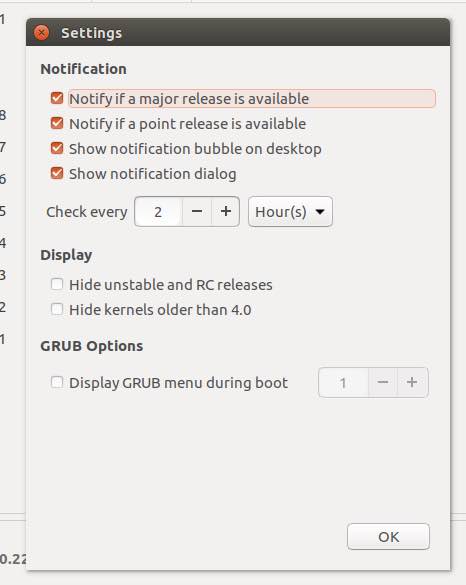
You also have the option to manage settings and get notifications regarding the future kernel releases.
6. Install Linux kernel with Install button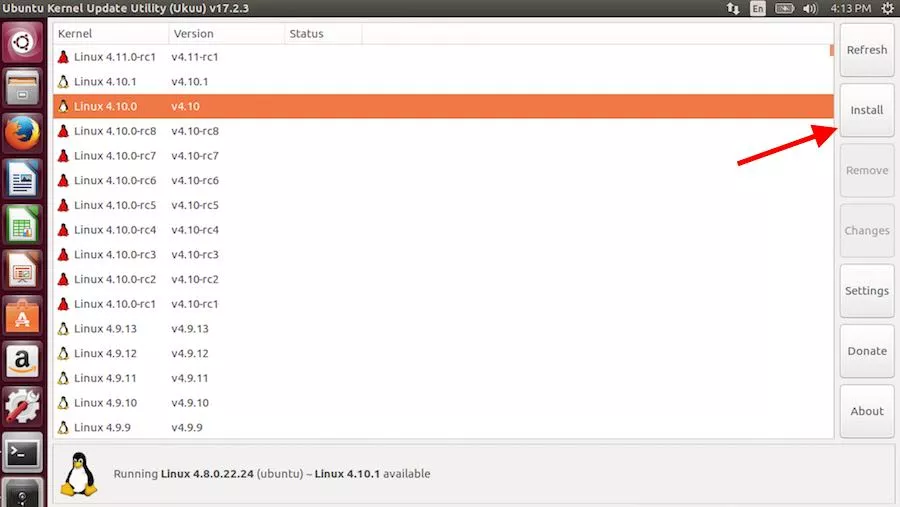
Simply hit the Install button after selecting the kernel. It’ll download and install the kernel. Simply reboot your Linux system and enjoy updated kernel.
7. Removing Ukuu
For removing Ukuu from your system, simply run:
sudo apt-get purge ukuu
Did you find this method to easily install and upgrade Linux kernel on Ubuntu and its derivates? Share your views and feedback.
Recommended: Linux Lexicon Guide