How to Transfer Data from iPhone to iPhone in 2025
If you have just upgraded to a new iPhone, then congratulations! You have made a good decision. However, transferring all your essential data and settings from your old device is a major step to ensure you don’t miss anything important. If you are unsure how to do it, you have come to the right place. In this guide, we’ll walk you through three official methods to transfer your data from your old iPhone to a new one.
1. Transfer Data using Quick Start
Starting with the easiest method: Quick Start. It is the default way and allows users to transfer their data without backing up the old iPhone. However, there are a few requirements to keep in mind:
- Your old iPhone should have Wi-Fi and Bluetooth enabled.
- Both iPhones should be connected to a power source.
- Your older iPhone should be running iOS 11 or higher.
Once these requirements are met, setting up the new iPhone is pretty simple:
- Power on the new iPhone and keep both devices side-by-side.
- Your old device should display a Set Up New iPhone prompt. If it doesn’t, continue setting up the new iPhone until you reach the Quick Start page.
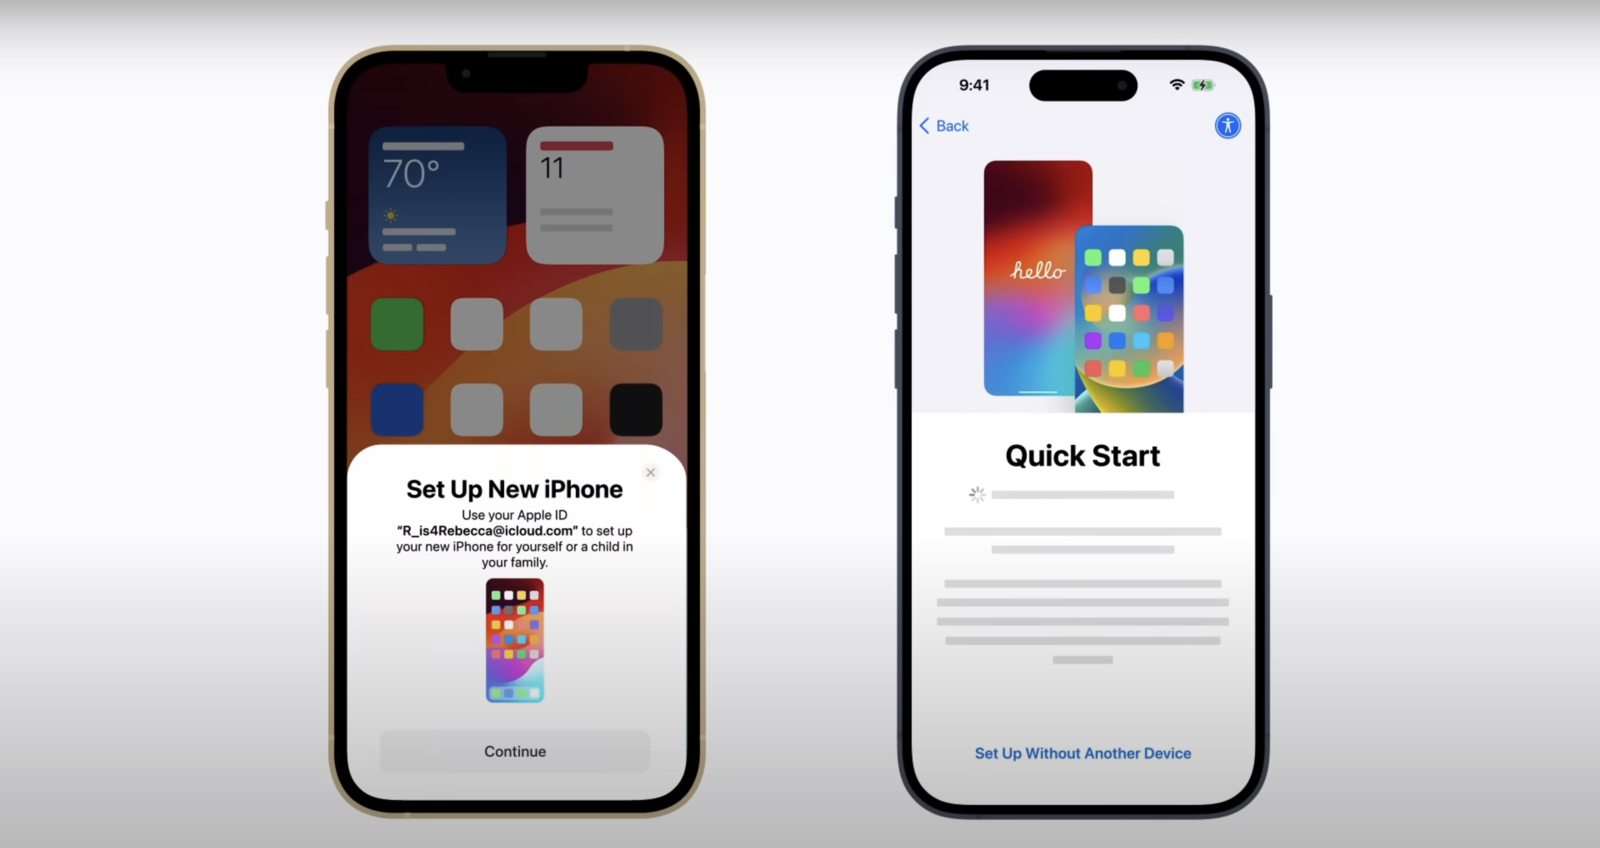
- Open the camera app on your older iPhone and scan the animation on the newer one.
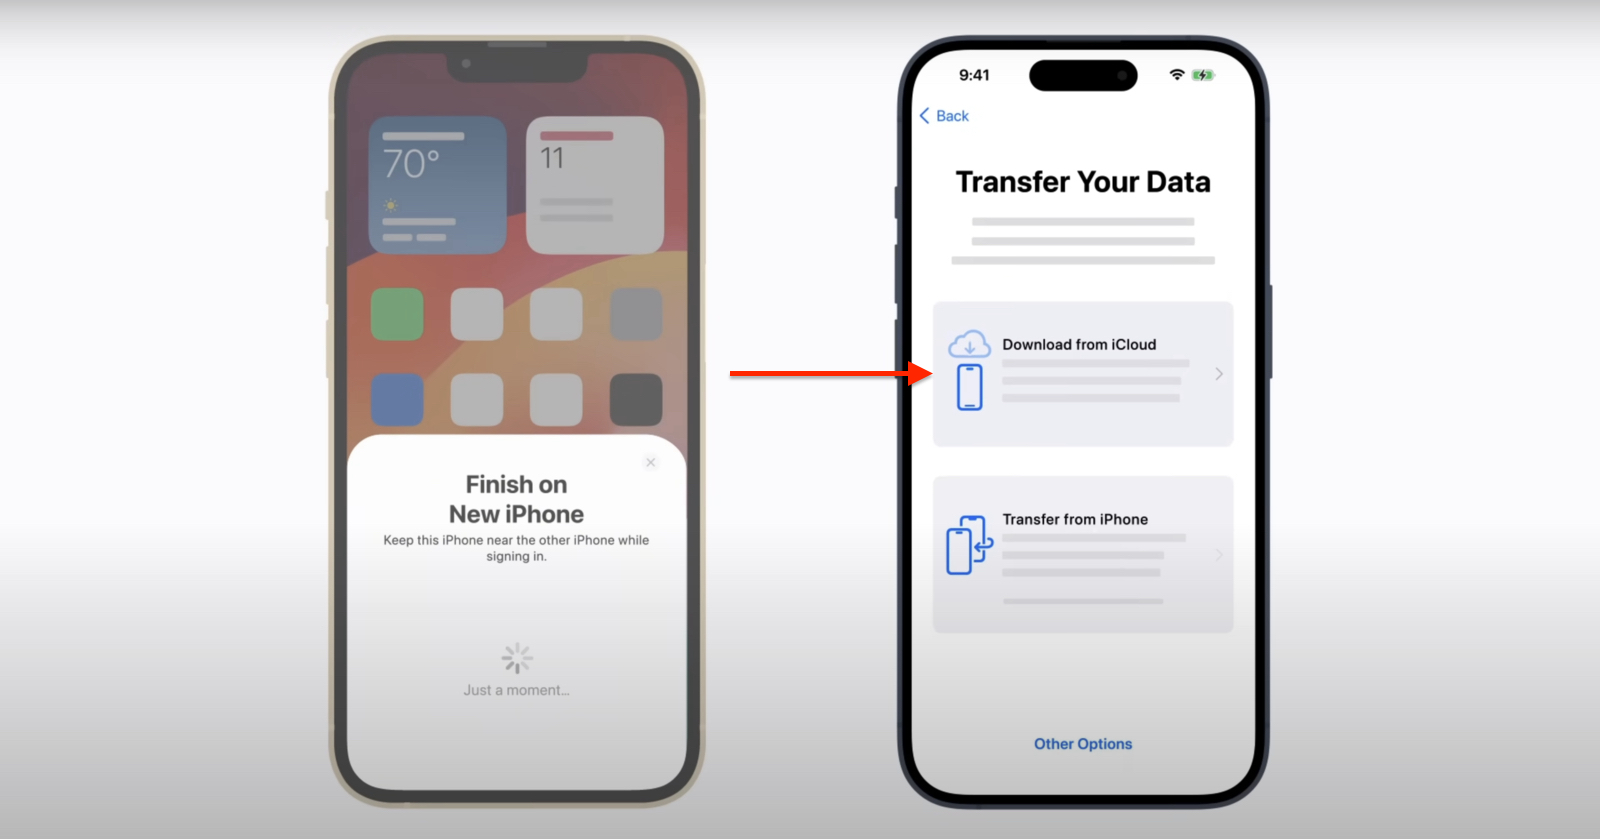
- When you see the Finish on New iPhone message, enter your old device’s passcode on the new iPhone.
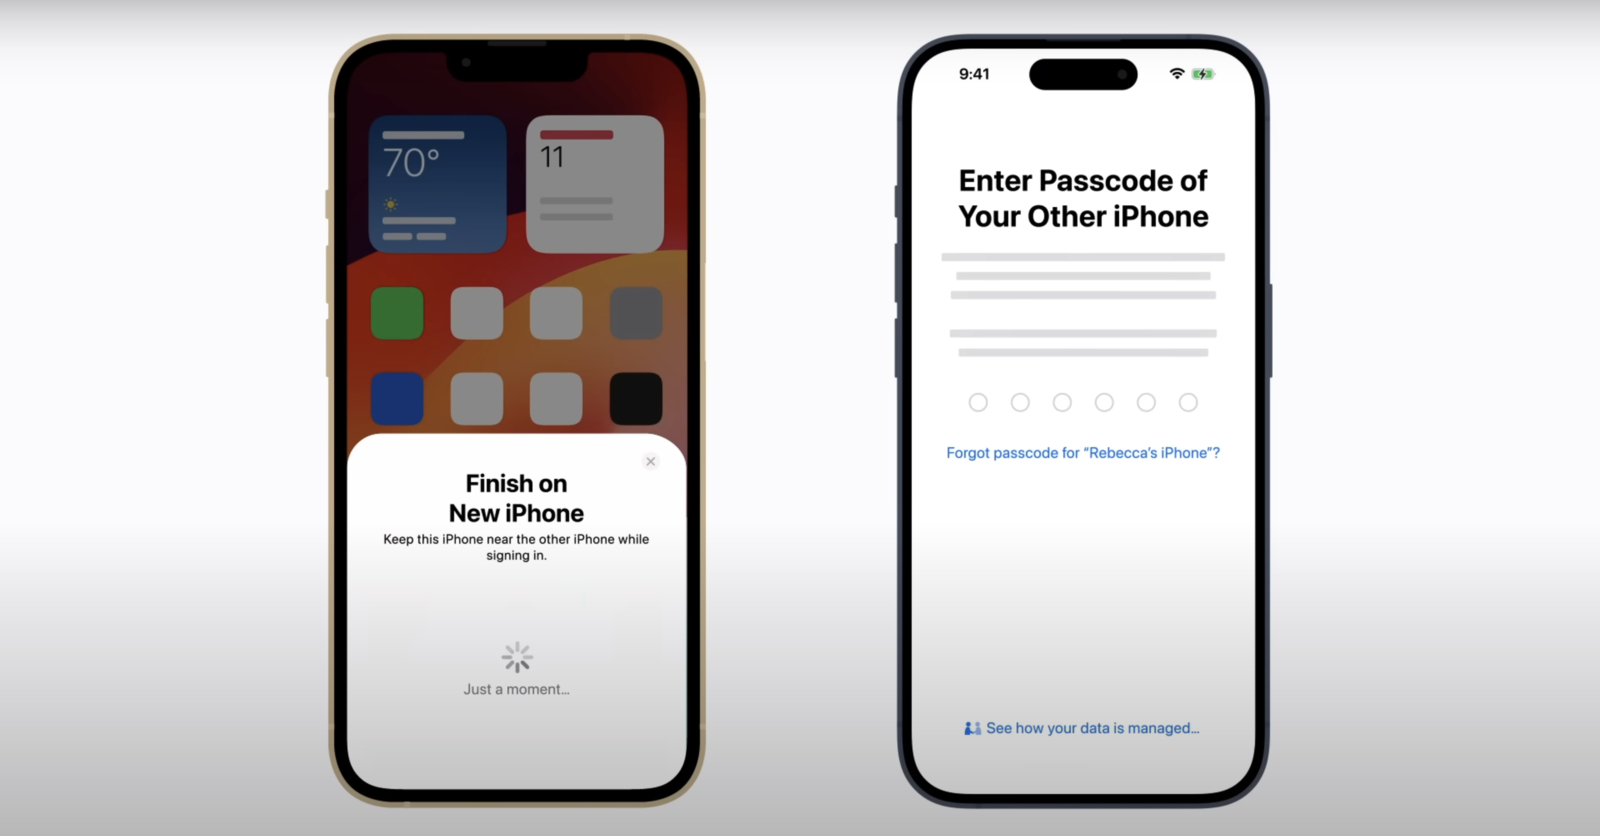
- Click the Transfer from iPhone button on the Transfer your Data page.

- Select all the data you want to copy.
Keep in mind that the data transfer process can take some time, depending on the size of your files.
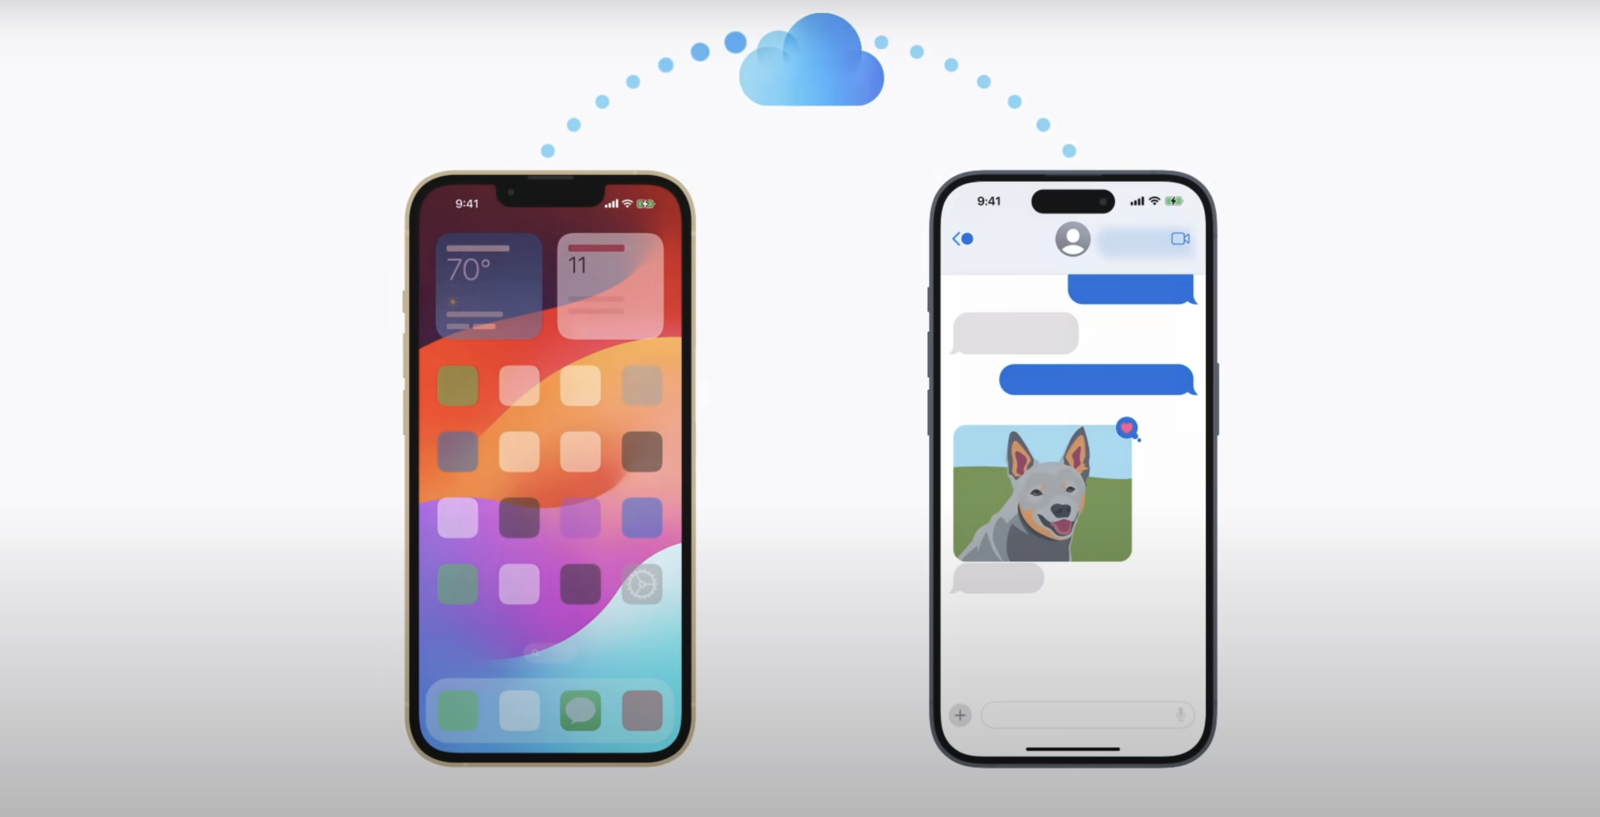
2. Transfer Data using iCloud
Another simple way to transfer data between devices is via iCloud. Unfortunately, as you may know, Apple only gives 5GB of iCloud storage in the free tier, which isn’t even enough for photos, let alone backing up the whole phone.
However, for users upgrading to a new iPhone, Apple offers free, unlimited cloud storage for 21 days. During this time, you can back up all your important data and transfer it to the new iPhone without additional costs.
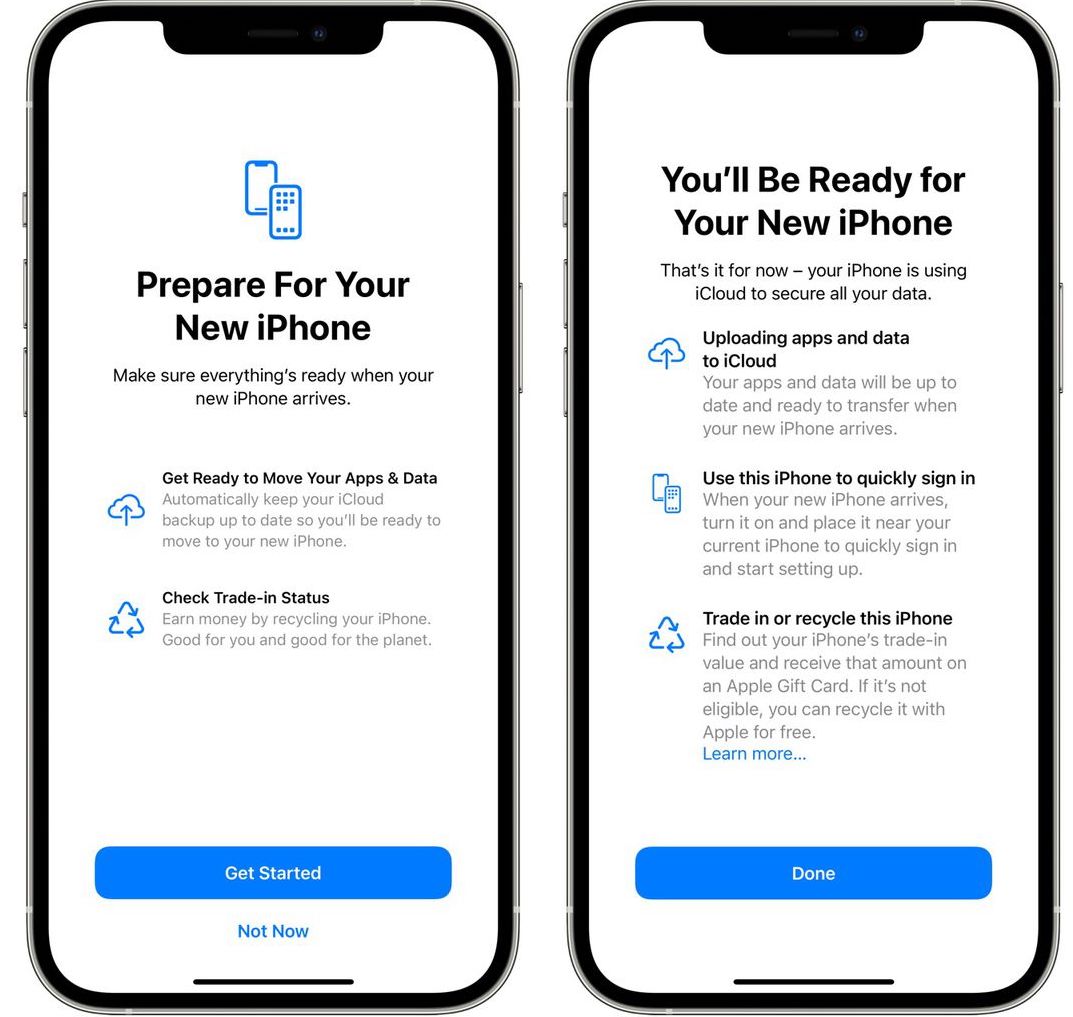
- Open the Settings app on your iPhone and navigate to General > Transfer or Reset iPhone.
- Tap Get Started under the Prepare for New iPhone section.
- On the next screen, tap Continue, then select the Move All App Data with iCloud option.
- Once the backup is complete, power on your new iPhone.
- Go through the Quick Start setup process, as mentioned above.
- On the Transfer Your Data page, select Download from iCloud.
- Enter your Apple ID and password, then select the backup you want to restore.
3. Transfer Data using a Mac
If you’re not a fan of cloud storage and prefer to back up your iPhone to a Mac, you can also use it to set up your new device. Here’s how:
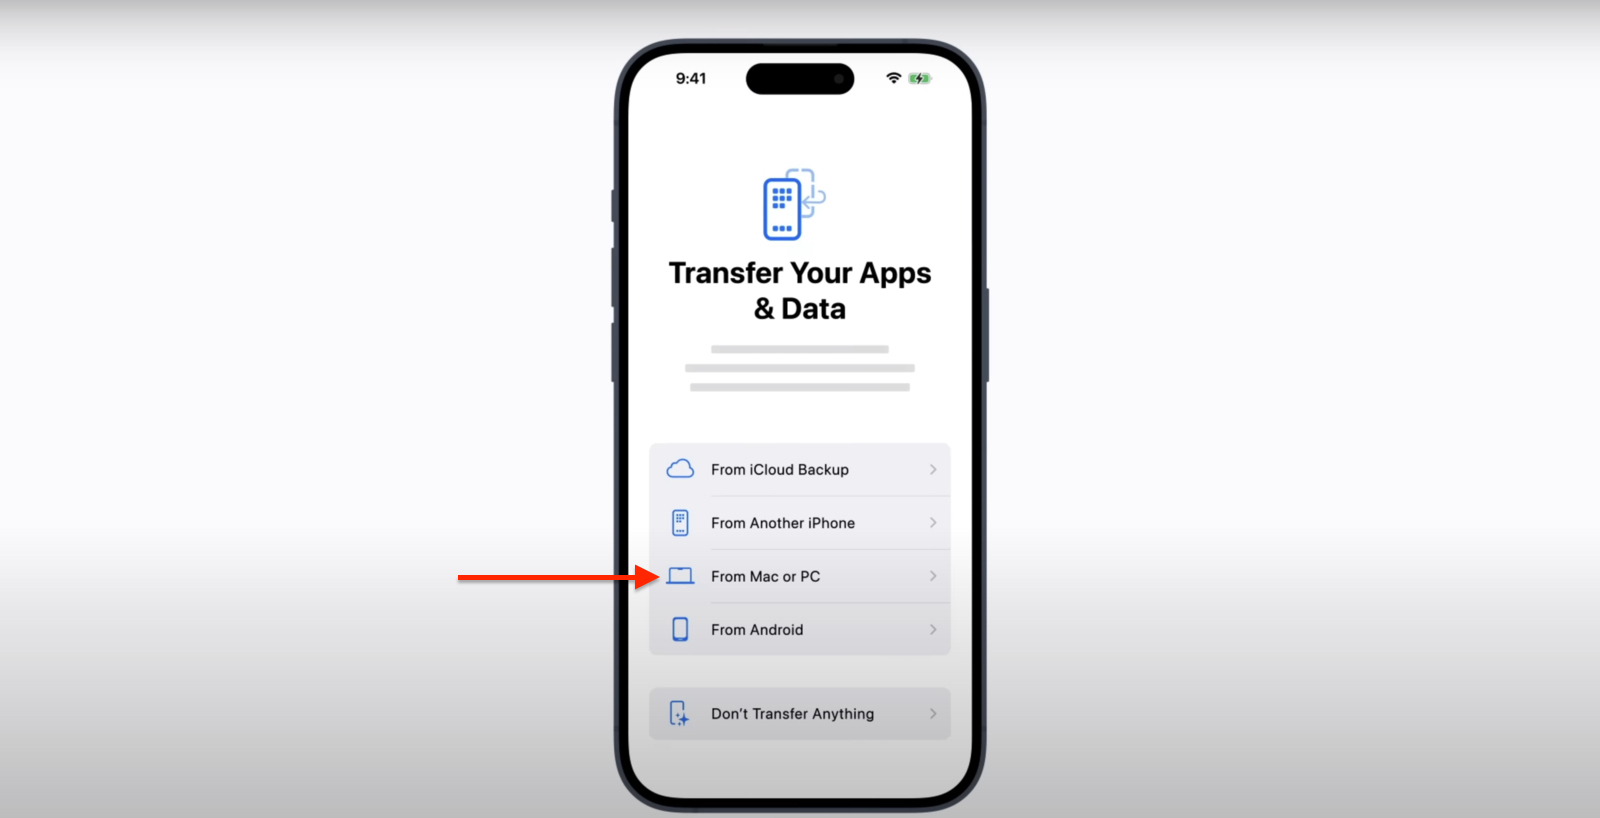
- Power on your new iPhone and continue the setup until you reach the Apps & Data page.
- Select the Restore from Mac or PC and connect the iPhone to your Mac using a USB cable.
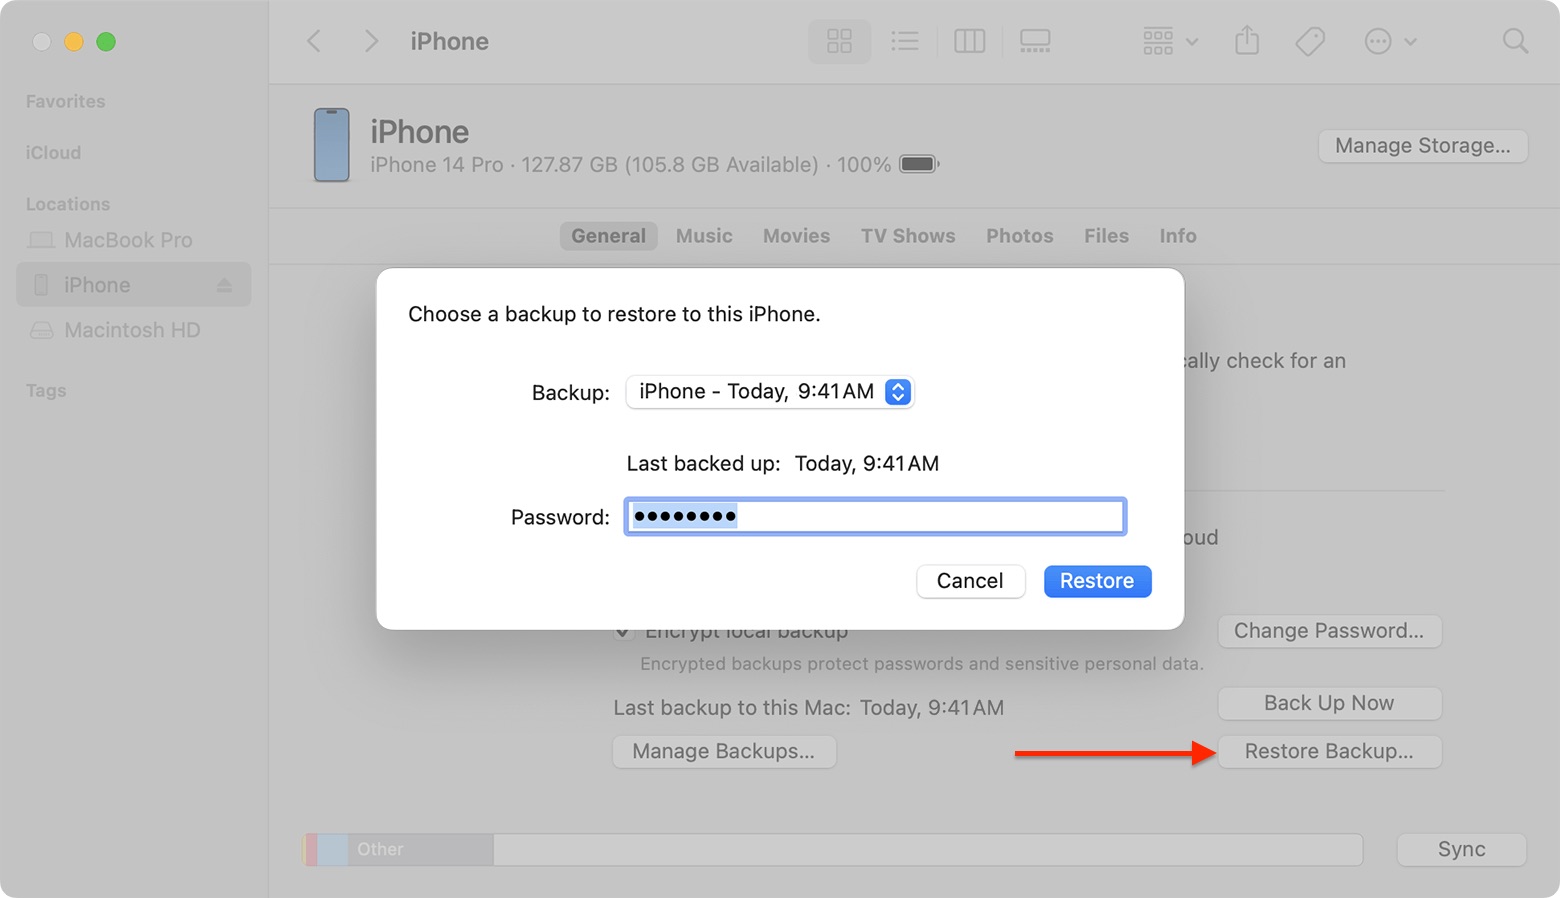
- Open Finder (or iTunes if you’re using an older macOS) and locate your iPhone in the left sidebar.
- Click on Restore Backup and select the backup version.