How To Screen Record On Chromebook?
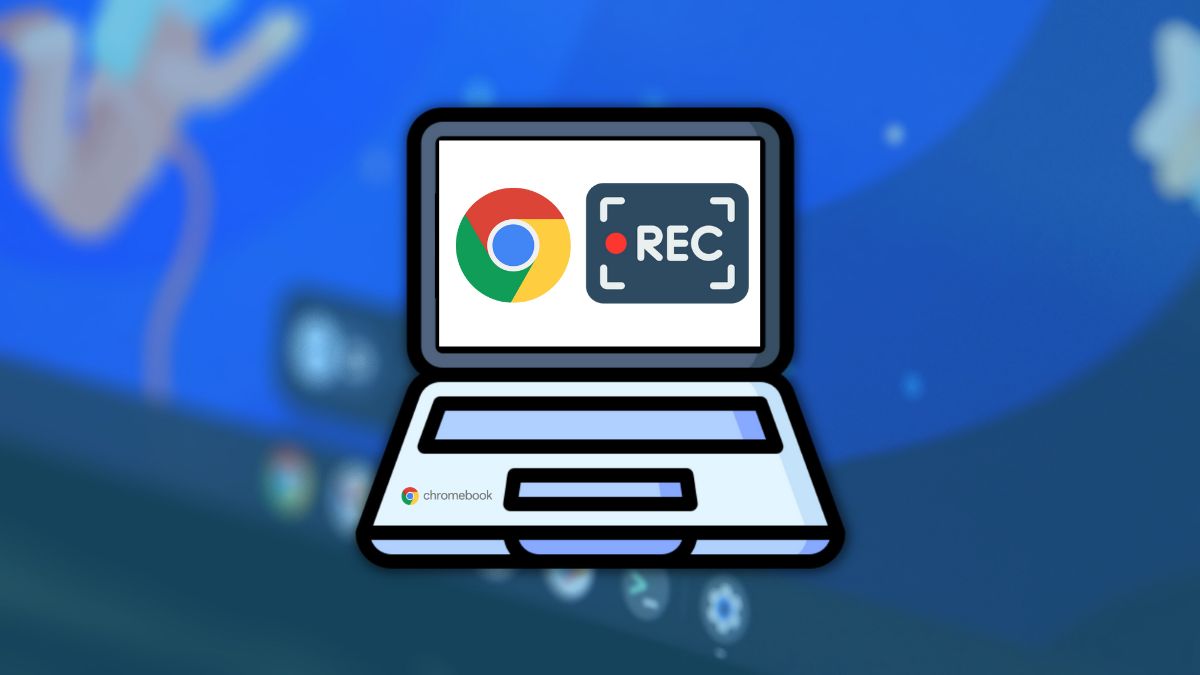
Want to record your Chromebook screen to show it in a presentation? You can easily do it using Chrome OS’s built-in screen recording tool and a third-party tool. If you’re new to Chrome OS and don’t know how to do it, here’s how to screen record on Chromebook.
The third-party tool that we’re going to use is called Snipclip. It’s a web-based tool that can record your screen and is a completely free alternative to Chrome OS’s built-in screen recorder.
Screen Recording on Chromebook using the built-in tool
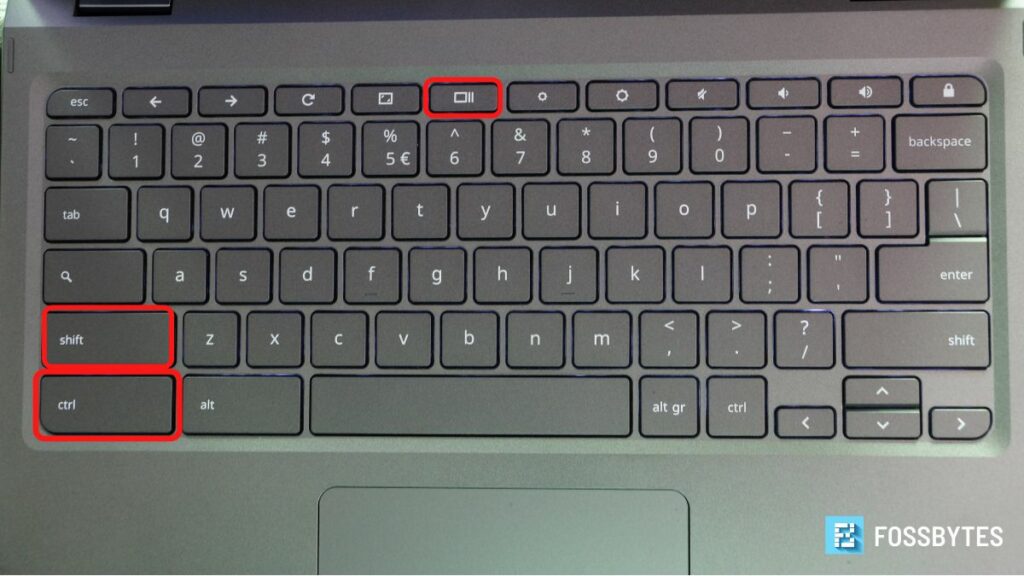
1. Press the key combination Ctrl+Shift+Show Windows to open the Chrome OS’s screenshot overlay.
2. Find and click on the Video icon in the overlay to switch.
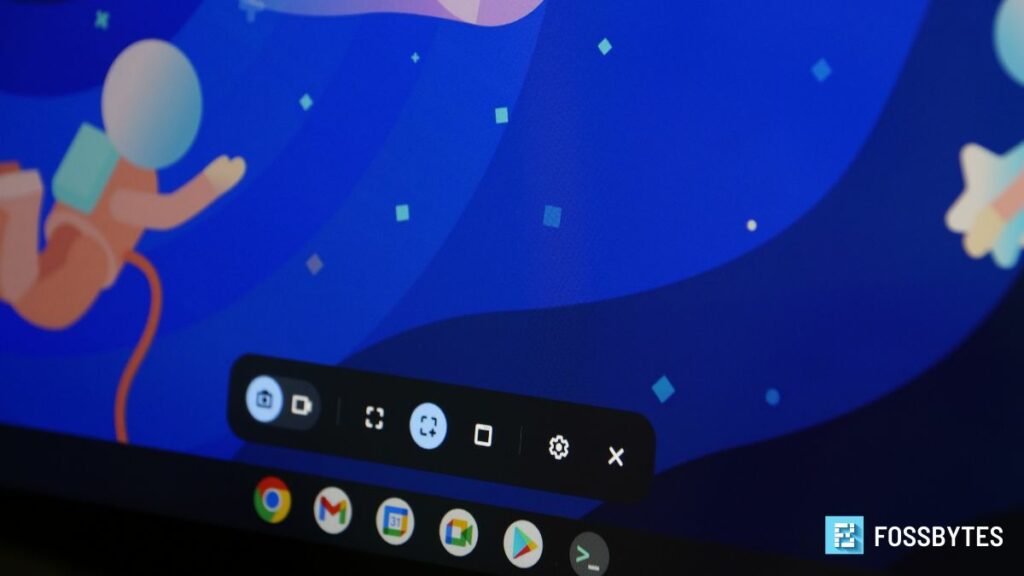
3. You can record your entire screen, window, or selected area using the tool. If you want to record the entire screen, select the first option in the overlay. The recording will begin after a three-second countdown.
4. To stop recording, click on the red stop button on the shelf. You can also press the escape key to stop the countdown.
4. Apart from choosing how you want to record, you can also choose where you want the recorded file to be saved and if you want to record audio while screen recording. Pretty neat, right?
5. The recorded footage is saved in the Downloads folder by default.
6. If you don’t like using shortcut keys, you can open the Chrome OS Screenshot/Screen Record overlay from quick settings by clicking on the ‘Screen Capture’ option.
Screen Recording on Chromebook using Snipclip online tool
Snipclip is an online tool that uses Chrome’s built-in screen sharing feature to record your screen. Here’s how to use Snipclip to record and download screen recordings using the same.
1. Head over to the official Snipclip website.
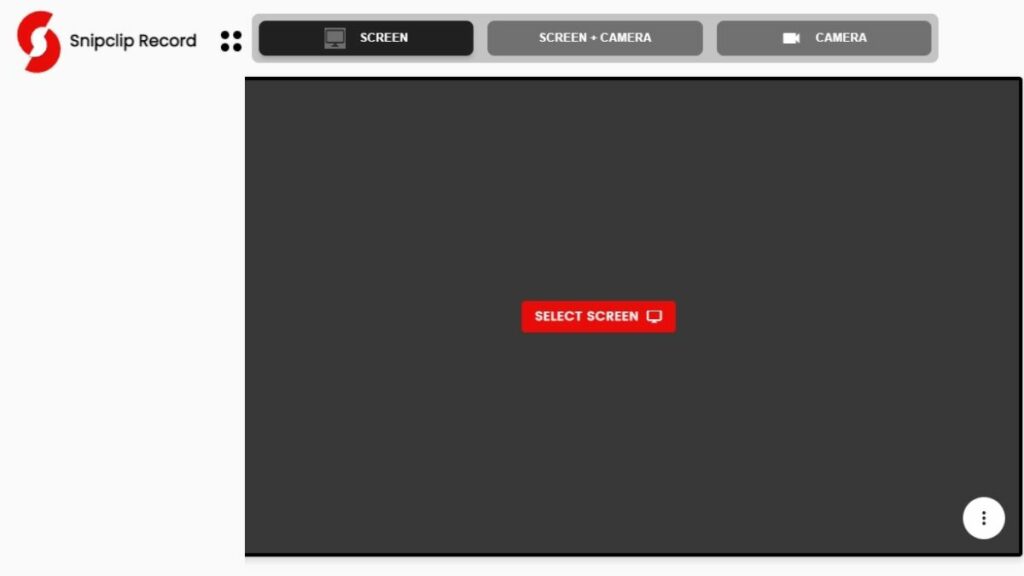
2. Click on Select Screen.
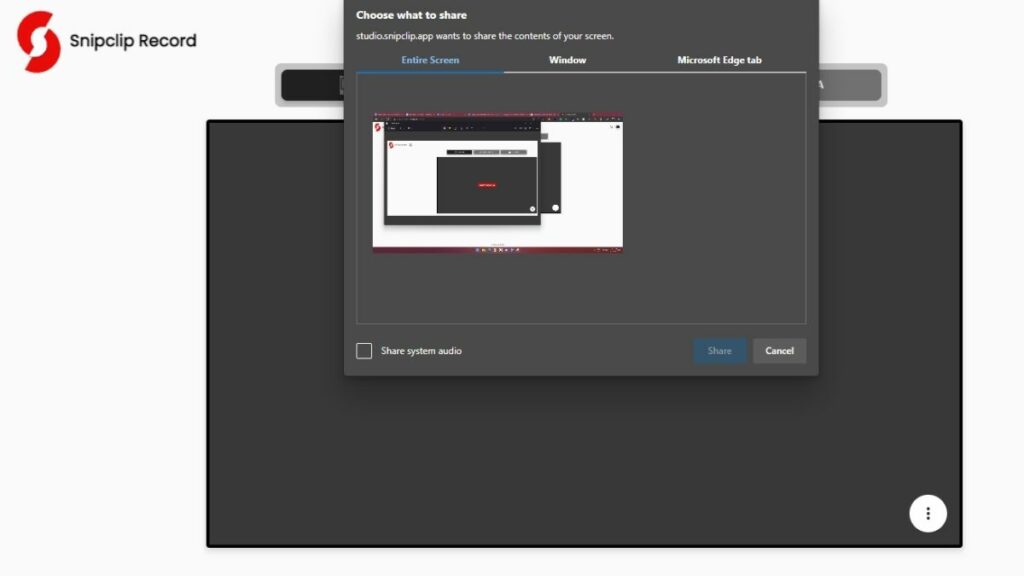
3. Choose between an entire screen, window, or Chrome tab, just like you’d do while presenting on Google Meet.
4. Once selected, pressing the record button will start the countdown, and the tool will start recording your screen.
5. To pause/stop recording, you need to head over to the tool’s page and click on the pause button to pause it, then on the ‘Stop recording’ button to stop recording.
6. You can then download the recording from the same page, and it will be saved in your downloads directory.
The built-in Chrome OS screen recorder and Snipclip save recordings in .webm format. The problem with .webm is not being accepted as a general file format for videos. Hence, if you find yourself in situations where you need to convert .webm footage to .mp4, you can use Snipclip’s .webm to .mp4 converter tool.
Have any doubts? Let us know in the comments section below. Also, let us know if you’d like to read more Chrome OS topics in the future.