AnyCubic Photon S Review: This 3D Printer Convinced A Beginner!!
Thanks to the digital age, I can’t remember the last time I actually used an office printer except when submitting bank documents. But the tech world has come too far, 3D printers are a thing now. They can do a lot more, for instance, create life-like objects. Although they still can’t print a standard document. I got to know about 3D printers a couple of years back and ended up creating the list of 49 things that I’d like to 3D print someday.
That opportunity almost never came as I didn’t have a 3D printer at hand. If you’re living in a place like India where 3D printing isn’t that popular, then it can turn out to be a costly affair. It becomes very expensive to source the resin even if you buy the printer.
But recently, AnyCubic sent us their Photon S 3D printer, and that’s when the curious part of me was dancing in joy. Because in the world saturated with smartphones and PCs, I finally have a new toy to play with.
Speaking of my experience with 3D printers, as I hinted above, it’s close to that of a beginner.
“So, why are you reviewing this 3D printer?” – You’d ask.
Basically, the whole point of me reviewing the Anycubic Photon S 3D printer is to see whether it can convince me (a newbie) to get into the world of 3D printing. And here, I’d like to add that being a beginner to 3D printing is a couple of notches tougher than being a new smartphone user.
Also Read: Ender 3: Open Source 3D Printer Reviewed By A 3D Printing Noob
Photon S Review: Look, feel, and build
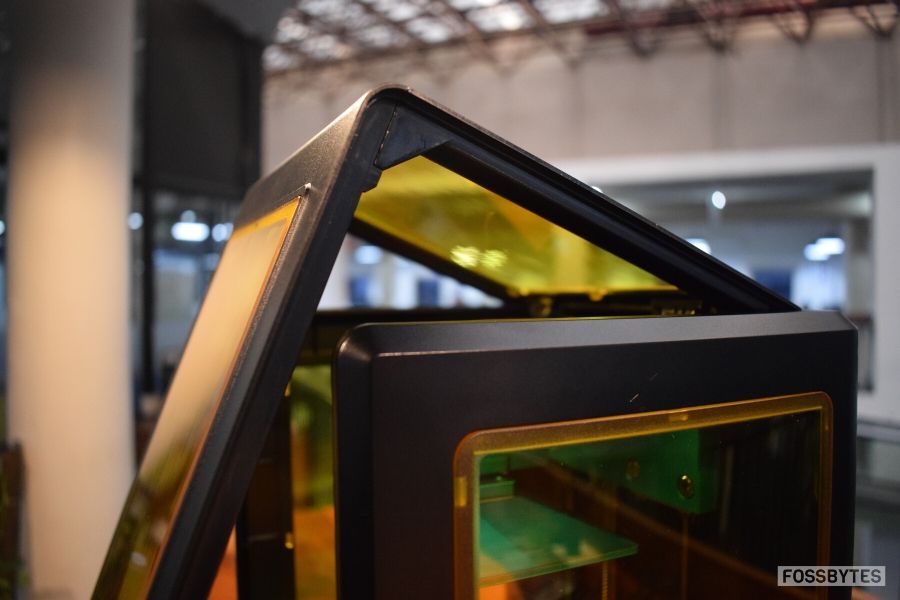
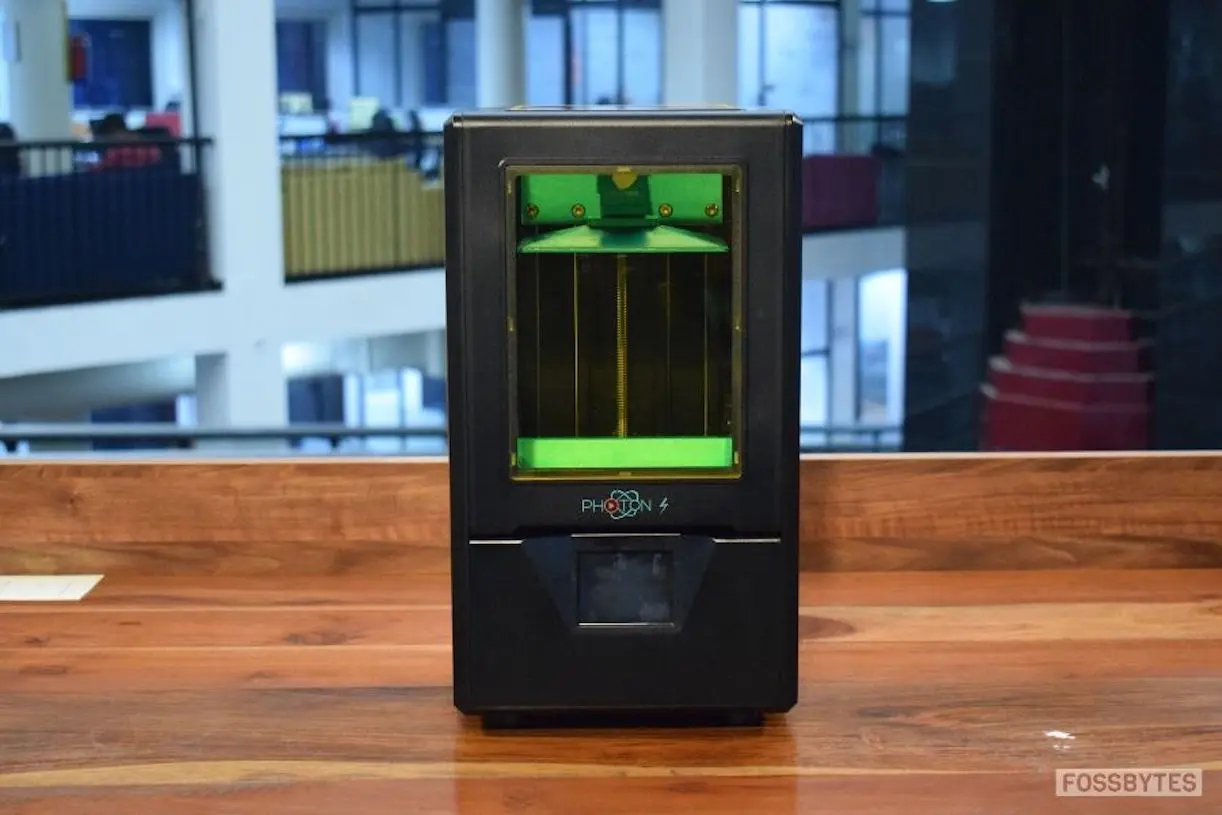
AnyCubic Photon S is a cool SLA 3D printer (Stereolithography) that’s almost the size of an air filter. The build quality of the plastic casing seems to be well above average. It sheds more than a pound of weight than its metallic predecessor Anycubic Photon, although some users might still prefer the metal for a more sturdy build.
As part of the refresh, the Photon S gets better Z-axis stability with dual linear rails, faster print speed, improved airflow, better touchscreen LCD, and a new user interface, among other perks over the Photon 3D printer.
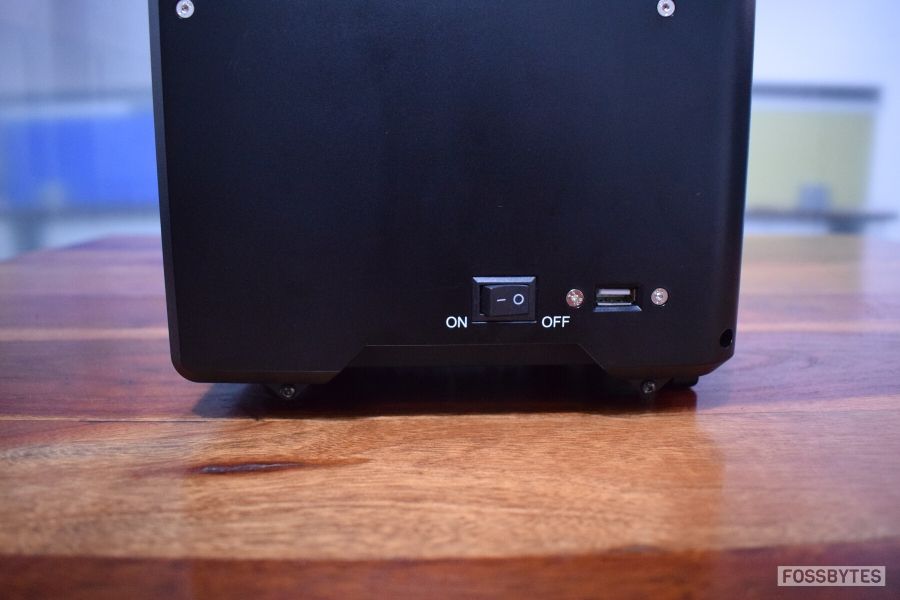
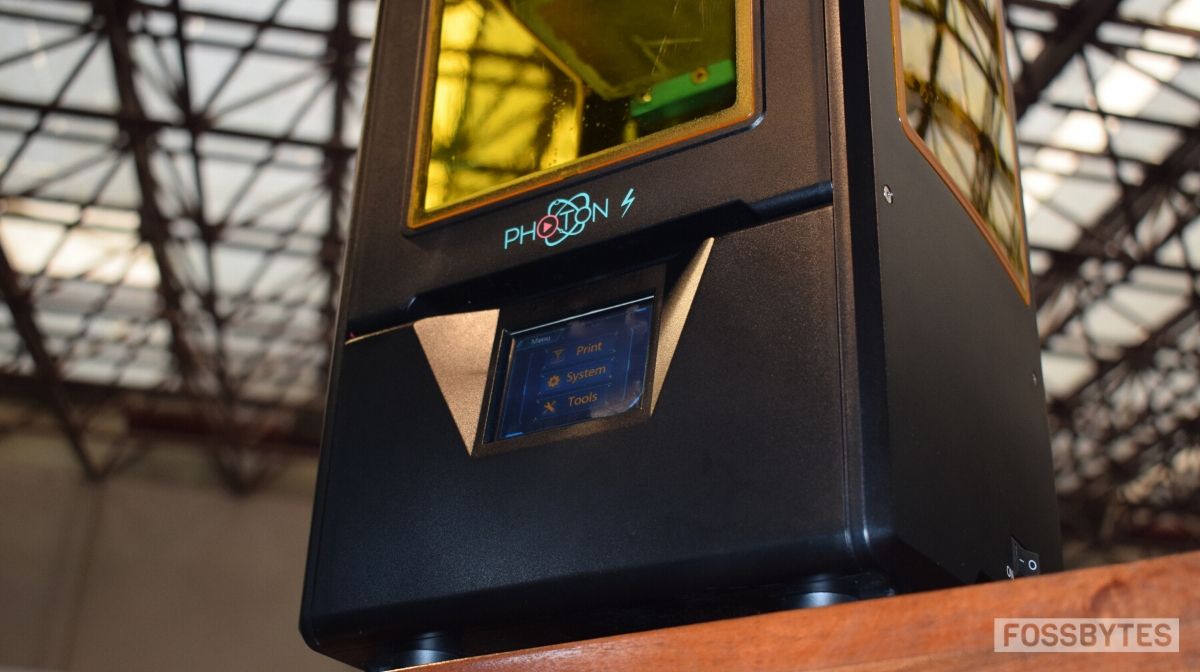
Anyway, speaking of the new Photon S 3D printer, the power port is present at the back while the On/Off button is on the right side along with a USB port for connecting flash drives.
On the front sits the touch-screen display that isn’t any close to what we have on our devices these days, but it serves a different purpose here. It’s now upgraded and does the job perfectly; you can even operate it with metal objects like a screwdriver.
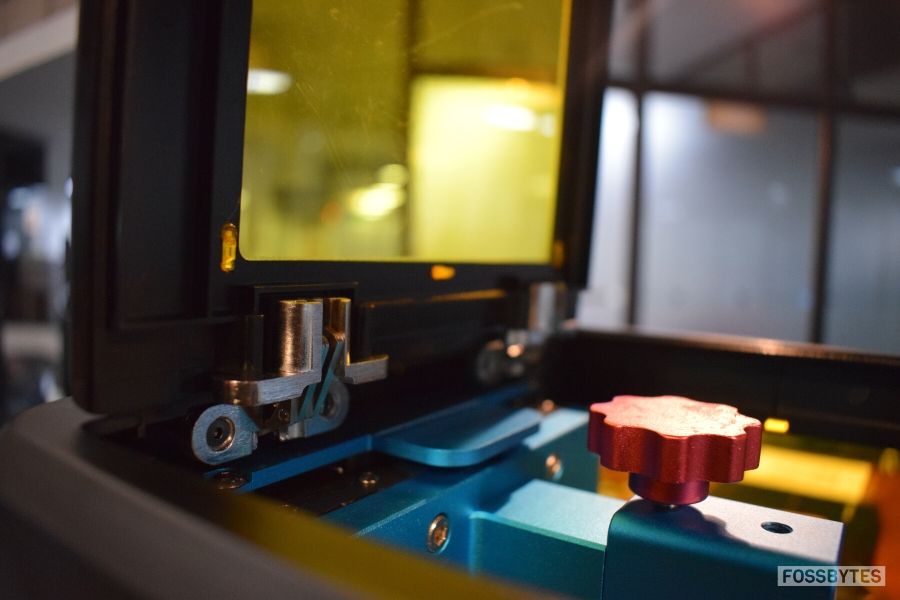
There is an L-shaped door (like the original Photon) that opens upwards and is connected to the backside via a hinge. The door seems fragile, though; I feared it would break while opening and closing.
However, it does give you a moment of satisfaction when you close it (like those satisfying videos we watch all day). It just locks itself smoothly, and the motion is so effortless that I ended up opening and closing it for no reason. But also, I felt that smoothness seems to go away with time.
Another thing I noticed is that it’s very easy to topple the 3D printer by pushing from the front side. If you push it from back or ether sides, you’ll feel some resistance when trying to knock it to the ground. So, that’s the balancing issue we have with the Photon S.
You get polycarbonate glasses on three sides so that you can take a peek of what’s being baked inside. Although I am not a big fan of its yellowish tint, I think they’re meant this way for UV protection, so I’ll have to live with it.
To top it off, the black color (white also available) looks great on the simple and sleek design of the Photon S. I tried to press the 3D printer from different sides, but couldn’t feel or hear any weird sounds of loose plastic, not even from the fragile gate.
What’s inside the box?
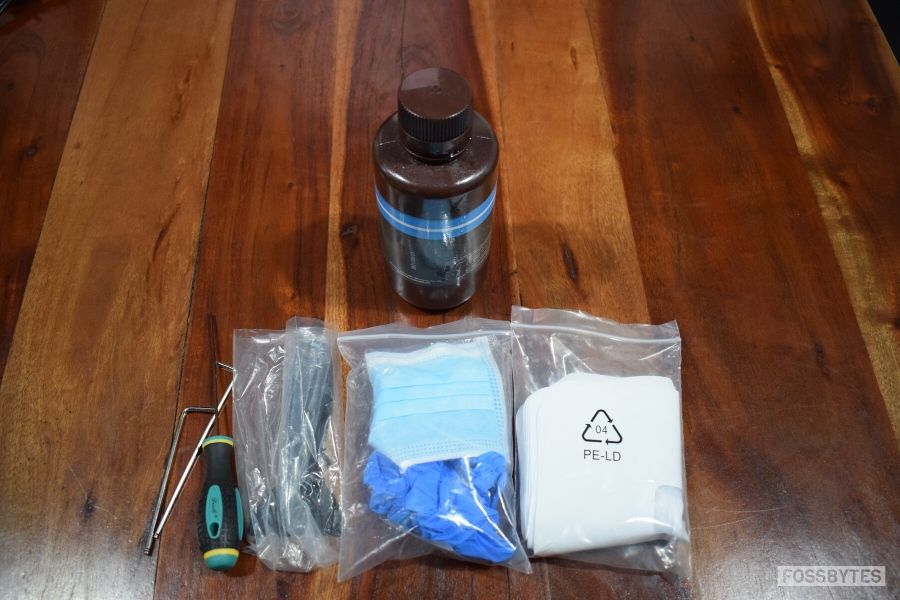
Unboxing this guy certainly made me feel like an amateur mad scientist. It includes gloves, face mask, smelly liquid, and some creepy looking tools inside the packaging. Here’s the list of what’s inside the box:
- Photon S 3D Printer
- Print Platform
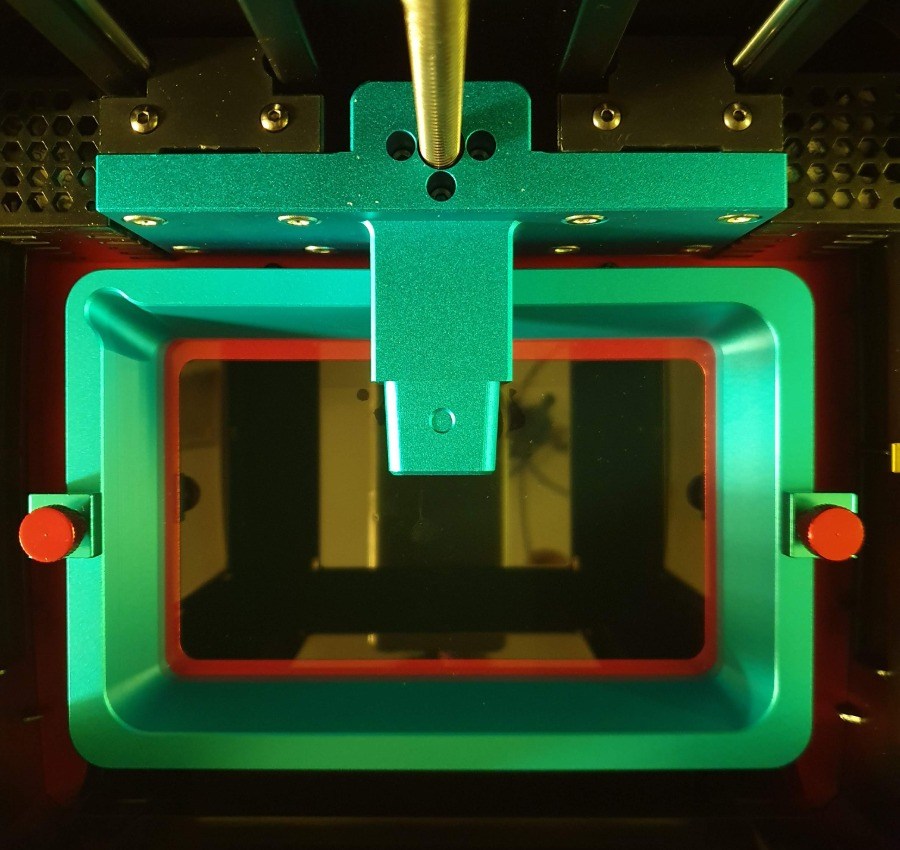
- Resin Vat
- 405nm UV Resin Green 500ML
- Power Adapter
- Flash Drive
- Funnel 15pcs
- Mask
- Gloves 3 pairs
- Tool Kit
- Scrapper
- M3*5 Screws 5pcs
- Extra FEP Film
Cut to the chase: how to 3D print using Photon S?
Initially, I ended up playing with the Photon S like a 10-year-old, moving its print platform up and down with the help of built-in controls. But soon, the tough part came where you need to set up and get it to work correctly.
I tried to figure it out on my own. After spending about a half-hour with Photon S, I managed to put all the things in place but missed a small thing which later turned out to be an important one. I came to know about it from the tutorial video they’ve uploaded on YouTube. It was also mentioned in the user manual that I overconfidently ignored in the beginning.
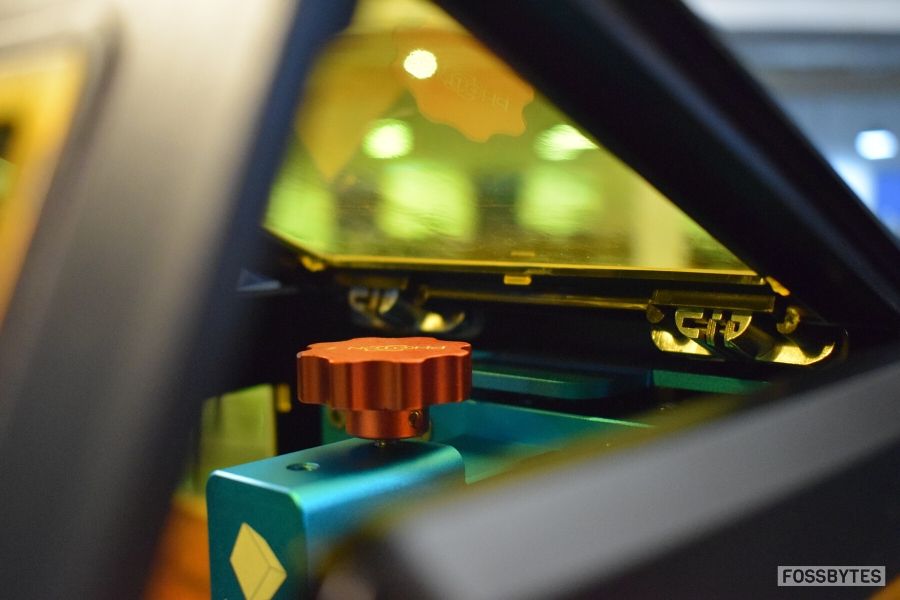
While leveling the print platform, you need to put a piece of paper below it and lower it down until you feel the resistance while pulling the paper. I guess if anyone watches the video, the whole setup process shouldn’t take more than 20 mins.
For Slicing: Use the AnyCubic Photon software
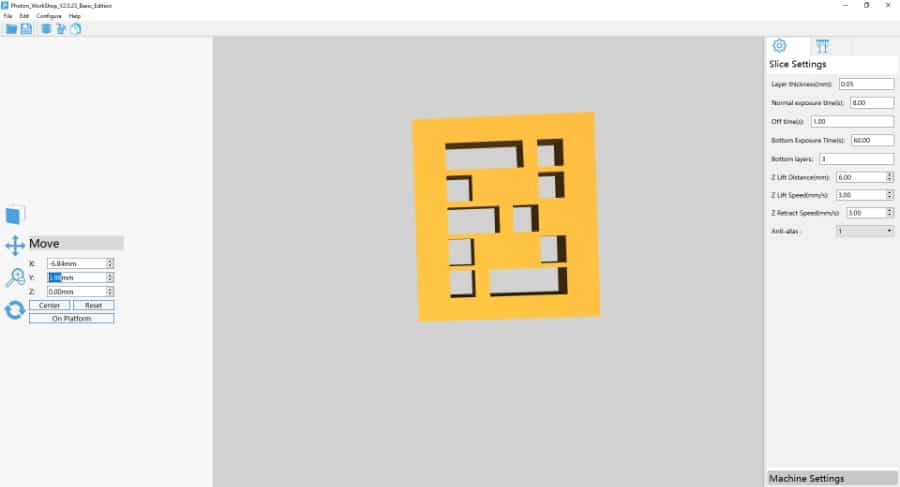
Anyway, that was one part of the process; the other one is configuring your 3D print design using the AnyCubic Photon Workshop slicer software present in the flash drive in the retail packaging.
You don’t need to be a pro from day 1, making your own models. You can find free to download 3D models on various online platforms. All you need to do is put it into the slicer software and tweak it according to your printer (default settings will work in most cases initially).
AnyCubic has designed its own Photon Slicer software, but you can find many other third-party slicers as well. For starters, I’d suggest you should go with the stock option. It has got an easy to use interface.
You can download the STL file of the 3D print model. Then, in the slicer, click on the Slice option present at the top. After the slicing process gets finished, it asks you to save the file with the .pws file extension.
Now, to 3D print, the easiest option I believe is to put the final output (.pws) file from the AnyCubic Photon slicer in the flash drive and connect to your Photon S via the built-in USB port. After that, pour some 405 Resin liquid into the resin vat, press a couple of buttons on the LCD display, and your first 3D print will be ready in a few minutes.
Of course, the time depends on how complex and big the model is. It can even take more than an hour for super complex ones.
My first 3D prints?
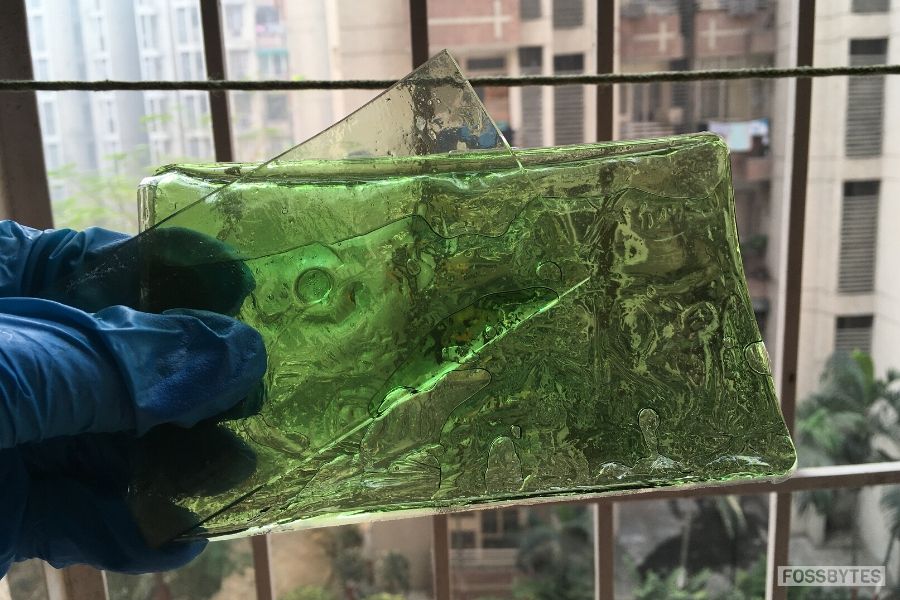
I was slightly skeptical, but my first 3D print with AnyCubic Photon S turned out to be worst than I thought. It was a big green slab due to resin polymerization, and I ended up wasting a considerable amount of the limited resin I got inside the packaging.
Later, I realized a lot of indirect sunlight had reached the printer and ruined the design that I had downloaded. It could also be because of the fact that I forgot to shake the resin before use, which is highly recommended.
But things got easier in the subsequent attempts, although, I faced this one more time when there was no sunlight. So, it could be the case that the included USB drive has some issues. Anyway, I’ll try to find out the real cause and update it here.
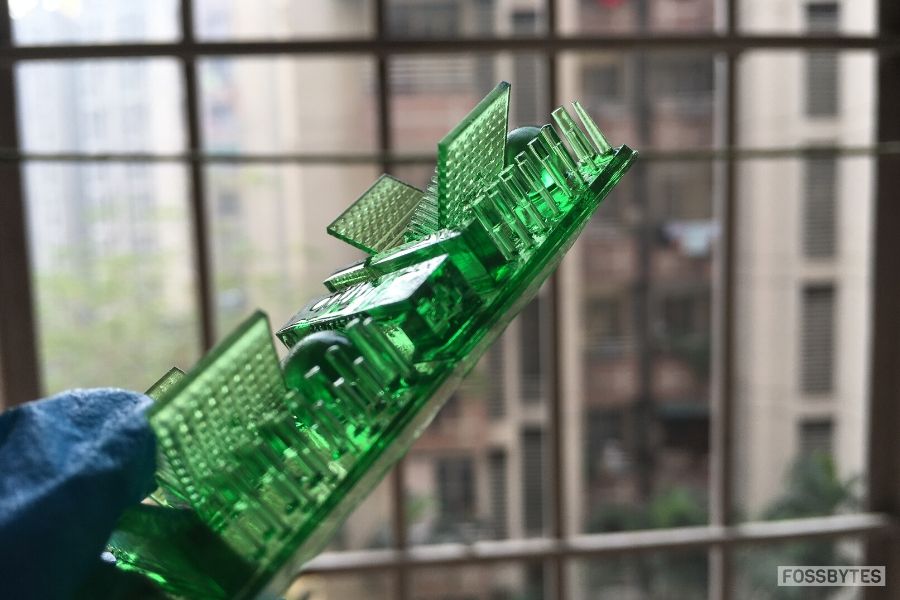
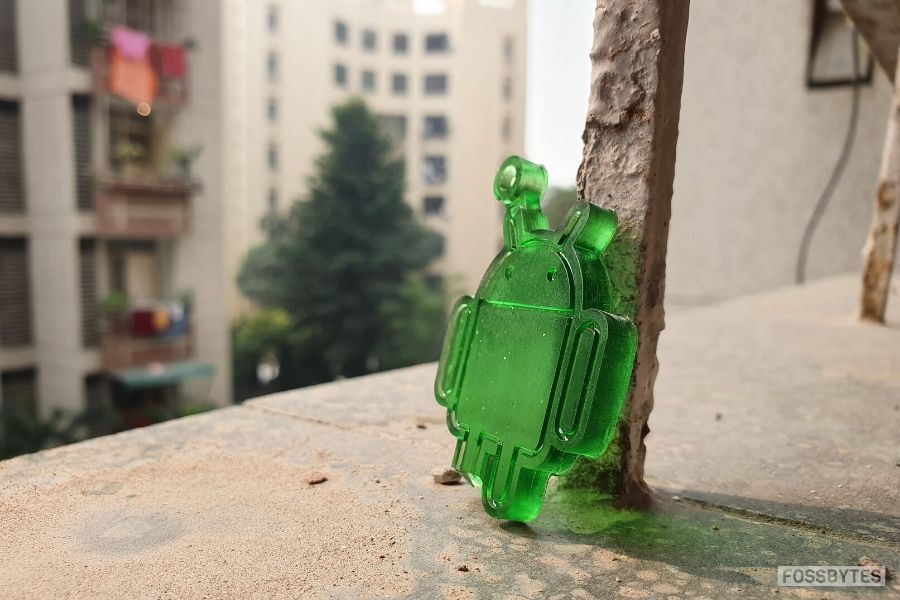
During my second attempt, I 3D printed the design that came with the AnyCubic Photon S (image above). As a person with limited experience, I can say that the level of detail and precision the Photon S churns out is commendable. The stock design has very little shapes that it managed to print correctly.
Next, when I threw some simple designs at it, I knew it would be an easy deal. However, I couldn’t go for bigger sized (or more complex) 3D prints as I might have run out of the limited resin before finishing this review.
Also, when printing stuff, I don’t think Photon S causes a lot of noise. Even if you-re like 8-feet away, you’ll stop noticing it after a couple of minutes.
Photon S Review: Did this 3D printer convince me?
In one word, my answer would be Yes.
I believe, for a person who has just started with 3D printing, AnyCubic Photon S comes with an easy setup and average difficulty level. Just give its user manual a careful read, watch videos if required, and you’d be good to go without much difficulty.
The designs that I printed took 30-40 mins on average, which is decent. Also, the AnyCuibic Phonon slicer software is as complication as I initially assumed.
If you want to dive deeper, you will end up scratching your head while trying to create custom slicer settings. But those who get past the initial pain, get all the goodies.
Speaking of the negatives. Yes, that flimsy door needs to be fixed. The overall design can be improved a bit to make Photon S’ look a bit more appealing. And the size of the 3D printer does put some limitations on how big objects you can 3D print. But that’s kind of obvious.
Also, why Photon S falls among the popular names is its hassle-free print process and the cost-effectiveness that it offers. For those who just want to start 3D printing as a weekend hobby, it can turn out to be a great option.
As far as the cost is concerned, the price tag of AnyCubic Photon S has recently dropped to $389 from $419. I guess this makes it an even compelling deal.
Also Read: CHUWI GBox Pro Review: The Impossible Fanless PC Under $300

