10 Best macOS Sonoma Features You Should Enable Today
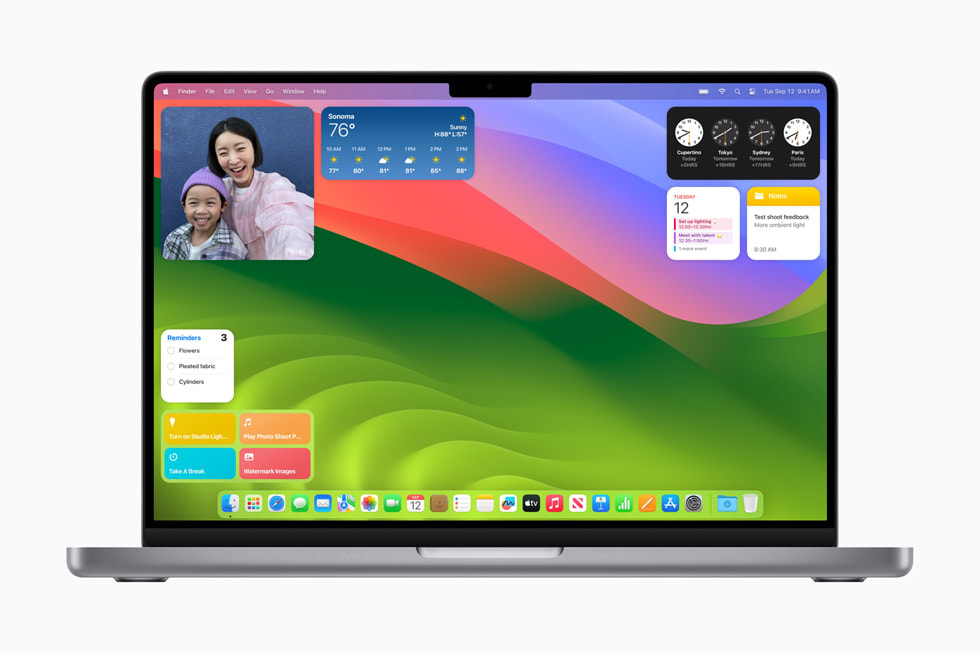
Unlike Windows, Apple’s strategy for macOS involves releasing a new version every year, integrating improved features and quality-of-life enhancements. The same can be said for macOS Sonoma, which has quickly become one of the favorite visual updates to the platform. However, the company has also added several new features under the hood.
Here are ten macOS Sonoma features you should probably consider using:
1. Setup Safari profiles
If you use your Mac for both work and personal purposes, then enabling Safari profiles is a good option since it removes the need to juggle multiple accounts on the same website. For instance, if you have two Gmail accounts—one for personal use and another for work—manually switching between them can be tedious. Configuring different profiles streamlines this process, enhancing workflow. Here’s how to set up Safari profiles:
- Open the Safari app.
- Click on the Safari icon in the menubar and access the Settings menu.
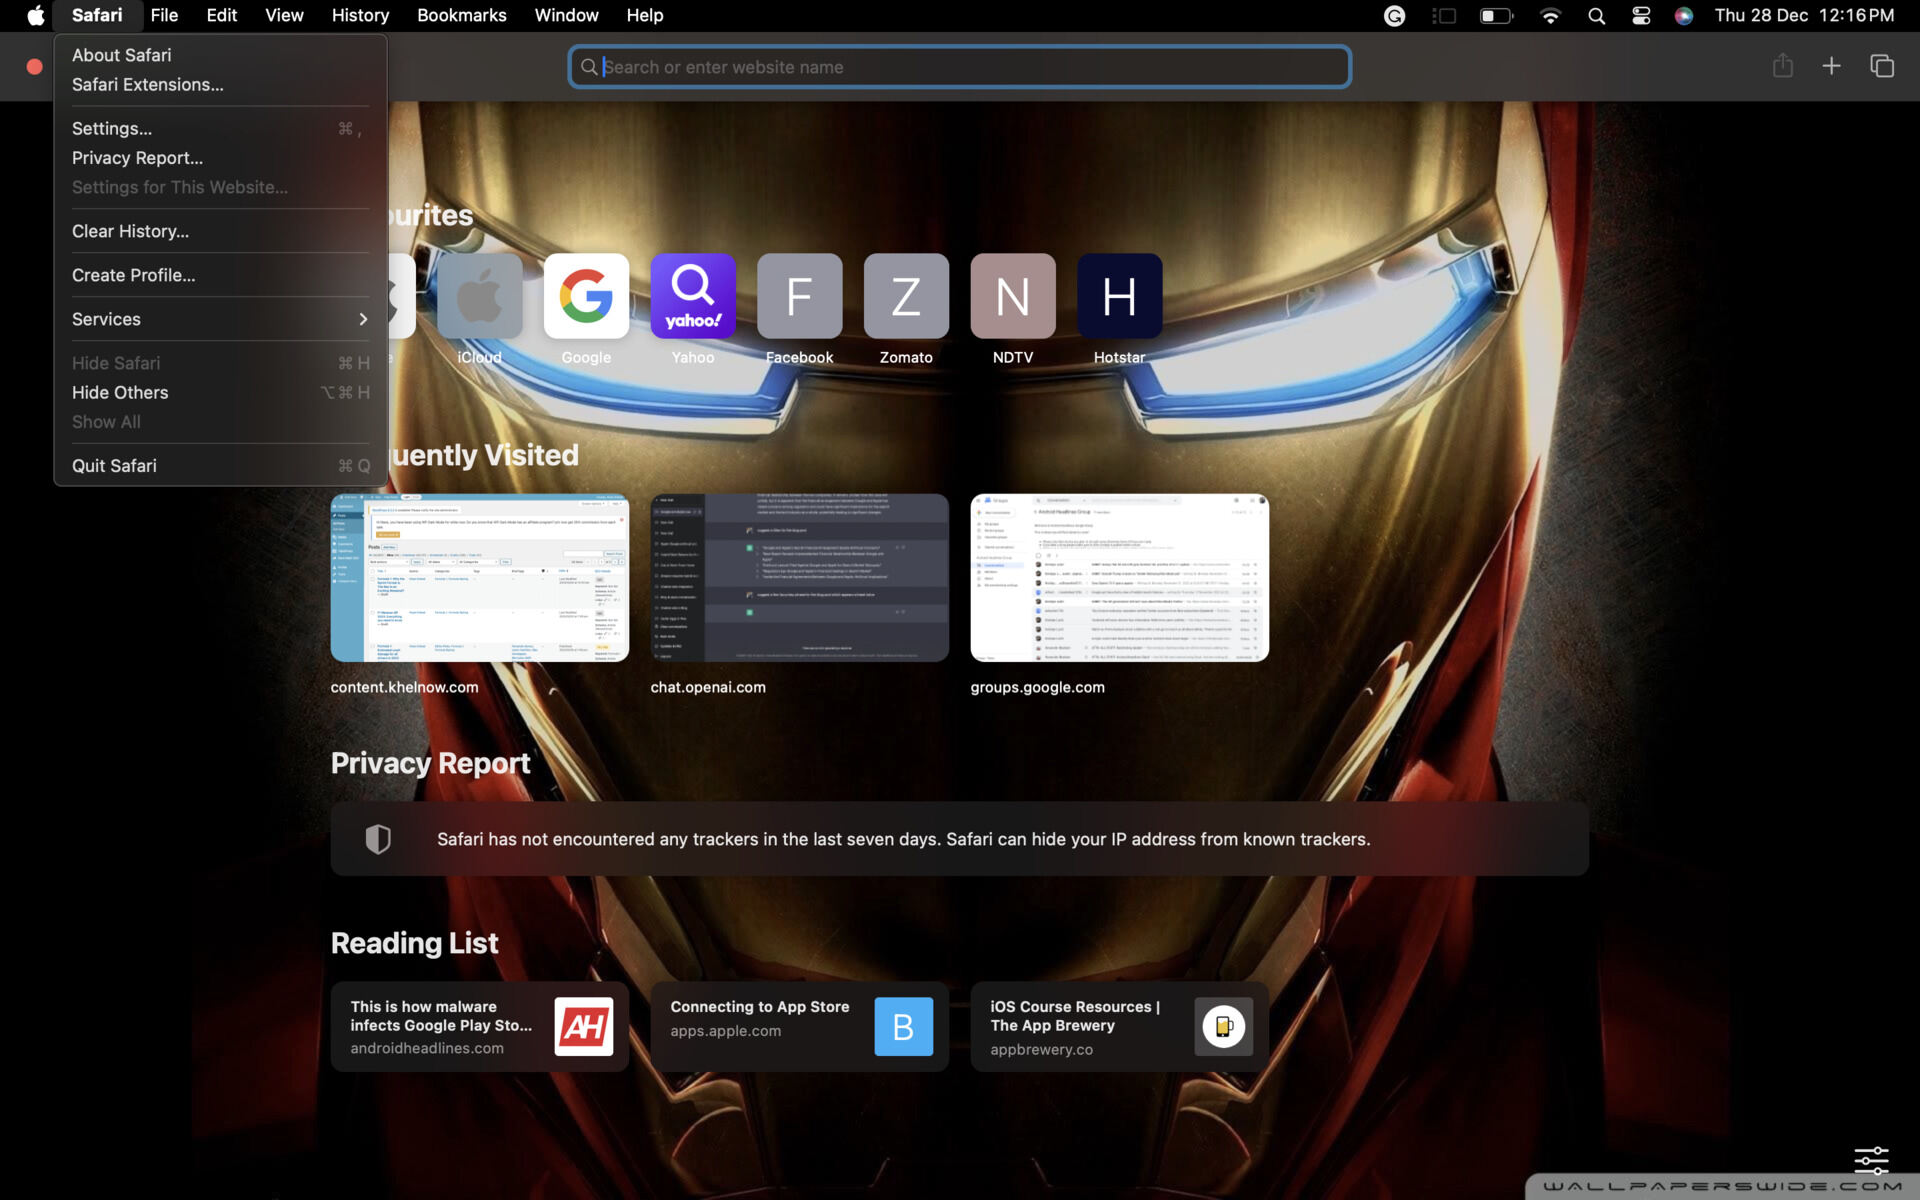
- Navigate to the Profiles tab and click on the New Profiles button.
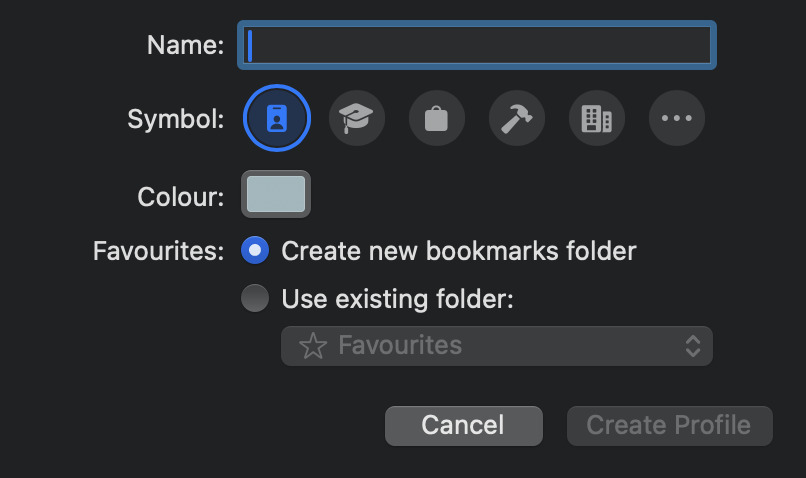
- Select a Name, Symbol, and Color for the profile.
2. New Dictation features
While macOS has featured dictation for years, its accuracy has often been inconsistent. However, with the latest update, this functionality has undergone a much-needed overhaul, allowing users to utilize their keyboards simultaneously while dictating.
You might wonder, why use the keyboard during dictation? Apple’s rationale behind this feature revolves around corrections. Previously, users needed to disable dictation to rectify errors. Now, one can continue dictating while making corrections within the text. Here’s how to enable dictation:
- Open the Settings app.
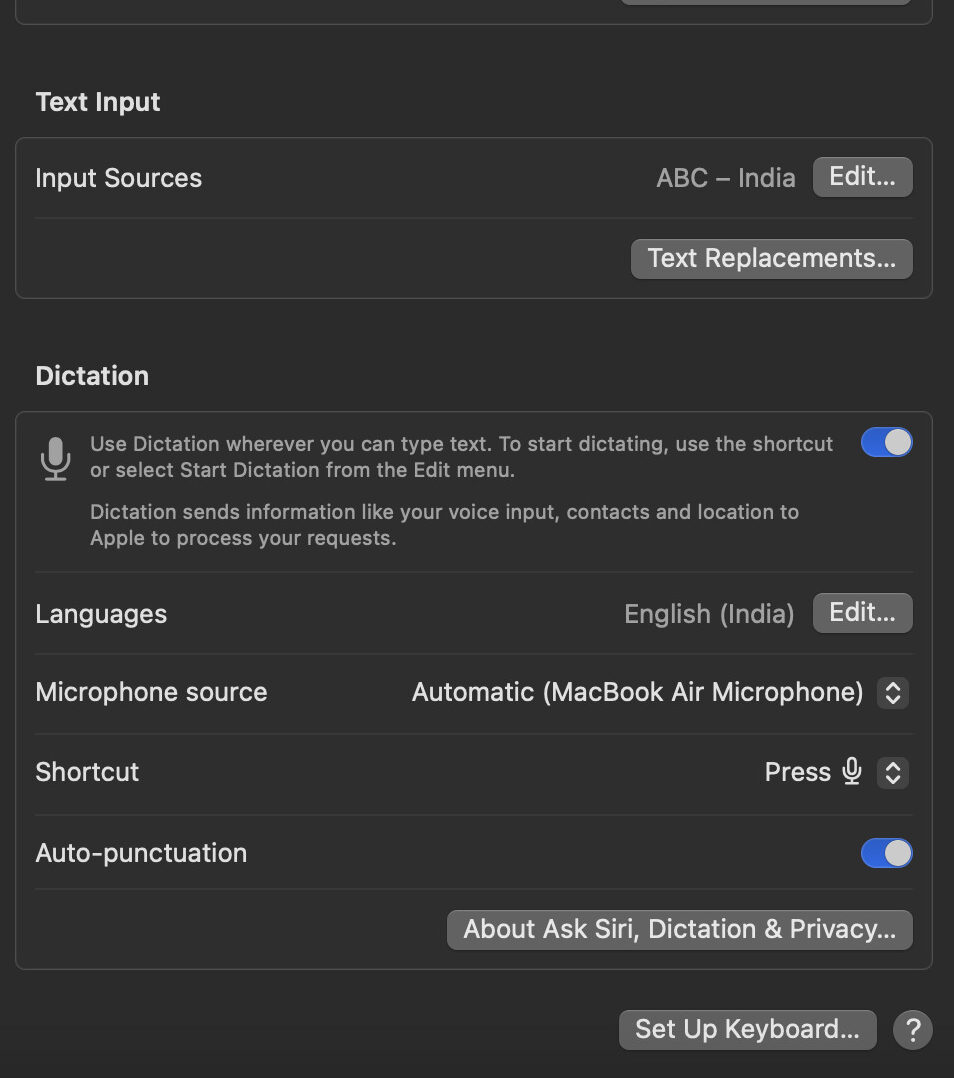
- Navigate to the Keyboards section and select Dictation.
- Enable the “Use Dictation whenever…” feature and set the desired shortcut.
3. Dock Web Apps
Similar to Chrome, Apple has introduced the “dock web apps” feature in Safari, enabling users to dock webpages, effectively transforming them into apps on their desktop. To do this:
- Open Safari and go to the webpage you wish to dock.
- Click on the File button atop the menubar.
- Choose the Add to Dock option.

4. Remove URL tracking from Safari
It’s no secret that nearly every website tracks visitors to understand usage patterns and tailor ads. However, in recent years, Apple has taken significant steps to curb these practices, thereby limiting the reach of advertisers and safeguarding user privacy. As part of this initiative, the company introduced a new feature in Safari that eliminates tracking parameters from web addresses while preserving the remaining information. To activate this:
- Open the Safari app.
- Click on the Safari icon on the menubar and open the Settings menu.
- Go to the Advanced pane and check the box labeled “Use advanced tracking and fingerprint protection.”
- Also, select “in all browsing” from the dropdown menu.
5. Lock Private Browsing windows
For those sharing a MacBook, securing private tabs with a password is an important step. Here’s how:
- Open the Safari app and navigate to a private browsing window.
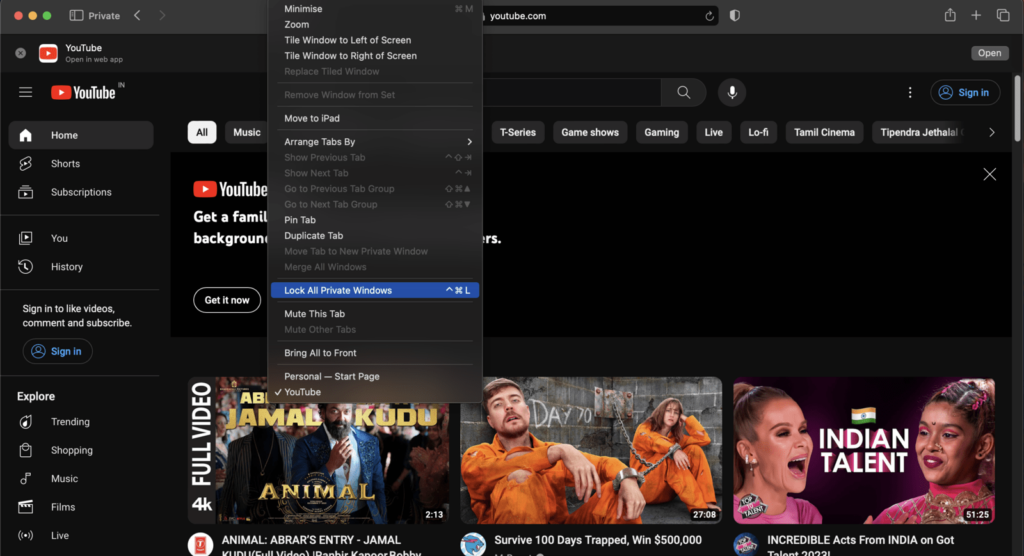
- Click the Windows button on the top menubar.
- Select Lock All Private Windows.
6. Change search engines during private browsing sessions
Despite being in incognito mode or private browsing, most search engines continue tracking people. As a result, Apple now allows users to change their search engine during these sessions, granting enhanced over privacy. To do this:
- Open the Safari app and access Settings from the menubar.
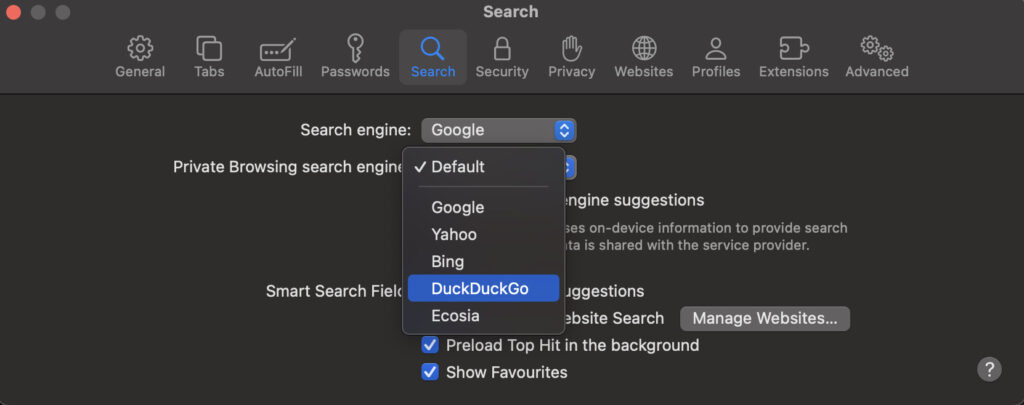
- Navigate to the Search pane and modify the Private Browsing Search Engine to DuckDuckGo.
7. Share passwords and passkeys
Password or passkey sharing has always been a bit of a hassle, with users needing to go through multiple steps. However, with macOS Sonoma, sharing passwords has become more easier than ever. Here is how:
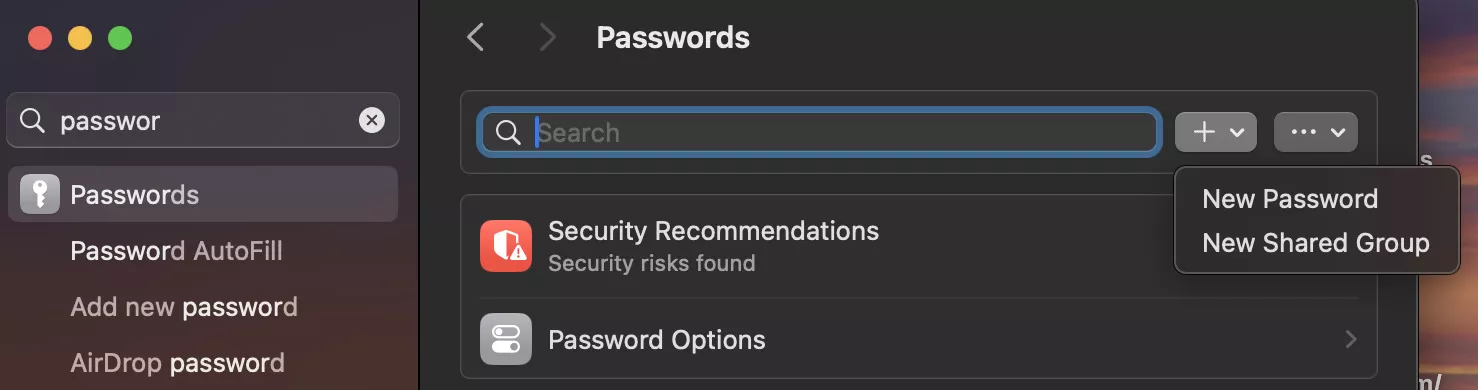
- Open the Settings app.
- Go to the Passwords section and authenticate it using your Touch ID or passcode.
- Click the “+” icon adjacent to the search section and select New Shared Group.
- Enter a name for the group and add the individuals you wish to share your passwords with.
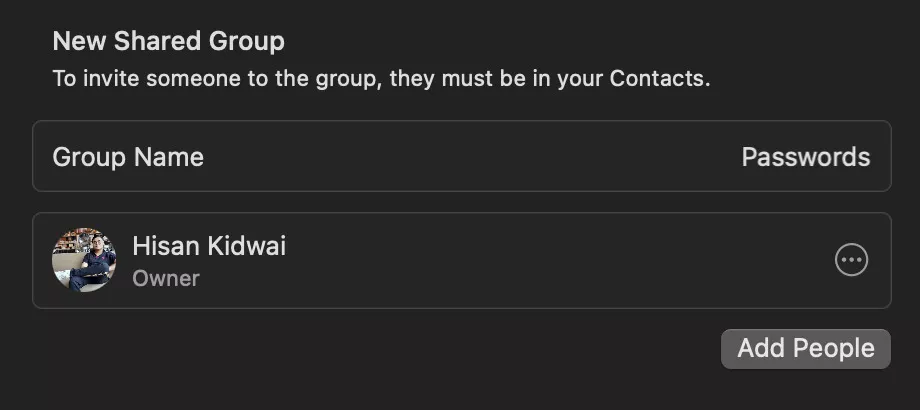
- Finally, click Create.
8. Fill PDFs natively
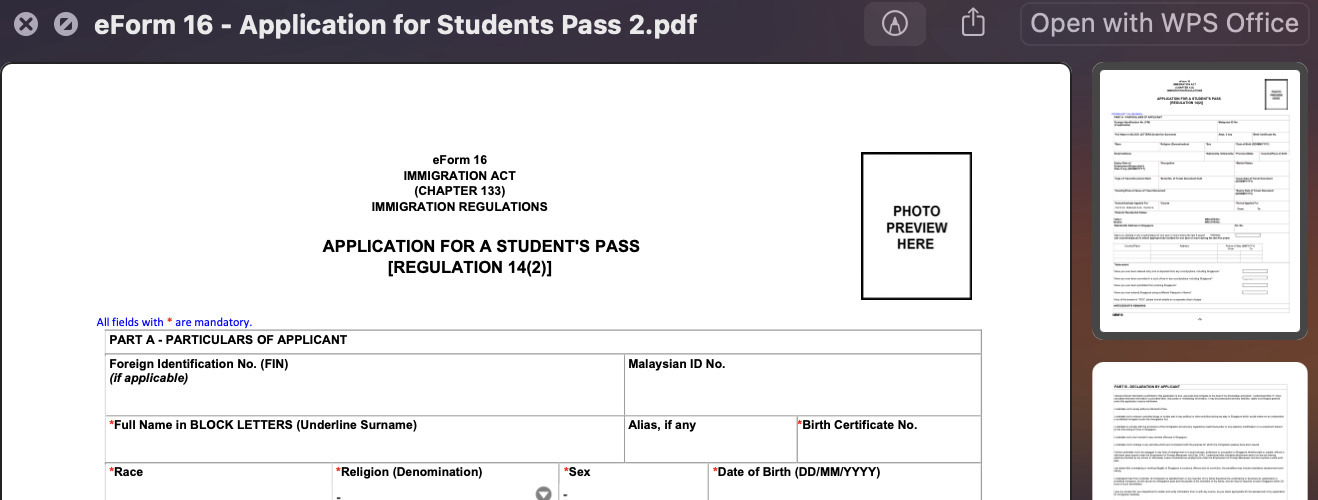
Filling PDFs can be a headache, especially without an Adobe subscription. To address this, macOS Sonoma has introduced a new feature, enabling users to fill out forms. However, note that this feature might not be universally compatible with all PDFs. Here’s how to use it:
- Open a PDF form you wish to fill.
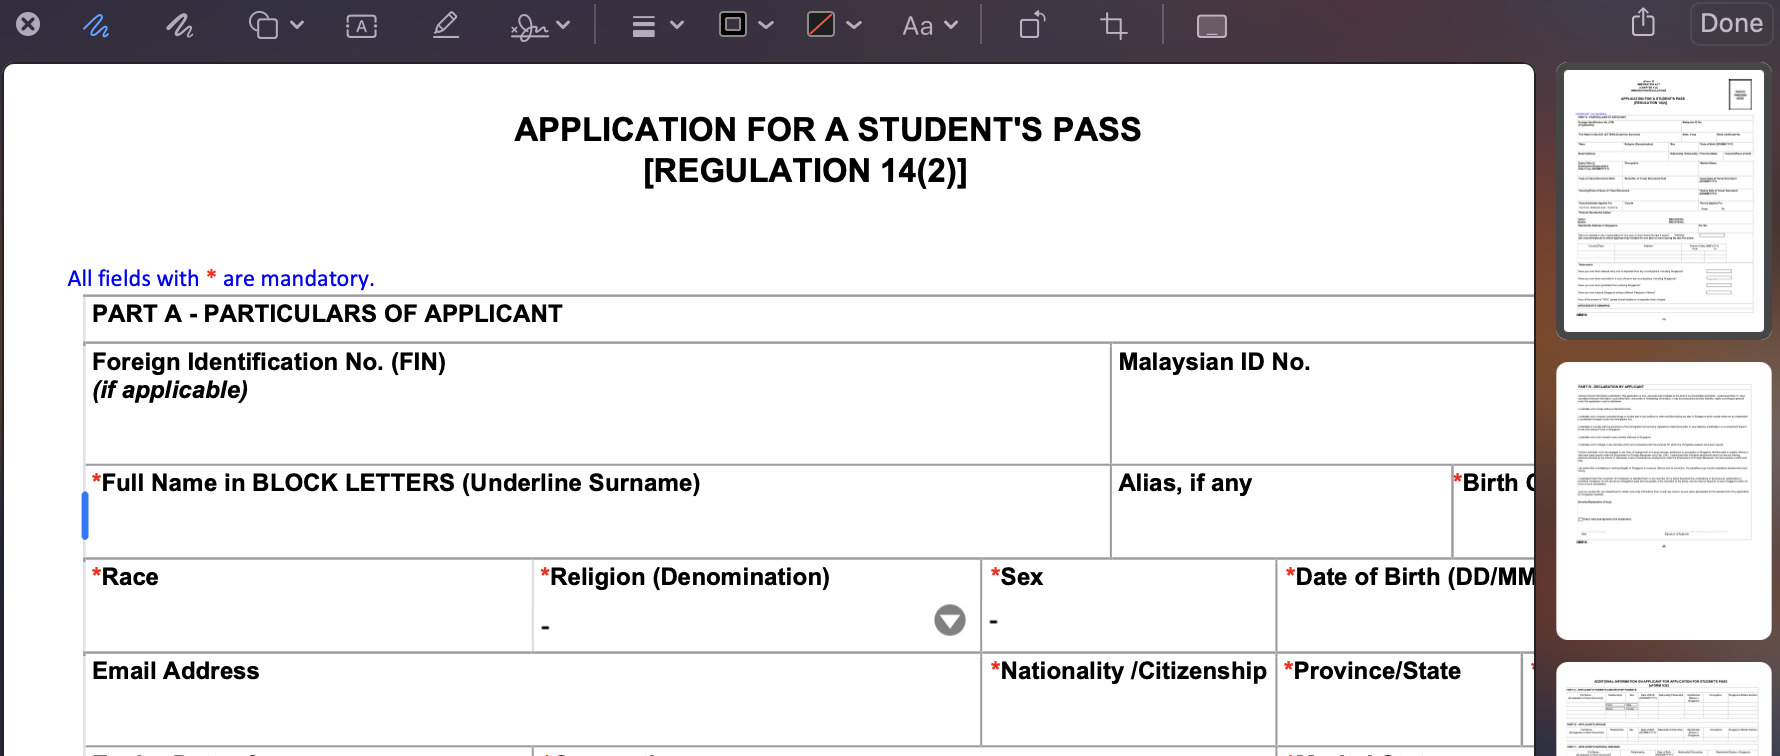
- Click on the Markup option at the top of the menu bar.
- Double-click on a form field, and the typing icon will appear.
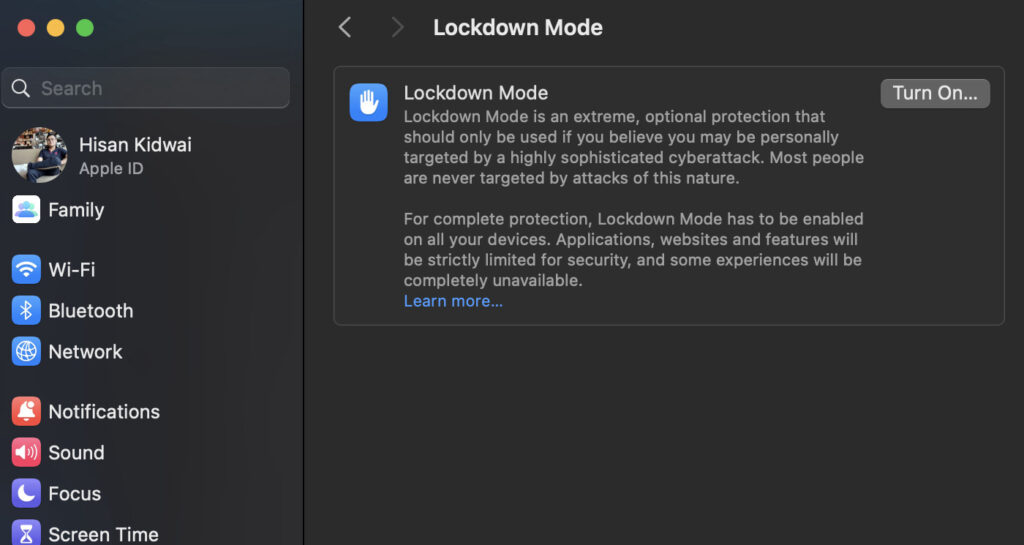
9. Lockdown Mode
Threat actors are always on the lookout to gain unauthorized access to your devices. Unfortunately, there’s often little one can do once a hacker gains entry to your system. To solve this issue, Apple has introduced a new lockdown mode, which hardens device defenses and restricts certain functionalities to prevent unauthorized access to private data. To activate it:
- Open the Settings app and scroll down to Privacy and Security.
- Select the Lockdown Mode and turn it on in case of an emergency.
10. New Video Calling Features
MacBooks have always had great video-calling functionality. However, macOS Sonoma takes it to the next level by introducing a slew of new features. One standout addition is “Center Stage,” which utilizes the iPhone as a webcam to automatically adjust framing, ensuring the user remains consistently centered within the shot. To activate:
- During a video call, click on the menubar.
- Select Center Stage.
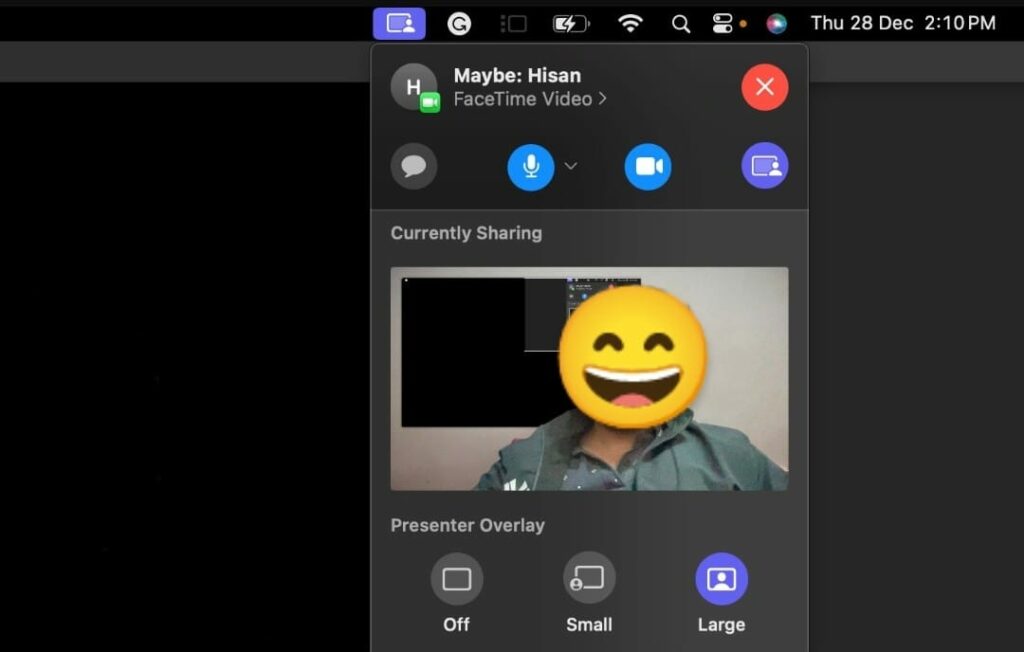
Additionally, to enhance screen sharing, Apple has introduced the Presenter Overlay feature, integrating the presenter’s video feed onto shared content. Users can choose between small or large overlays based on their preferences. To enable:
- During a video call, select the Share Screen option.
- In the Presenter Overlay settings, choose the preferred type.