How To Build A Google AMP-powered Superfast Jekyll Website That Loads In 65ms
Short Bytes: Here’s a quick and dirty implementation of Google AMP on Jekyll to create a website that loads faster that the most websites around. Google launched AMP open source project to make the web pages faster and bring a better internet to the users. Take a look and start your own blog that loads in no time.
To bring a faster and better mobile internet to the users, last year, Google launched Accelerated Mobile Pages (AMP) project. This is a new open source initiative that was developed as an alternative to Facebook’s Instant Articles and Apple News. While Facebook and Apple products are limited to their platforms, anyone can join Google’s AMP train and create web pages.
While you might not be running a million dollar e-commerce website and hoping to increase your revenue by speeding up your website, here I’m going to share a way to create your super fast website using a Jekyll theme that’s built using Google AMP. If you are skeptical about it’s page speed, here’s a live example at https://ageitgey.github.io/amplify/2016/03/08/example-post.html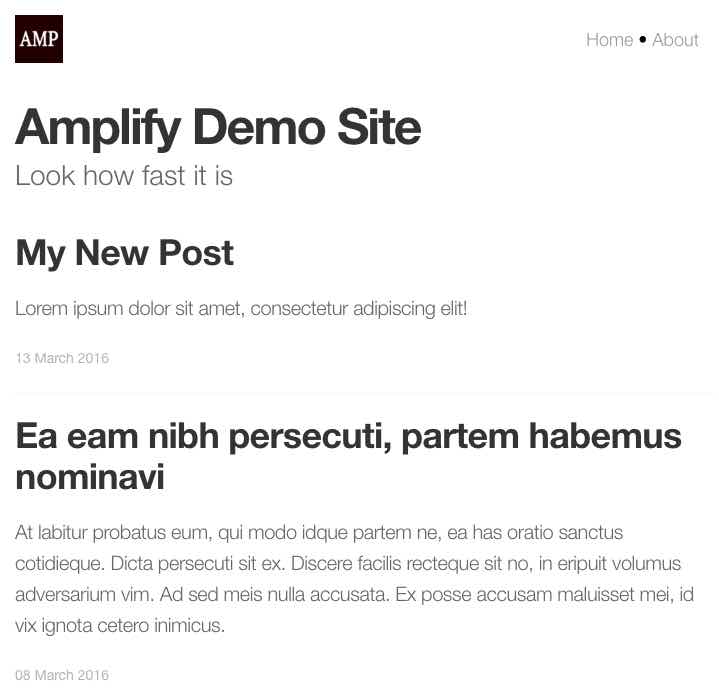
Adam Geitgey, the coder who showcased this implementation, has posted the method to implement this HTML theme on GitHub. To get started with the project, you need to install Jekyll and publish your site like any other Jekyll website.
After deploying your website, it’s time to take care of Google AMP Limitations and start writing posts using Google AMP. It should be noted that all CSS must be inline and all resources should be sized statically. Google AMP has its own set of special HTML tags for including content and you should use them instead of normal HTML tags. Ex: <amp-img> and <amp-youtube>
After embedding other types of content and writing the posts, you need to validate your post with Google AMP. Just add #development=1 to any URL of your website and check the JavaScript console in your browser for a success message.
The last step involves making Google serve your AMP page by linking it to Google’s AMP CDN and filling in required Schema data.
To know more about this project in detail, visit this URL — https://github.com/ageitgey/amplify