How To Enable USB Boot On Raspberry Pi?
Setting up Raspberry Pi for the first time using NOOBS and an SD card is a piece of cake for most users. Also, the fact that you can have multiple SD cards with different Operating systems with your data inside them is something I think is really useful. It saves you from distro hopping, which could be time-consuming.
But let’s not forget that Raspberry Pis also have USB ports that you can use to connect peripherals like the keyboard, mouse, and USB drives. Apart from using just SD cards, you can also create and use a bootable USB drive to install an OS on Pi, just like on any other computer but, you need to enable USB boot first. Hence, in this article, we’ll show you how to easily enable USB boot on Raspberry Pi.
Note: USB boot can only be enabled on Raspberry Pi 2B v1.2, 3A+, 3B, 3B+, 4B, 400, Compute Module 3, Compute Module 3+, and Compute Module 4.
Enable USB Boot On Raspberry Pi 4B
Enabling USB boot on Raspberry Pi 4B is fairly easy. Before you get started with the process, you’ll need to check the EEPROM version of your Pi.
- Power up your Raspberry Pi 4B without an SD card and connect it to a monitor.
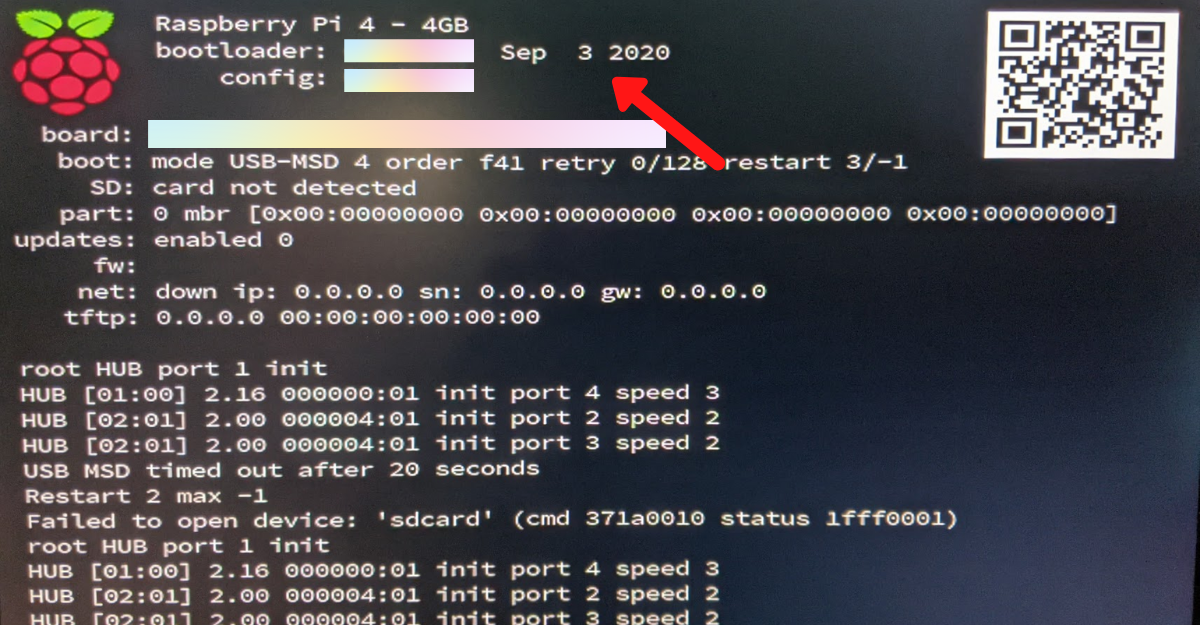
- You will now see a diagnostic screen in which the EEPROM version will be visible on the screen.
- If the EEPROM (bootloader) was added on or after September 3, 2020, your Pi already supports a USB boot. If not, you’ll need to flash the newer EEPROM to enable the same.
Get the complete Raspberry Pi guide on how to do it yourself by clicking here.
Flashing The Newer EEPROM On Raspberry Pi 4B
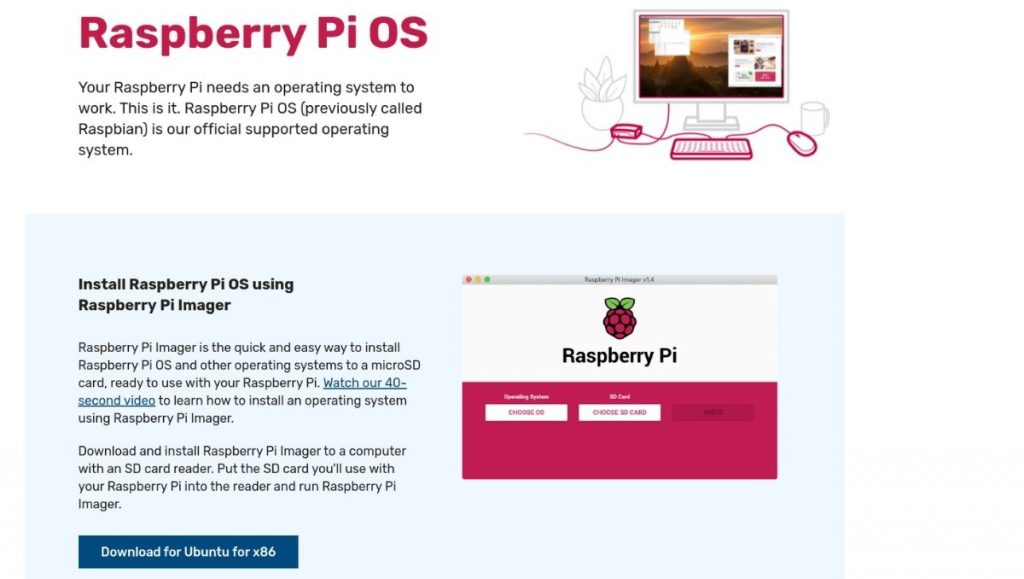
- Download and install the Raspberry Pi Imager tool from the official Raspberry Pi website. The installation instructions are given on the website.
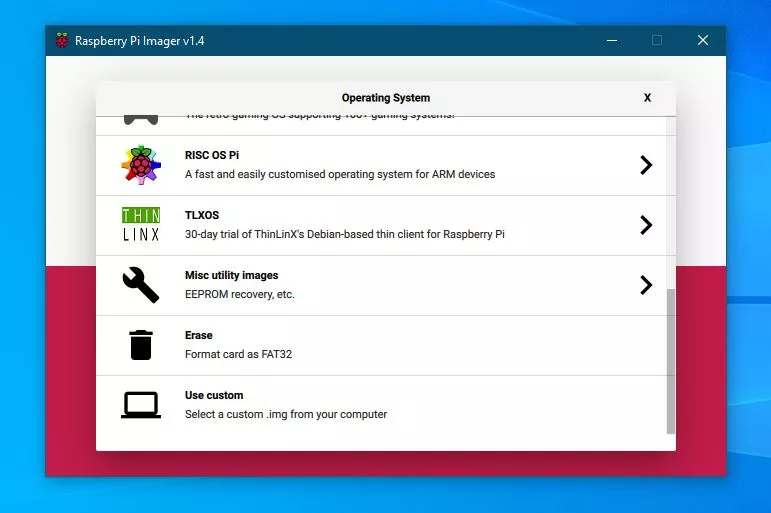
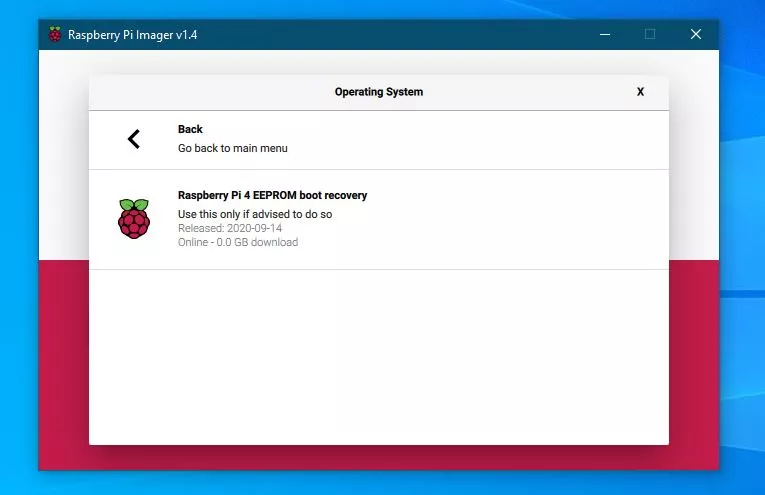
- In the RPI imager, click on Choose OS, scroll down, find and click on Misc Utility Images. Then click on Raspberry Pi 4 EEPROM Boot Recovery and finally select SD Card Boot.

- Now, insert the SD card into your computer using an SDHC adapter or a USB reader. In the imager software, click on Choose SD Card and select your SD card.
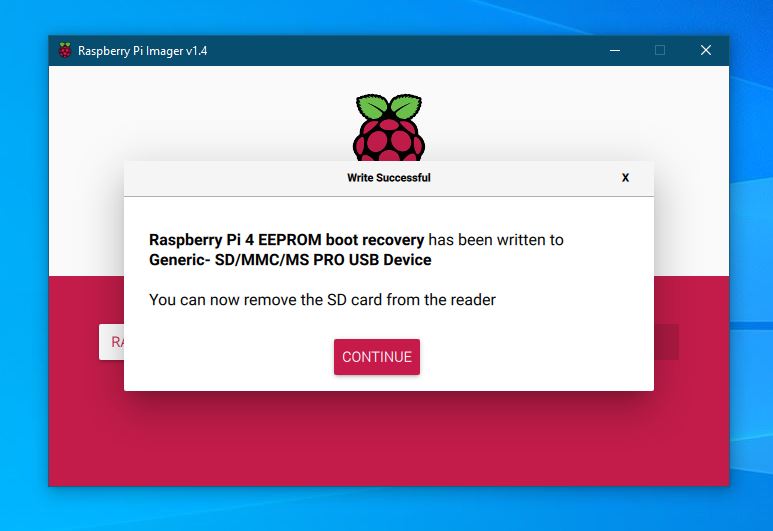
- Finally, click on Write and wait until you see a small confirmation window pop up.
- Now, insert the SD card into the Pi and connect it to the power supply and monitor.
- The bootloader will be updated to the latest version, and the green LED on Pi will continuously flash. The monitor will also show a green color which means that the flash was successful.
Also read: How to install Ubuntu MATE on Raspberry Pi
Enabling USB Boot In Advanced Options
Next, we need to change the boot order to tell Pi that we want it to boot from a USB drive first if it’s available. To do it:
- You’ll first need to install Raspbian (Raspberry Pi OS) on an SD card. We already have made guides for how to install Raspbian (Raspberry Pi OS) and Raspberry Pi headless setup so, do make sure to check them out.
- After installing Raspberry Pi OS, head over to the app menu, find and open the terminal.
- In the terminal, type the following command and hit enter.
sudo raspi-config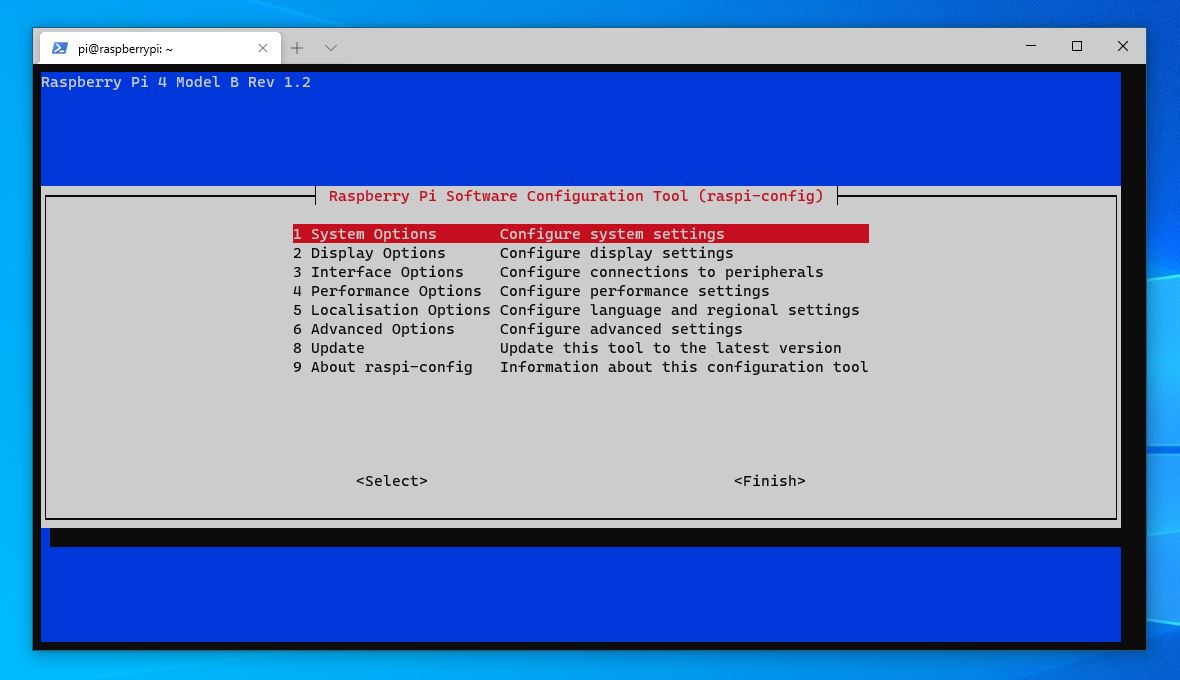
- Various options will appear. Use your up/down arrow keys to navigate between options and side arrow keys to navigate between “Select” and “Finish” options.
- Now, go to Advanced settings, and you’ll see the Boot Order option.
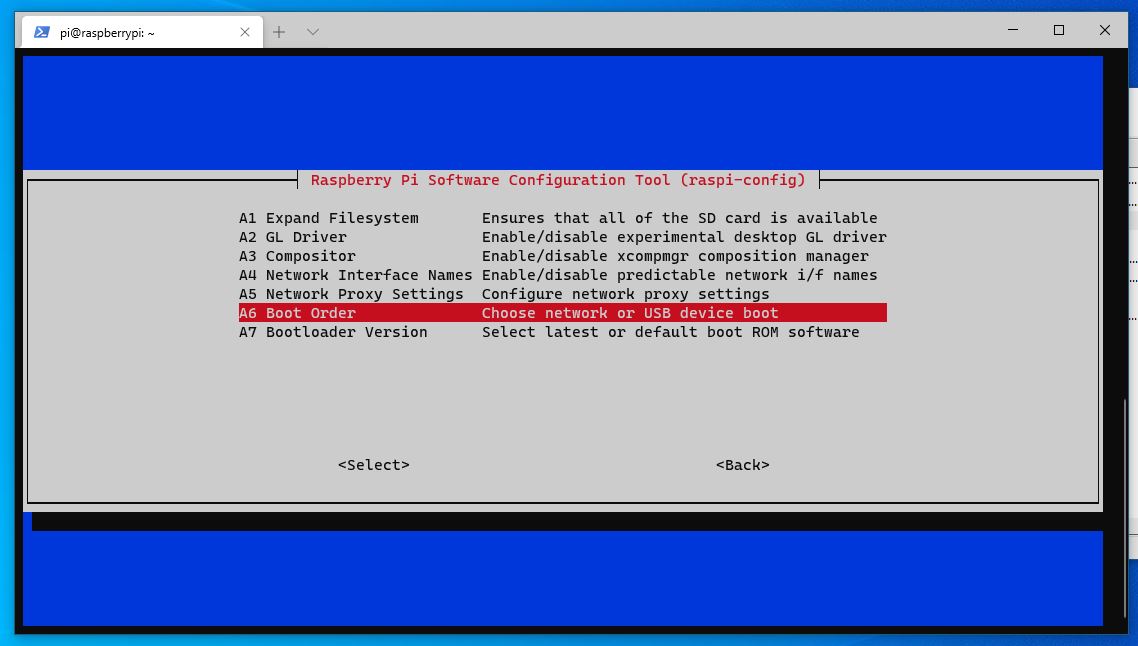
- Navigate and enter into the Boot Order option and the next thing you’ll see is two options.
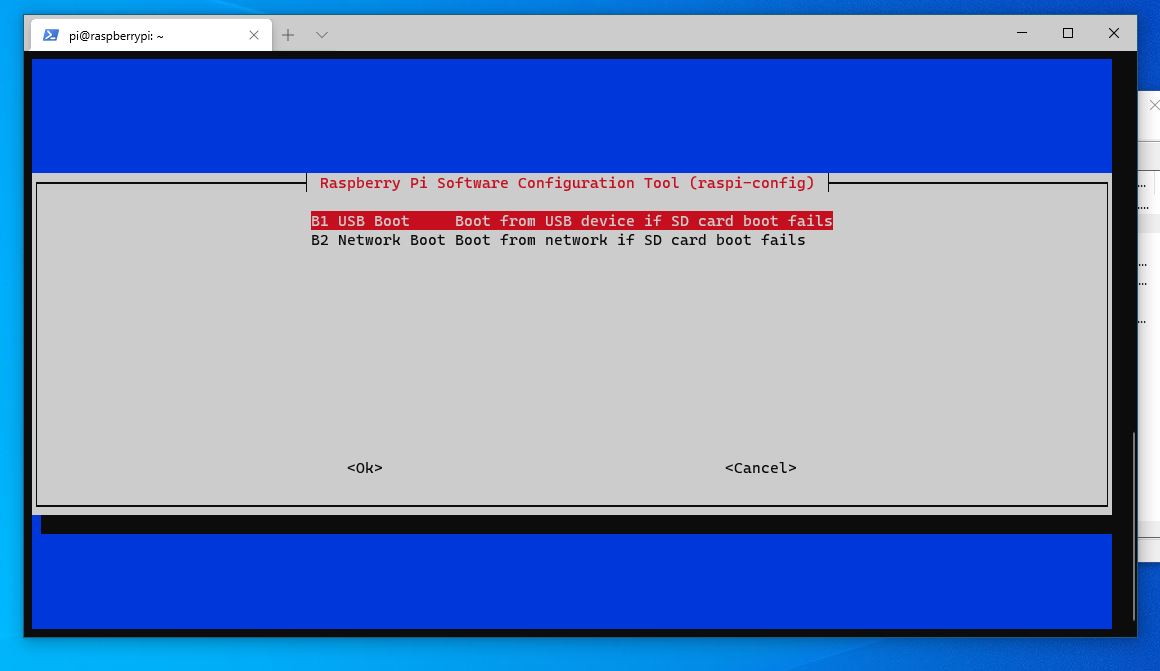
- Navigate to the first one and hit enter. You will now see a confirmation message.
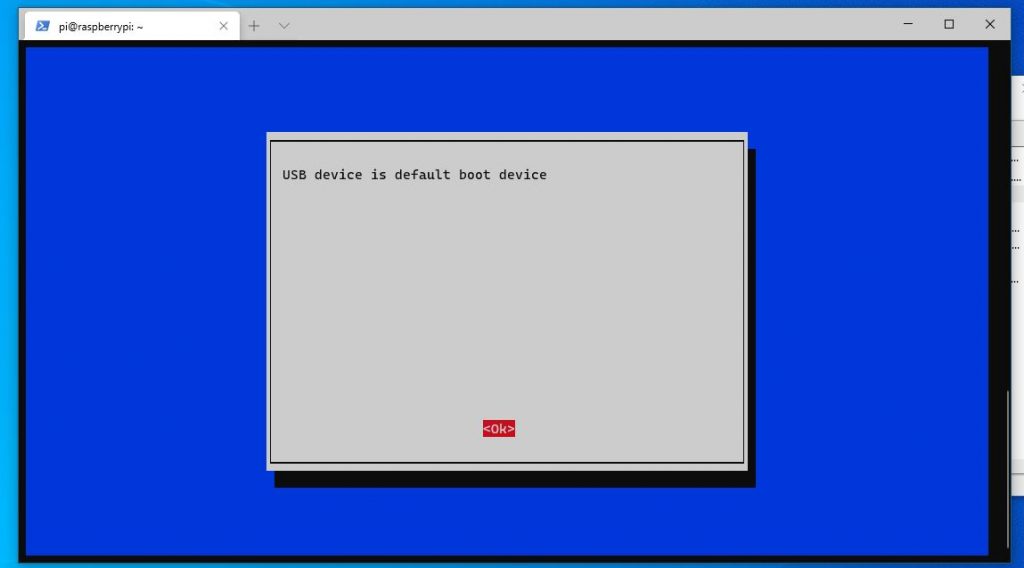
Voila! You have now enabled USB boot on your Raspberry Pi 4B. That was quite easy, wasn’t it? Now, all you need to do is flash your USB drive using Rufus on Windows, or by using these five tools on Linux, plug it into your Pi, and boot into the OS.
Want to install Android on your Raspberry Pi? Check out our how to install Android on Raspberry Pi 4 article.
Did this article help you enable USB boot on Raspberry Pi? Do let us know in the comments section below. Also, we’re doing a series of How-to articles on the Raspberry Pi 4B so, if you want help with a particular topic, do let us know.
Moreover, you can also check out our article on how you can make a bootable USB on ubuntu with our step by step guide here!


![11 Best Lightweight Linux Distros For Old Computers [2022 Edition]](https://fossbytes.com/wp-content/uploads/2021/04/linux-lite-768x432.jpg)